
Best Primer for Kitchen Cabinets: Top Picks & Tips for Success
Ever Wondered How to Make Your Kitchen Cabinets the Star of the Show?
If you're tired of staring at those tired, dull cabinets and thinking, "I could do better," then hold onto your spatula! Today, we're diving into the hilarious yet highly effective world of cabinet refinishing — specifically, how to pick the best primer for kitchen cabinets. Whether you're a DIY novice or someone who wants to channel their inner Bob Villa (minus the mustache), this guide will turn your kitchen into the ultimate comedy and charm show.
Why Is Choosing the Right Primer for Kitchen Cabinets a Big Deal?
Before we get into the slapstick routines of sanding and painting, let's talk about why primer is the unsung hero of cabinet transformation. Think of primer as the best supporting actor who makes the lead (your paint) shine brighter. Without a good primer, your paint might peel, chip, or look as sad as a hotdog at a vegan picnic. For a job this important, you want a primer that sticks better than your grandma's gossip.
What Makes the Best Primer for Kitchen Cabinets Stand Out?
- Adhesion: The primer must cling to your cabinets like a kid to their dessert.
- Sealing Power: It should seal the surface, covering up previous stains or imperfections without turning into a paint version of bubble wrap.
- Compatibility: It should work well with both oil-based and water-based paints, so you don't end up with a paint-messatory.
- Drying Time: Nobody wants to wait longer than a sitcom cliffhanger for things to dry. Fast-drying primers are the way to go.
- Ease of Use: Since you’re probably casual about this, pick a primer that’s forgiving and easy to apply without turning your cabinets into a modern art canvas.
Which Primer Is the MVP for Kitchen Cabinets? A Fun-Filled Breakdown
Should You Go for Oil-Based or Water-Based Primers?
Choosing between oil-based and water-based primers is like deciding whether to watch a dramatic movie or a stand-up comedy special — both have their merits. Oil-based primers are sturdy, excellent at blocking stains, and perfect if your cabinets have seen some drama (like nicotine stains or water damage). However, they tend to have a stronger odor and longer drying times.
On the other hand, water-based primers are cleaner, quicker to dry, and less smelly. Plus, they clean up easily with soap and water, which is perfect if your humor is as quick as your cleanup. Learn more about prepping your surface properly before applying primer and paint for that smooth, mess-free finish.
What Are Some Top Picks for the Best Primer for Kitchen Cabinets?
We’ve scoured the market and tested enough to recommend a few standout primers that will have your cabinets looking fabulous and your spatula doing a happy dance.
Bonding Primers: The "Stick Stuff" Specialists
If your cabinets are laminated, or you’re dealing with tricky surfaces, a bonding primer like Zinsser BIN or Kilz Adhesion Primer is your comic sidekick. They ensure that paint doesn’t peel off faster than your last bad date.
Stain-Blocking Primers: The Cover-Up Commanders
Dealing with stubborn stains or previous dark colors? Use a stain-blocking primer such as Zinsser Cover Stain or BIN. These kill stains dead and provide a perfect canvas for your top coat.
All-in-One Primers: The "Swiss Army Knife" of Primers
Looking for simplicity? An all-in-one primer like Sherwin-Williams Multi-Purpose Primer can save you time and effort. It's like having your comedy routine and your magic tricks in one act.
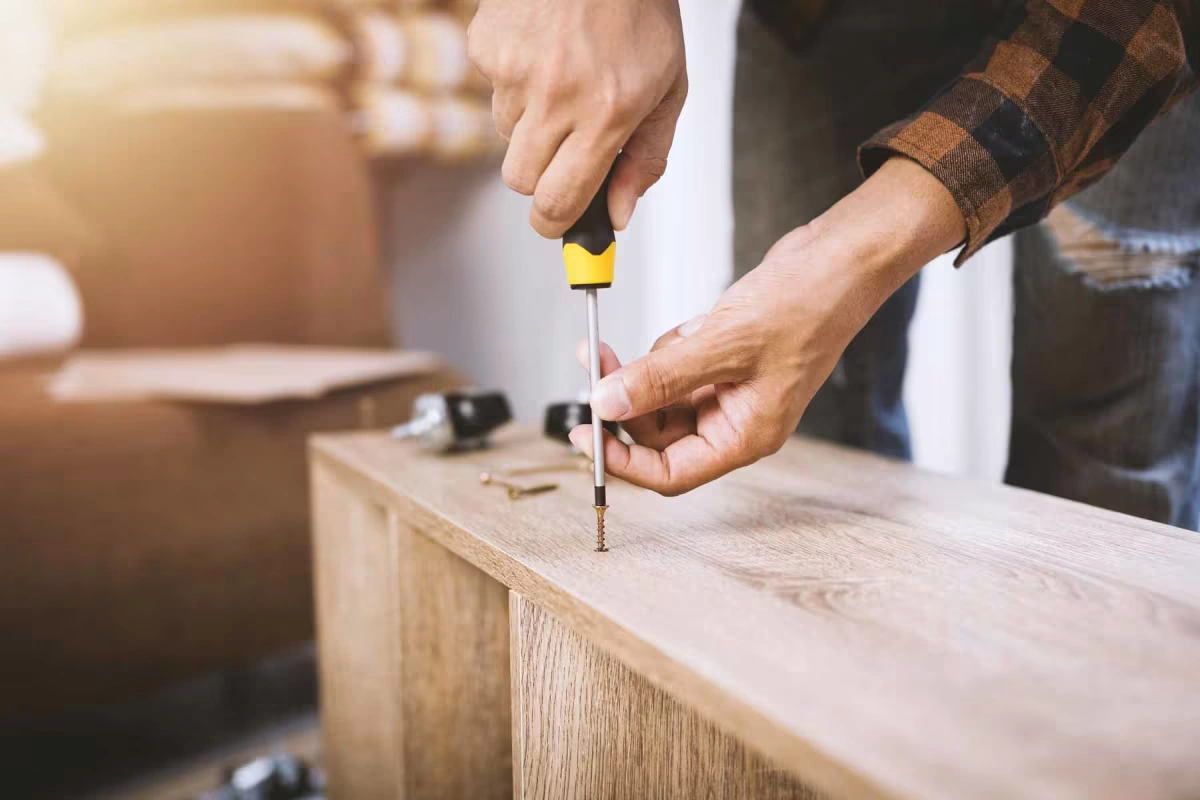
How Do I Properly Prepare My Cabinets for Primer Application?
Preparation is key to high-quality results — and avoiding a DIY disaster that even your funniest cat would avoid. Follow these steps:
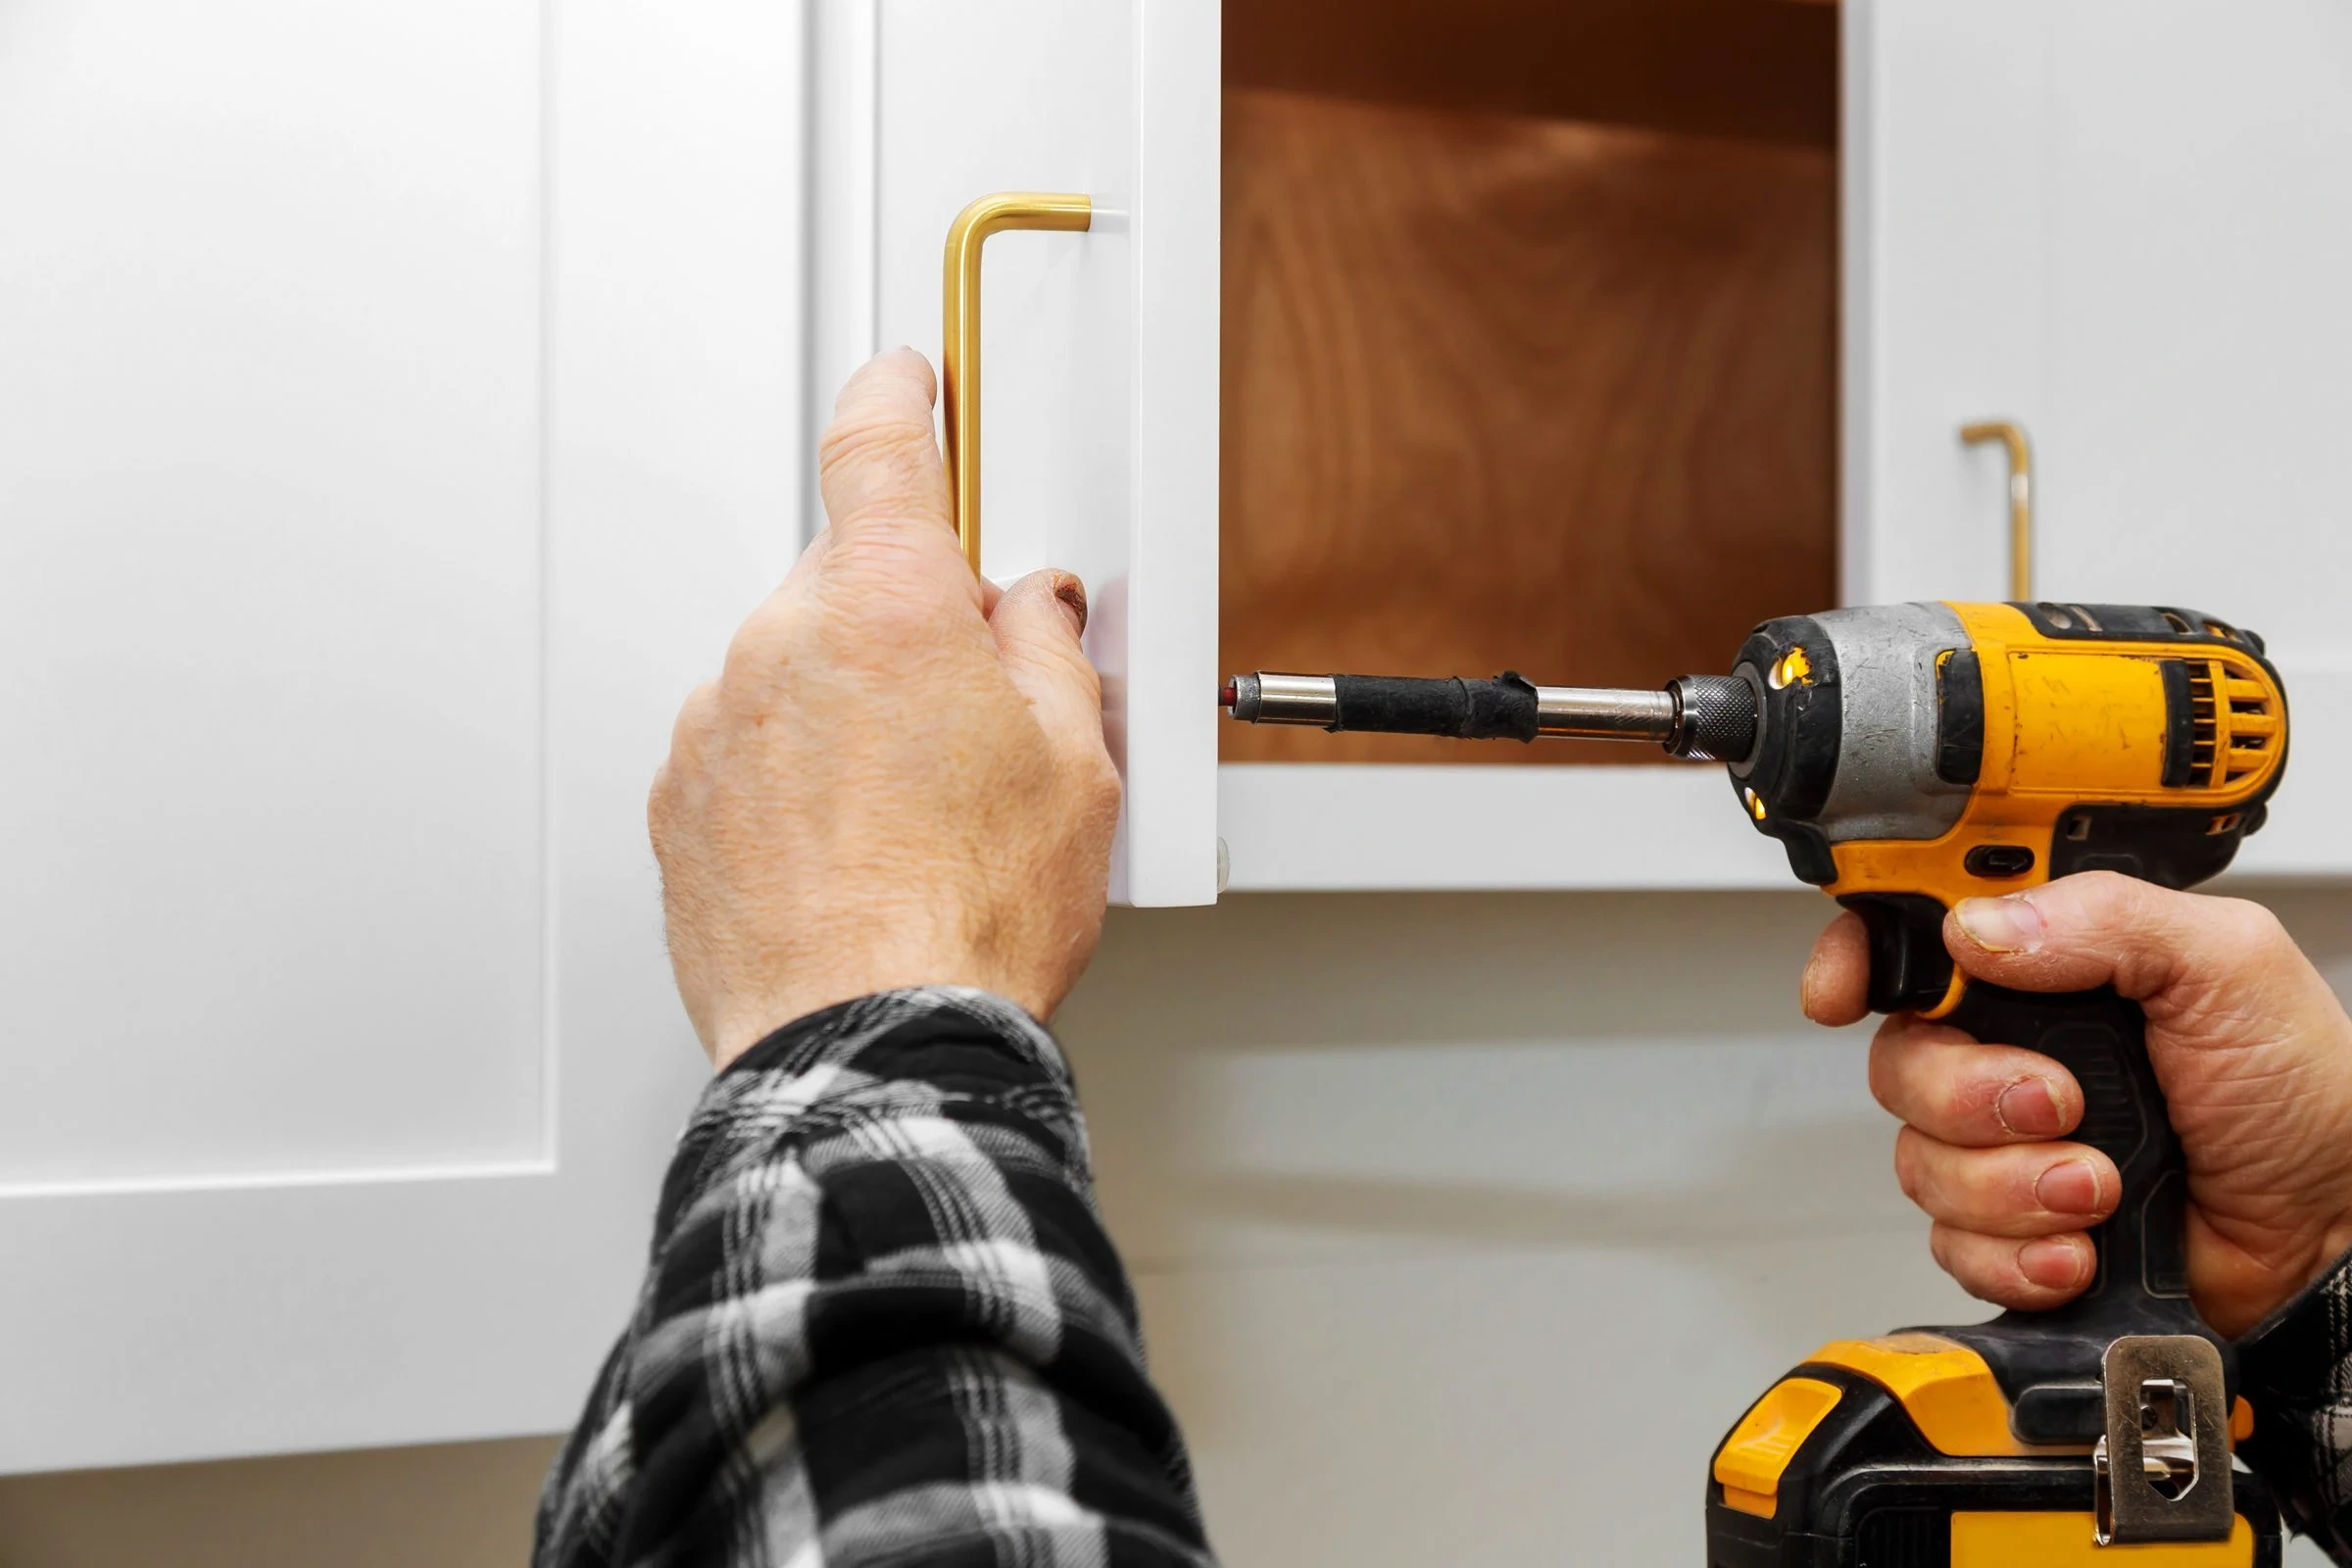
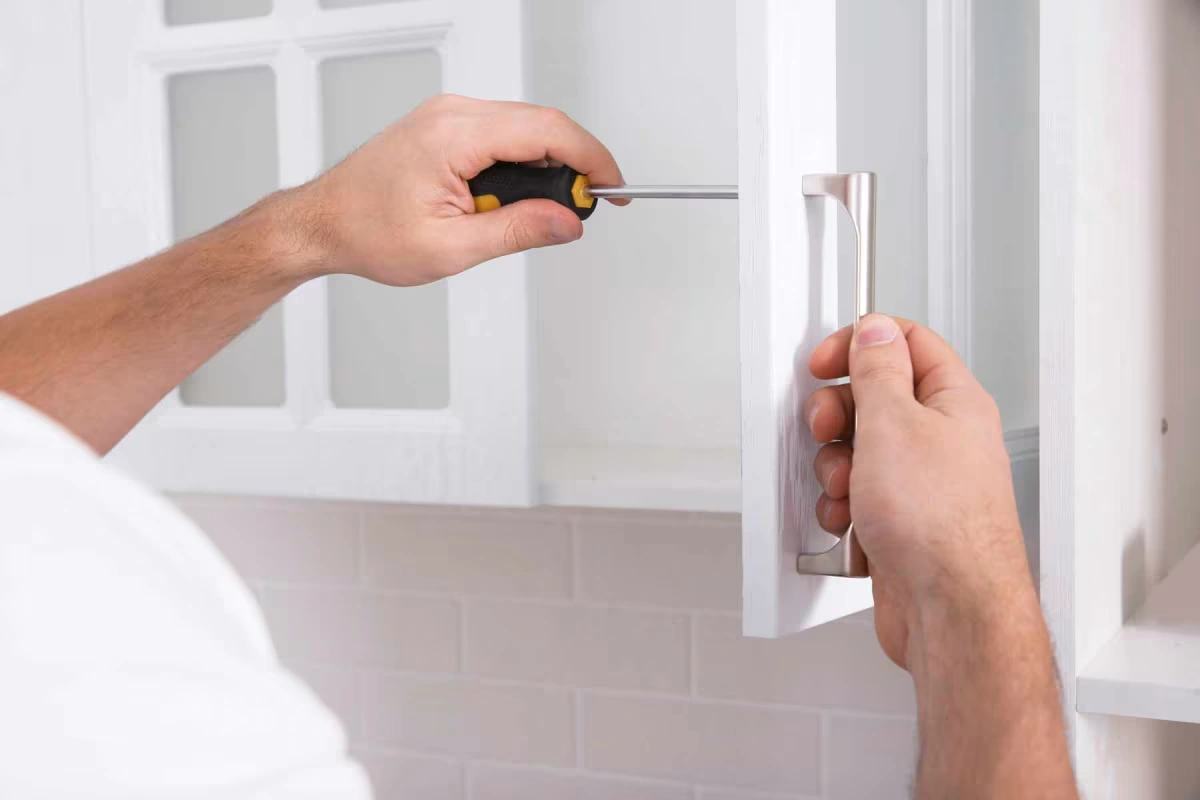
- Clear the Stage: Remove all cabinet doors, drawers, handles, and any loose hardware. Your kitchen needs a dramatic makeover, not a hardware hoarding space.
- Clean Thoroughly: Use a degreaser or TSP to scrub away grease, grime, and that mysterious sticky residue from last week's cooking experiments.
- Sand or Degloss: Flatten the surface with sanding or use a deglosser to make the surface more receptive to primer. Find out whether sanding or deglossing suits your project better.
- Tap Into TSP: Remember, a clean surface is happier and less prone to peeling. TSP is your secret weapon here.
- Tape and Cover: Mask off areas you don’t want to turn into part of your new masterpiece. A painter's tape is your friend, not your enemy.
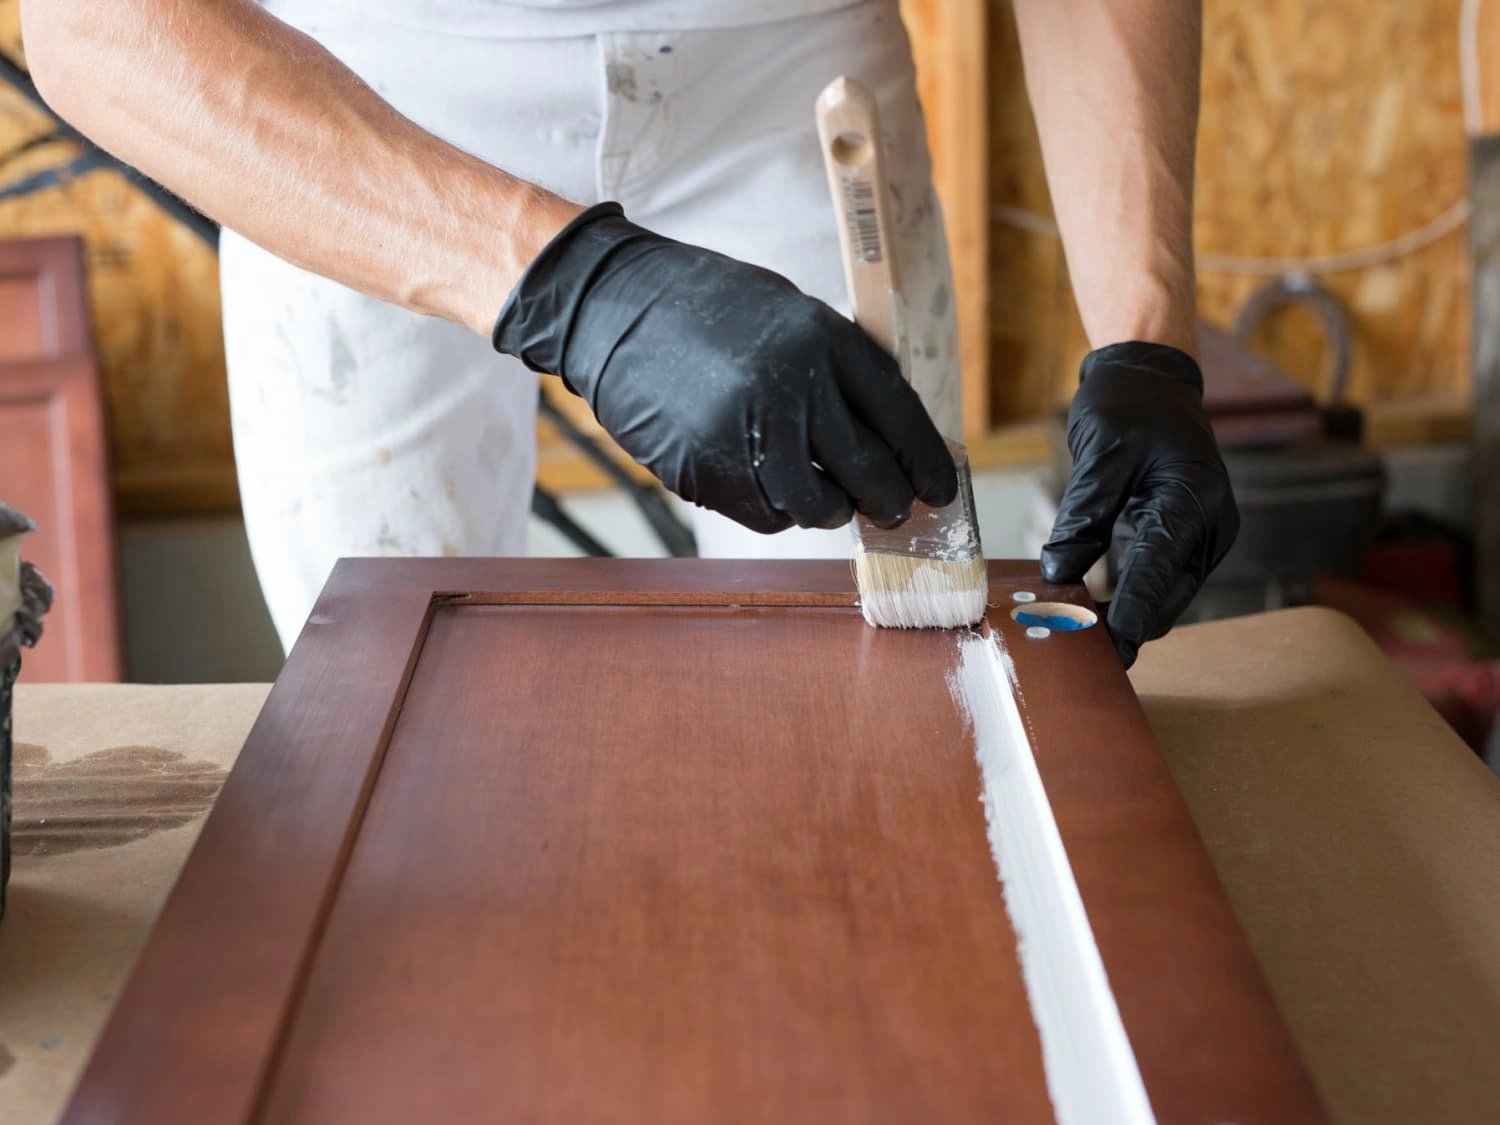
What Is the Best Technique to Apply Primer? Tips from the Pros
Applying primer isn’t rocket science, but it does require a dash of finesse. Here are some tips to keep your project on the comedy track:
- Use Quality Tools: Invest in a good brush or foam roller. Cheap tools can turn your kitchen into a splatter zone.
- Apply Thin Coats: It's tempting to slather on a thick layer, but thin coats dry faster and stick better — much like a good punchline.
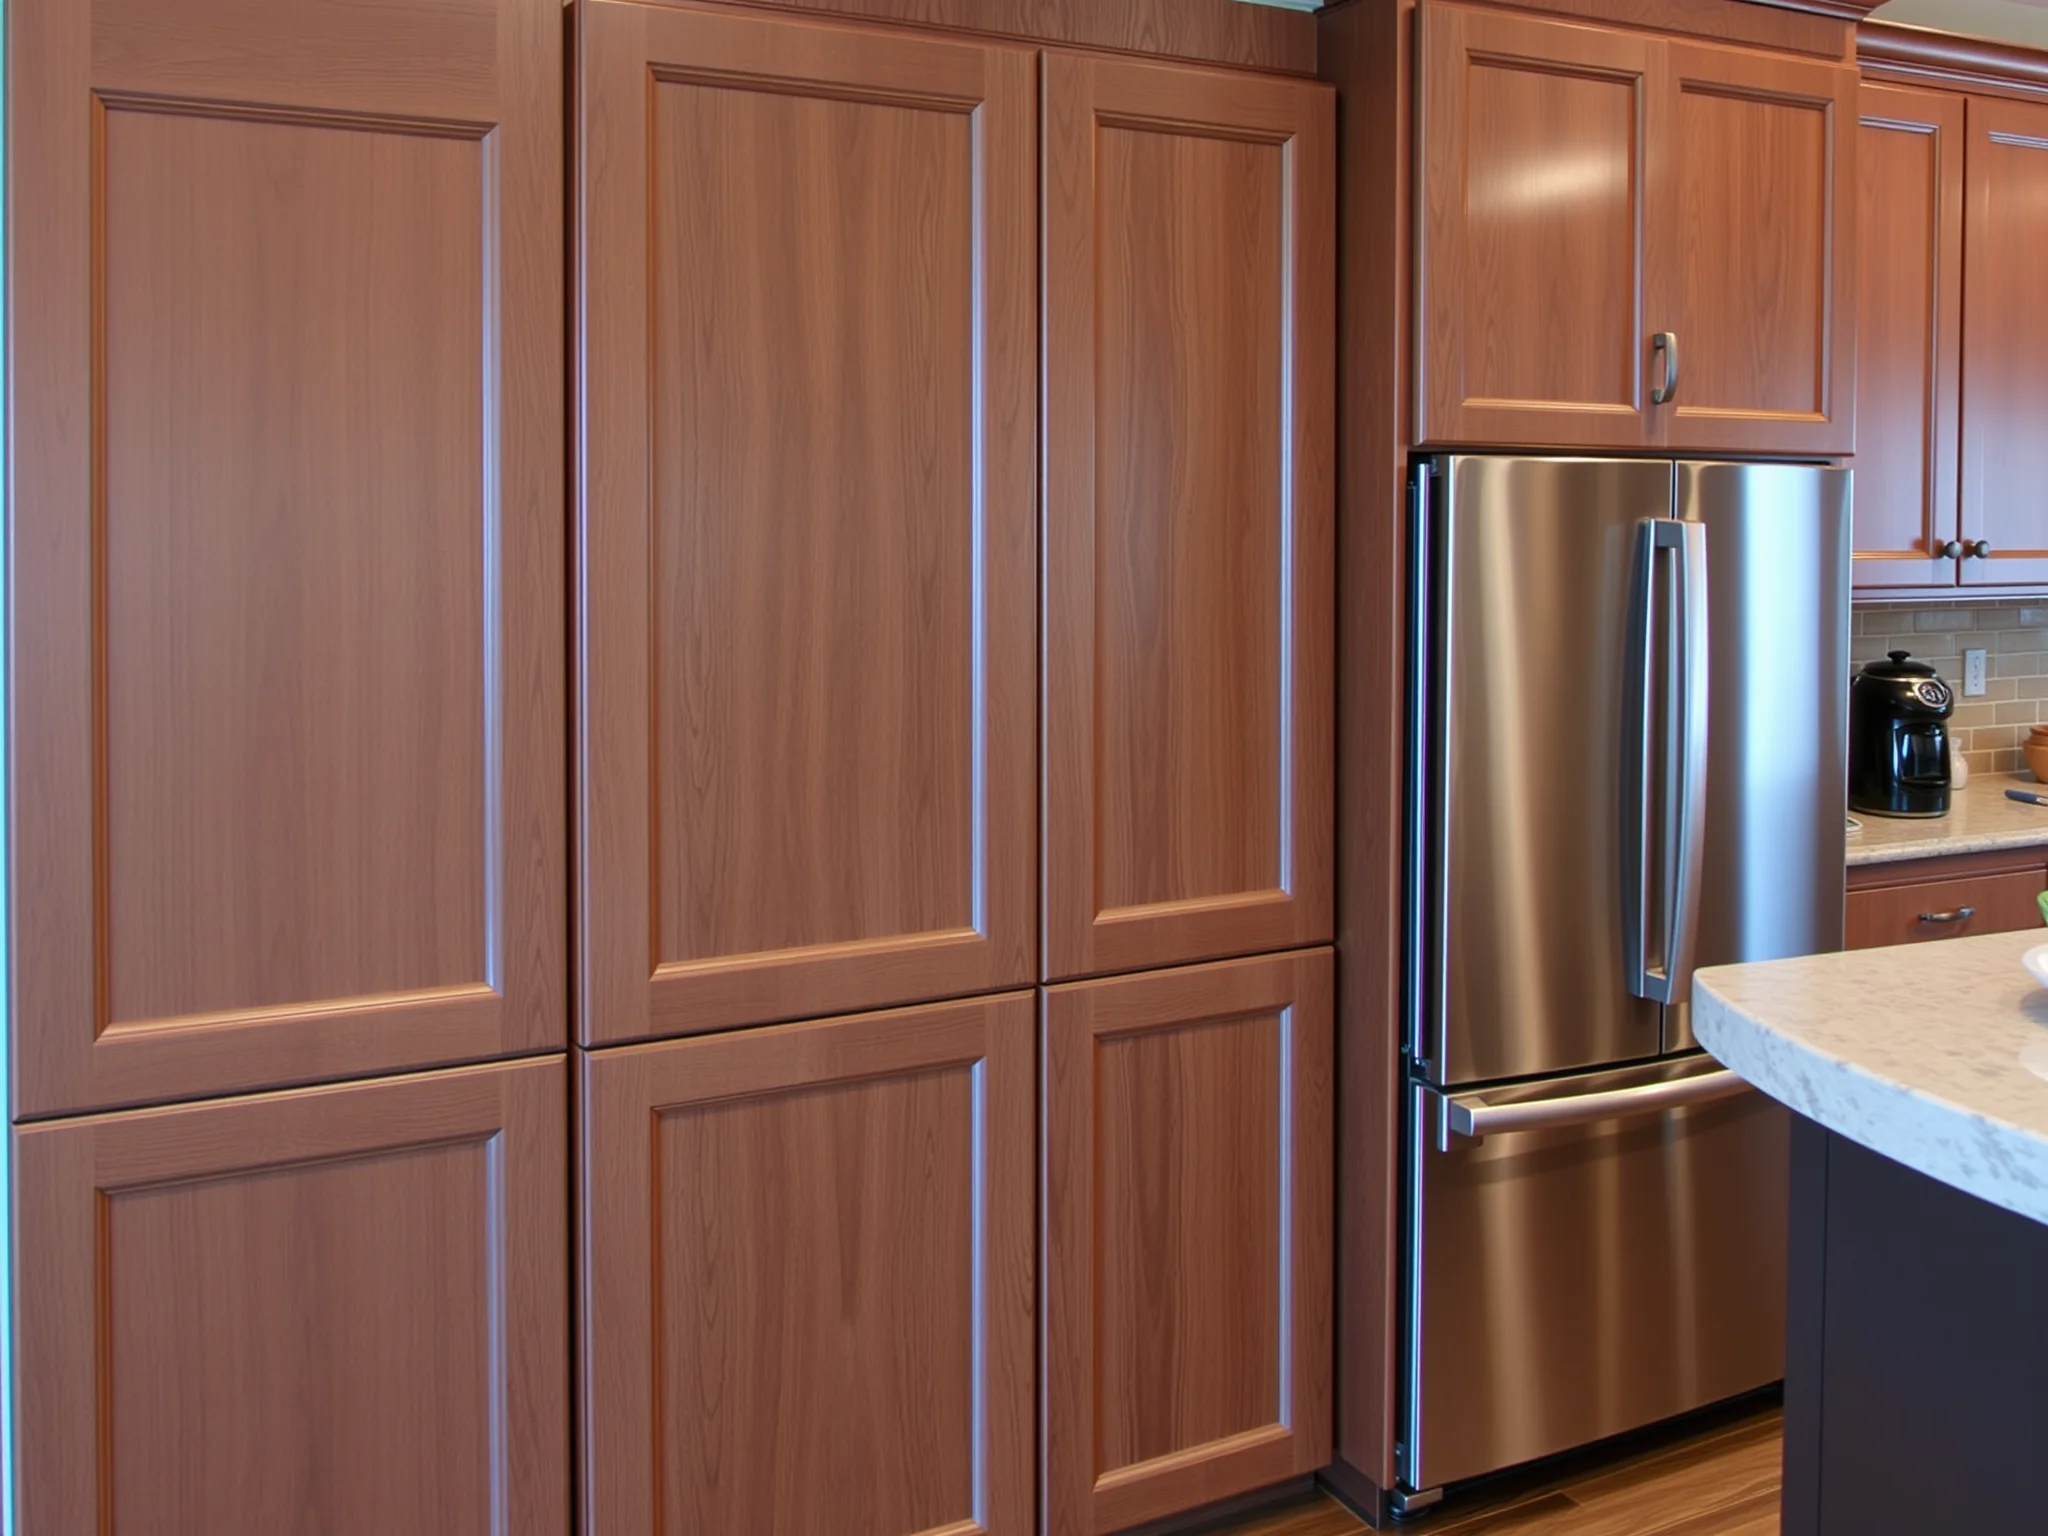
- Follow the Grain: For wood cabinets, brush or roll in the direction of the grain unless you want a "frosted" effect that even Elsa would envy.
- Ventilate: Keep the windows open — not because you want to audition for a role in a soap opera, but because primers have a smell that could beat even the stinkiest gym socks.
How Long Should I Wait Before Painting Over Primer?
Patience is a virtue, especially when painting cabinets. Most primers dry to the touch in about 1-2 hours and are ready for topcoat within 4-6 hours. However, for ultimate perfection — and to keep your spatula from fighting back — wait overnight. This also allows the primer to cure, ensuring a long-lasting finish that won't cause your cabinets to throw a tantrum later.
Is It Worth Hiring a Professional or Should I Have a Go at It Myself?
This question depends on your sense of adventure, humor, and whether you like surprises. DIY cabinet refinishing can be rewarding and budget-friendly, especially if you follow our tips. But if you prefer a flawless, Hollywood-star finish without losing sleep, consider [professional cabinet refacing](https://hollywoodcabinet.com/post/professional-cabinet-refacing-celina-texas). They bring expertise and a touch of magic that even your favorite comedy special can't match.
Frequently Asked Questions (FAQs)
Start with a good primer, do your prep work meticulously, and apply thin coats of paint with a light touch. Remember, patience is the secret ingredient — patience makes everything better, even your dad jokes.
Absolutely! Leftover primer can be stored properly and used for touch-ups or other small projects. Just make sure to label it — no accidental paint dates, please.
Consistent application with quality tools and using light, even strokes prevent streaks. Also, working in a well-lit area helps spot imperfections early, so you can fix them before your kitchen turns into a modern art gallery.
Final Curtain Call: Make Your Kitchen Cabinets the Comedy Hit!
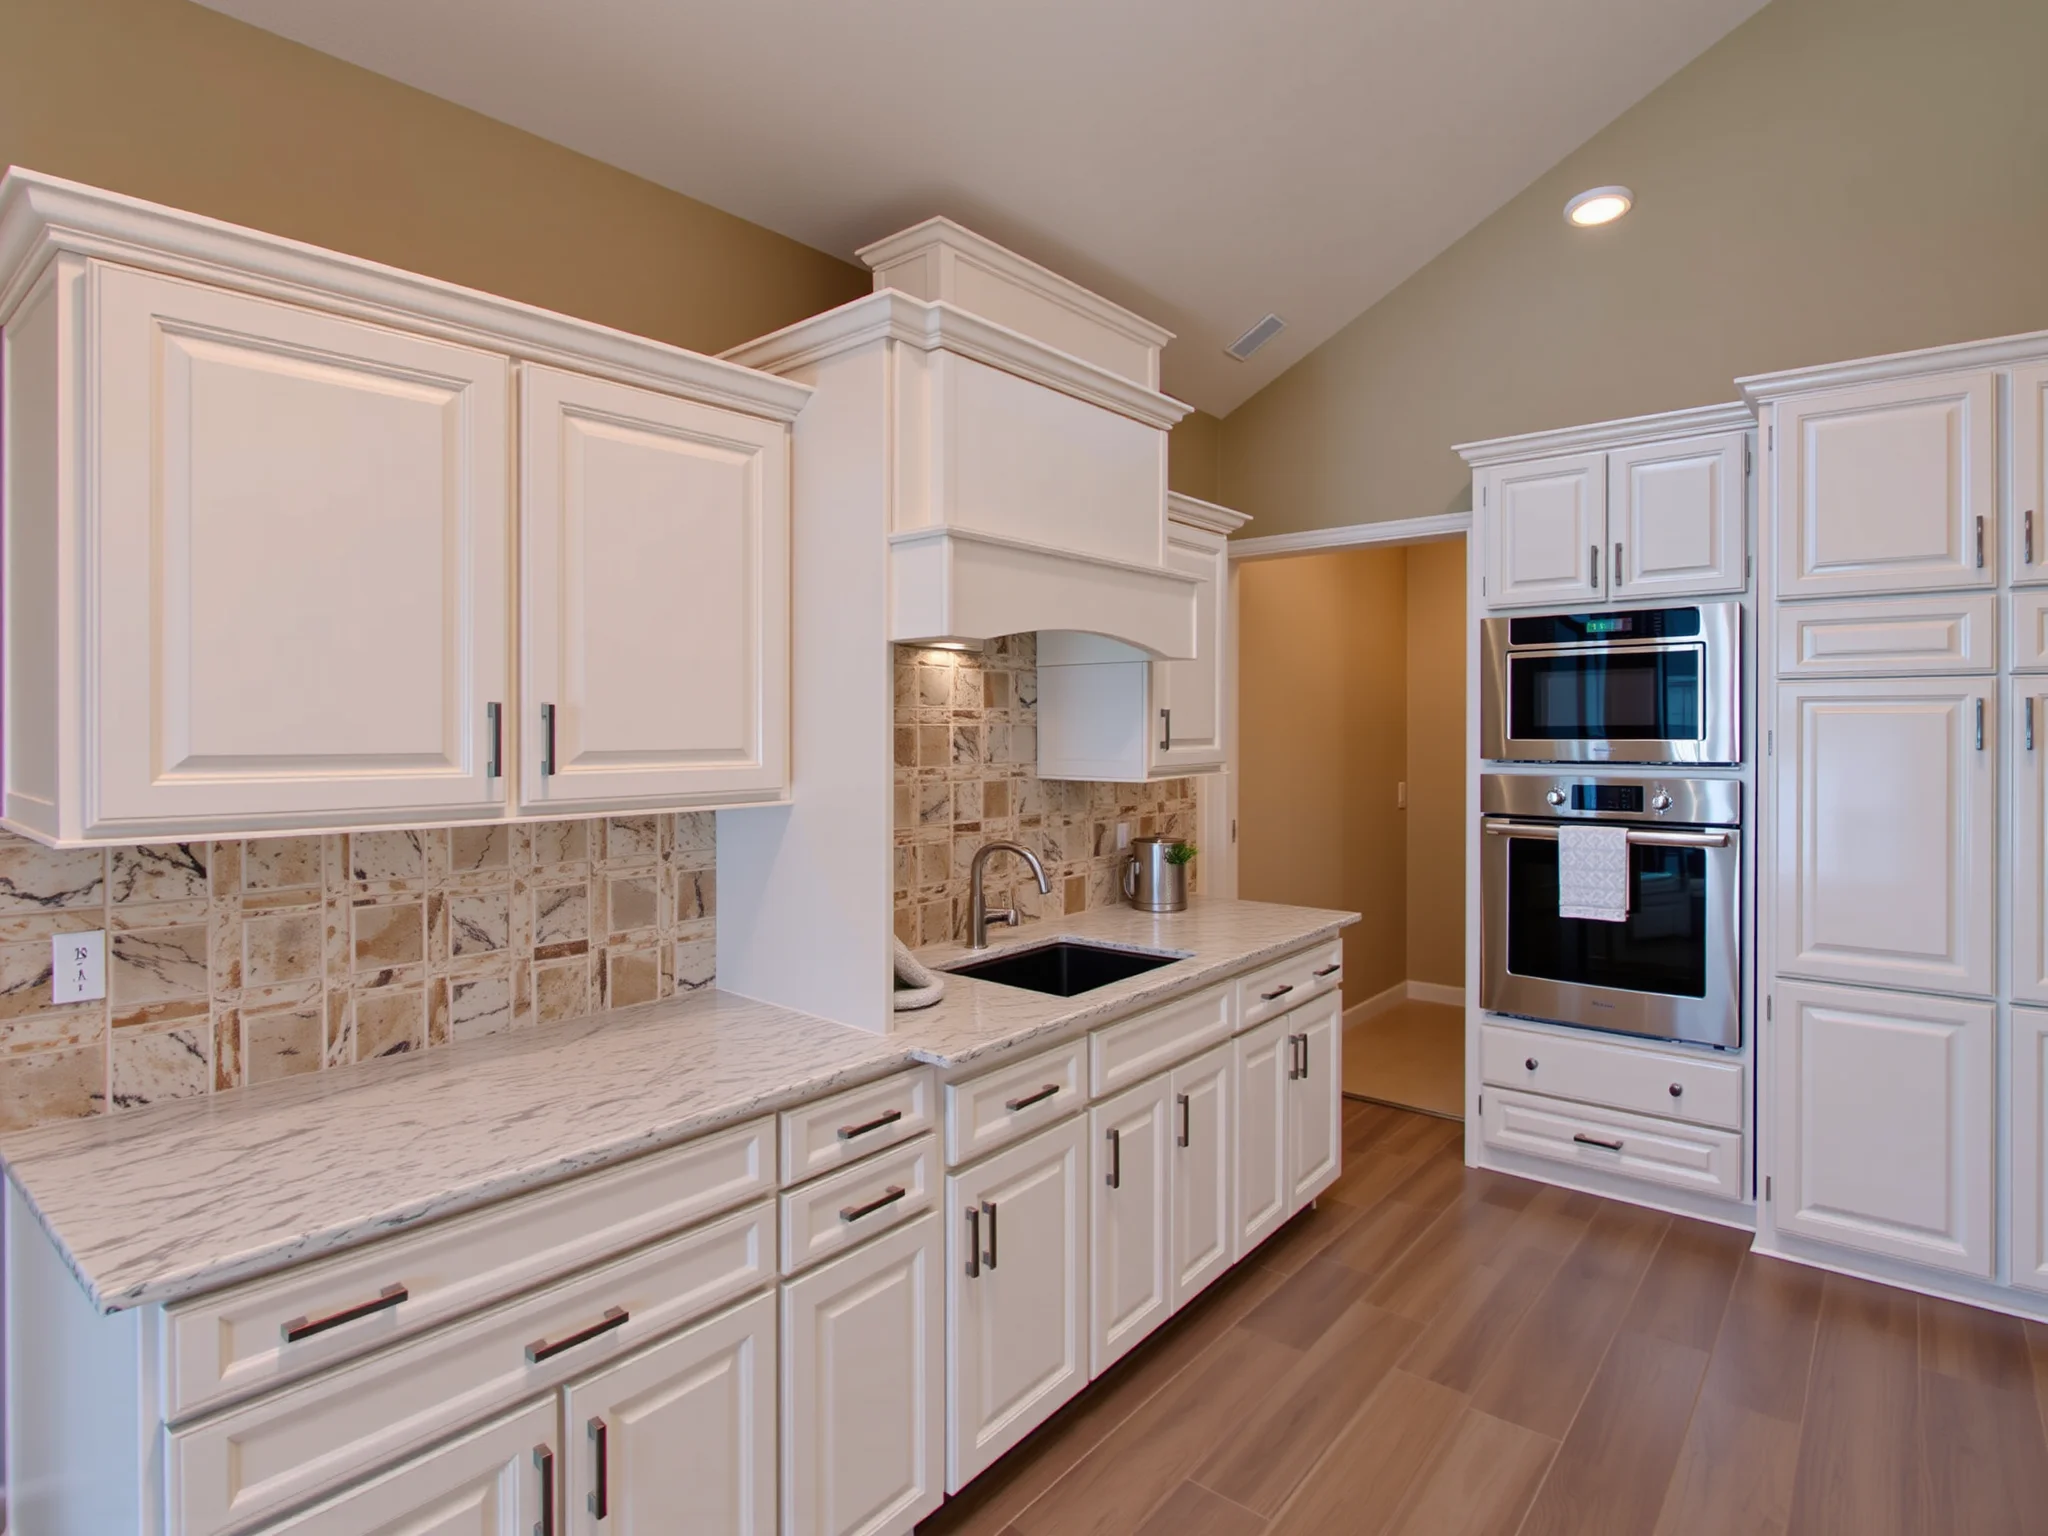
Now that you’re armed with the knowledge of the best primer for kitchen cabinets and some hilarious tips, it’s time to turn that dull kitchen into a show-stopping, laugh-inducing masterpiece. Remember, the key to a successful project isn’t just the primer — it’s your attitude, patience, and sense of humor. So, grab your brushes, masks, and maybe a joke or two, and unleash your inner DIY comedian!
If you want more insights into cabinet transformations or need expert help, check out professional cabinet painting and repair services. Happy refinishing!


:max_bytes(150000):strip_icc()/TAL-the-star-frisco-texas-FRISCOTX0223-5fb5e2ddde5a431e8072e46cbc504b63.jpg)


