
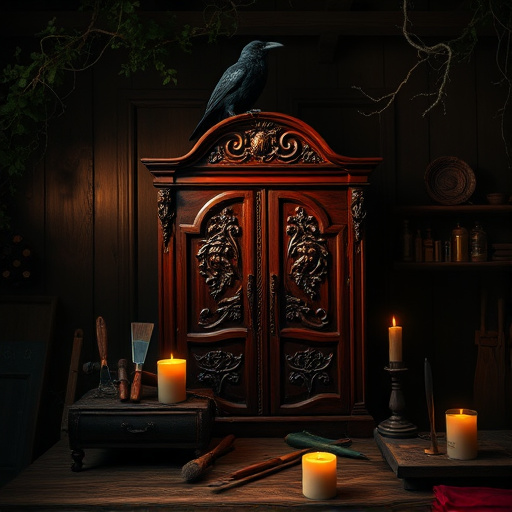
Essential Cabinet Painting Tips for a Stunning Finish
Why Are Innovative Cabinet Painting Tips Essential for a Modern Transformation?
Every homeowner dreams of a stunning, refreshed space, but achieving that perfect look requires more than just a fresh coat of paint. Groundbreaking cabinet painting tips are vital to elevate your cabinetry into a focal point of style and function. In today’s fast-evolving design landscape, sticking with traditional methods may no longer cut it. Instead, embracing innovative techniques can unlock impressive results that blend durability, aesthetics, and personalization.
What Are the Top Breakthroughs in Cabinet Painting Techniques?
Traditional cabinet painting often involves basic priming and top-coating, which may lead to lackluster finishes or uneven wear over time. Groundbreaking tips now emphasize preparation, smart product choices, and advanced application methods to yield exceptional results. Here are some of the most impactful innovations in cabinet painting:
- Advanced Surface Preparation: Proper cleaning, sanding, and priming set the foundation for a flawless finish. Using eco-friendly, high-adhesion primers ensures longevity and smoothness.
- Refined Application Tools: From foam rollers to high-quality brushes and spray guns, investing in the right tools can drastically reduce brush marks and uneven coverage.
- Strategic Layering and Finishes: Multiple thin coats with quality paints enhance durability and depth. Consider matte, satin, or semi-gloss finishes based on your aesthetic goals.
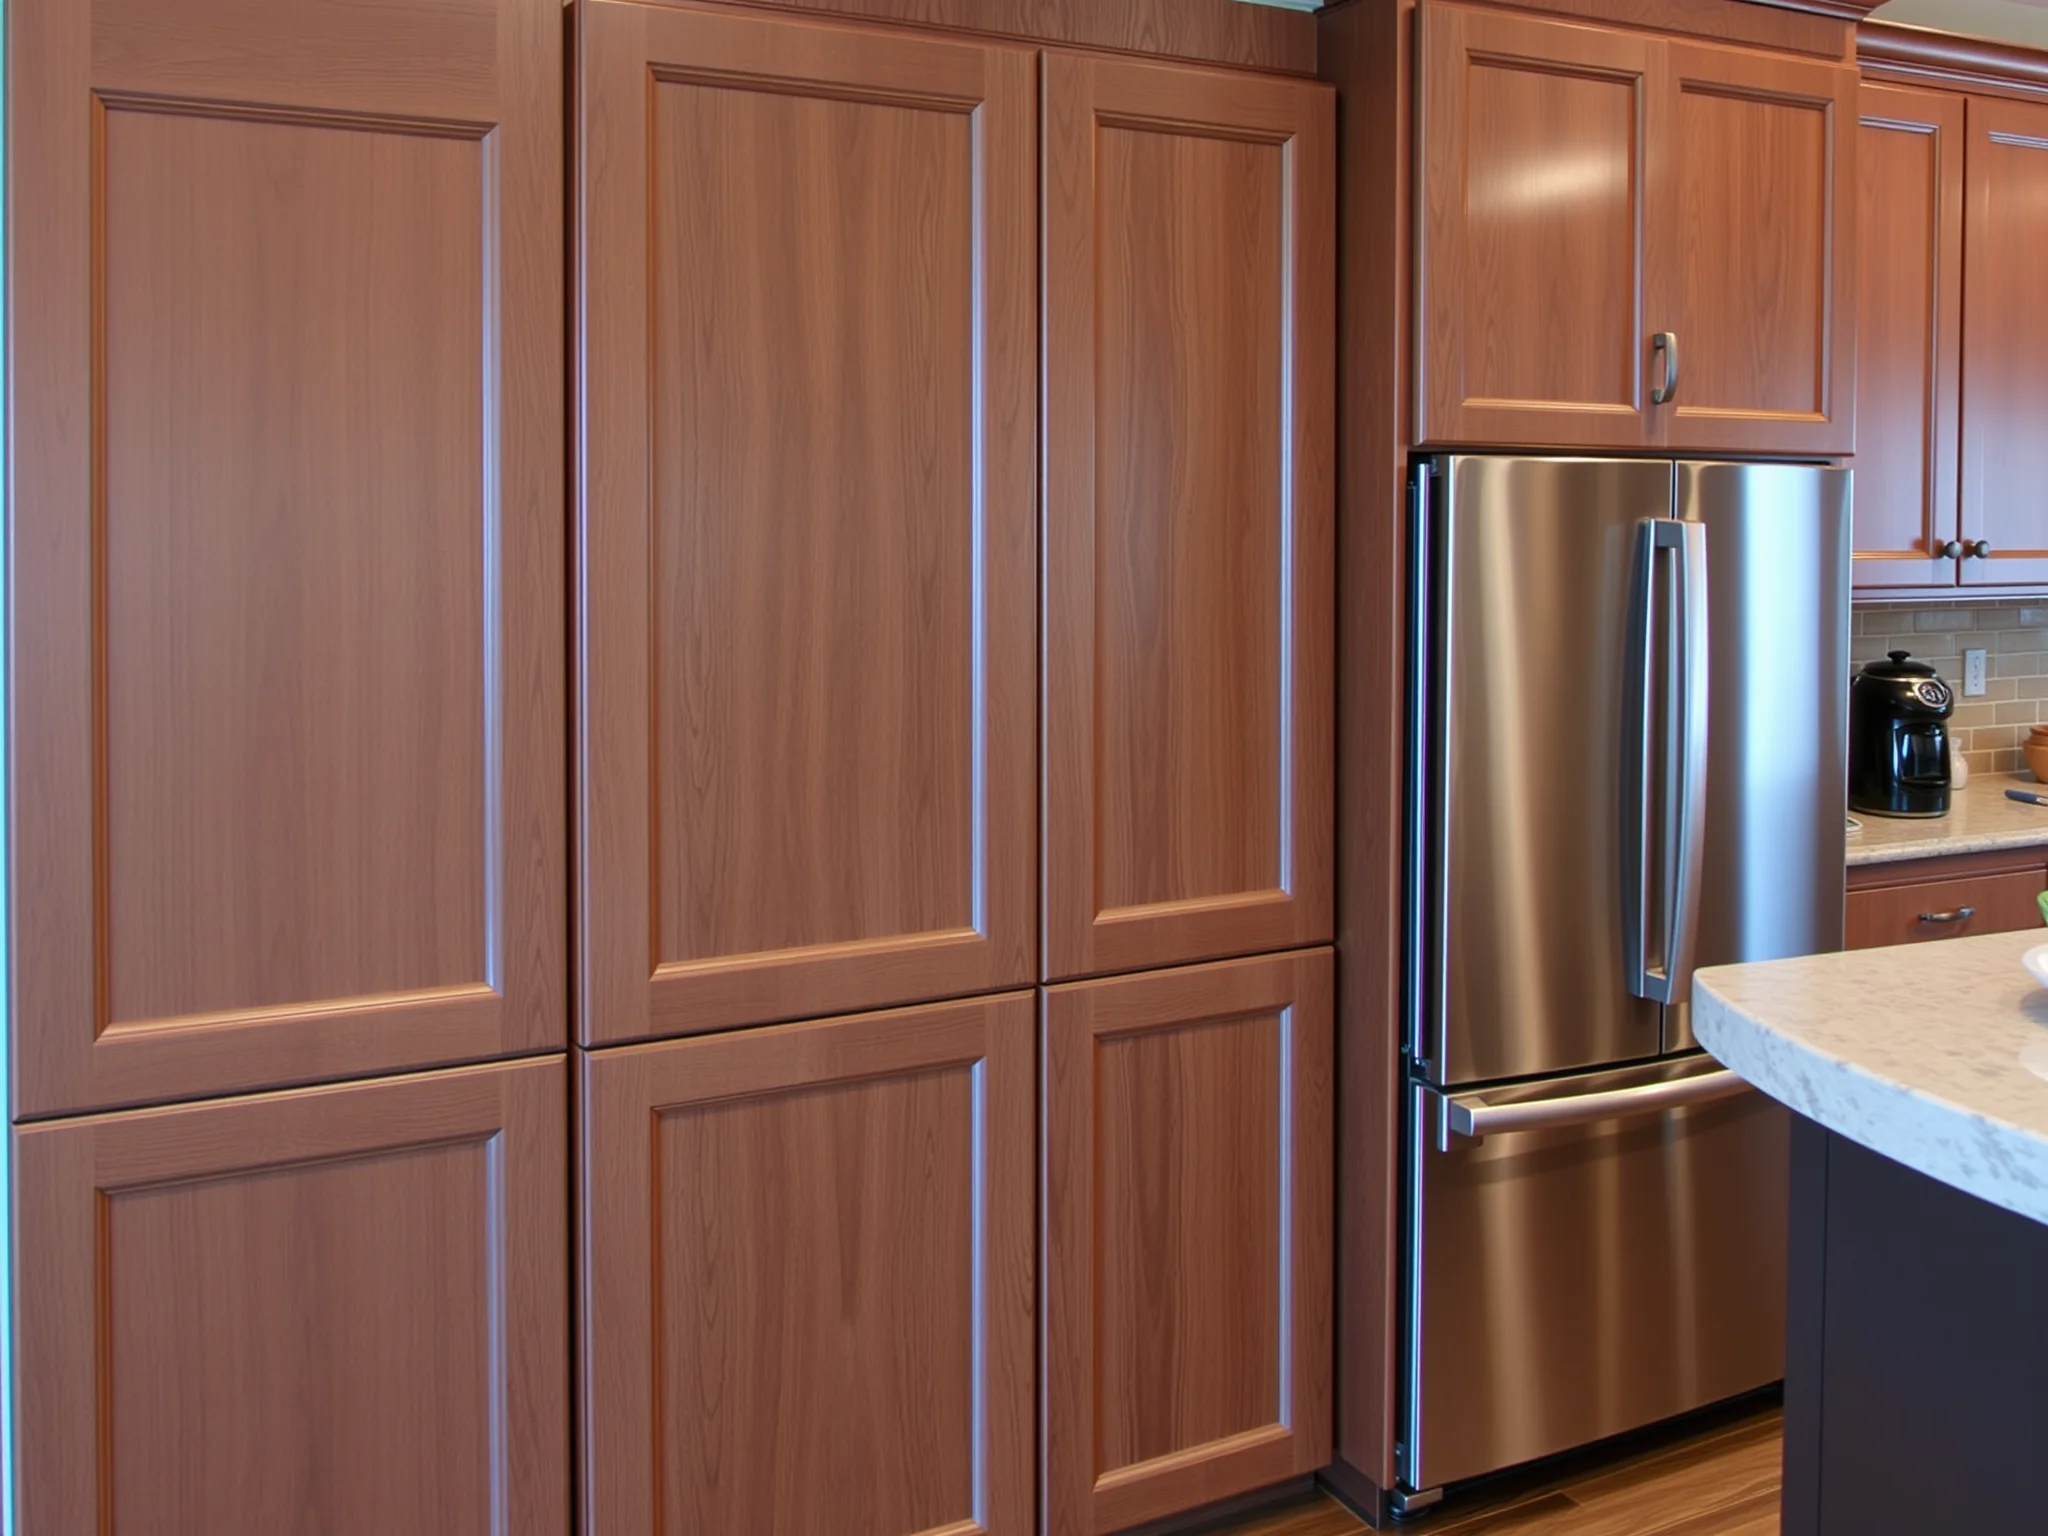
- Innovative Paint Formulations: Today’s paints are more resilient, resistant to stains and moisture, and formulated for easier application. Specialty products like chalk-based or epoxy paints can add unique textures and longevity.
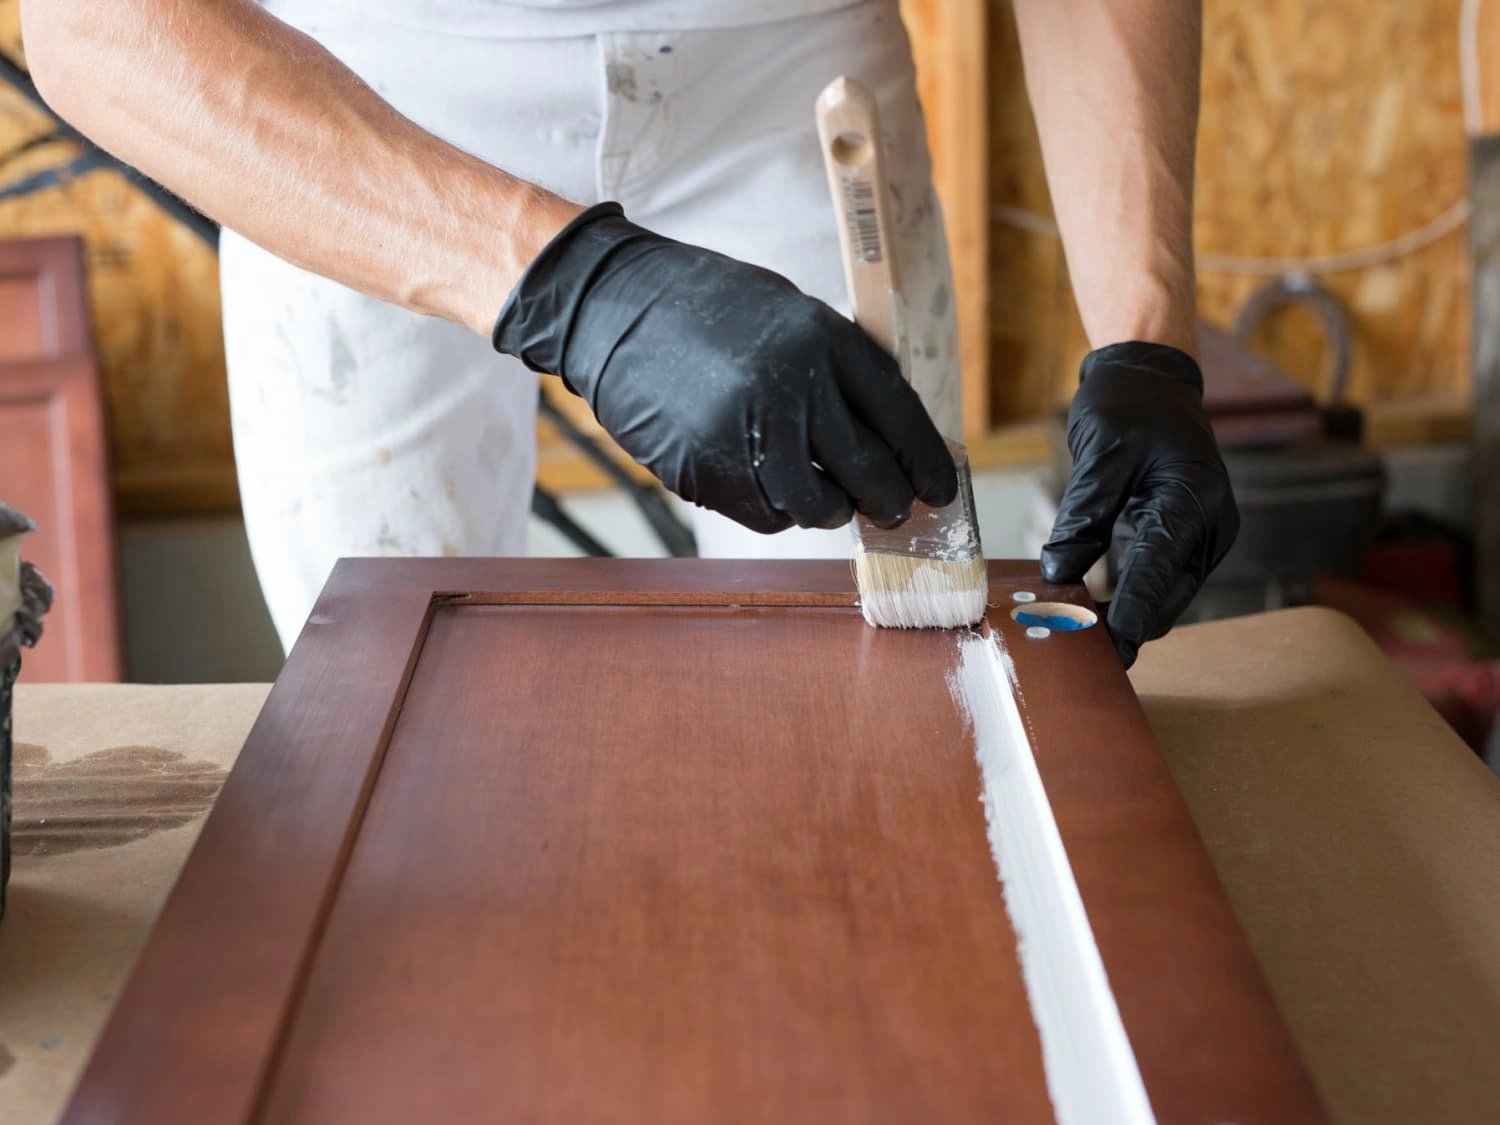
How Can Proper Surface Preparation Transform Your Cabinet Painting Results?
Preparation is the secret to breakthrough cabinet painting results. Skipping steps can lead to chipping, peeling, and uneven surfaces. Essential prep steps include:
- Thorough Cleaning: Remove grease, dirt, and residues with a degreasing agent or alcohol wipe. Dirty surfaces prevent paint adhesion.
- Sanding: Lightly sand surfaces with fine-grit sandpaper to create a texture that helps paint stick better. For damaged surfaces, deeper sanding may be necessary.
- Priming: Apply a high-quality primer tailored for cabinets. This step blocks stains, enhances adhesion, and smoothens out imperfections, resulting in a more uniform finish.
Impeccable surface prep is fundamental in achieving professional-grade results, especially with the latest cabinet refinishing techniques.
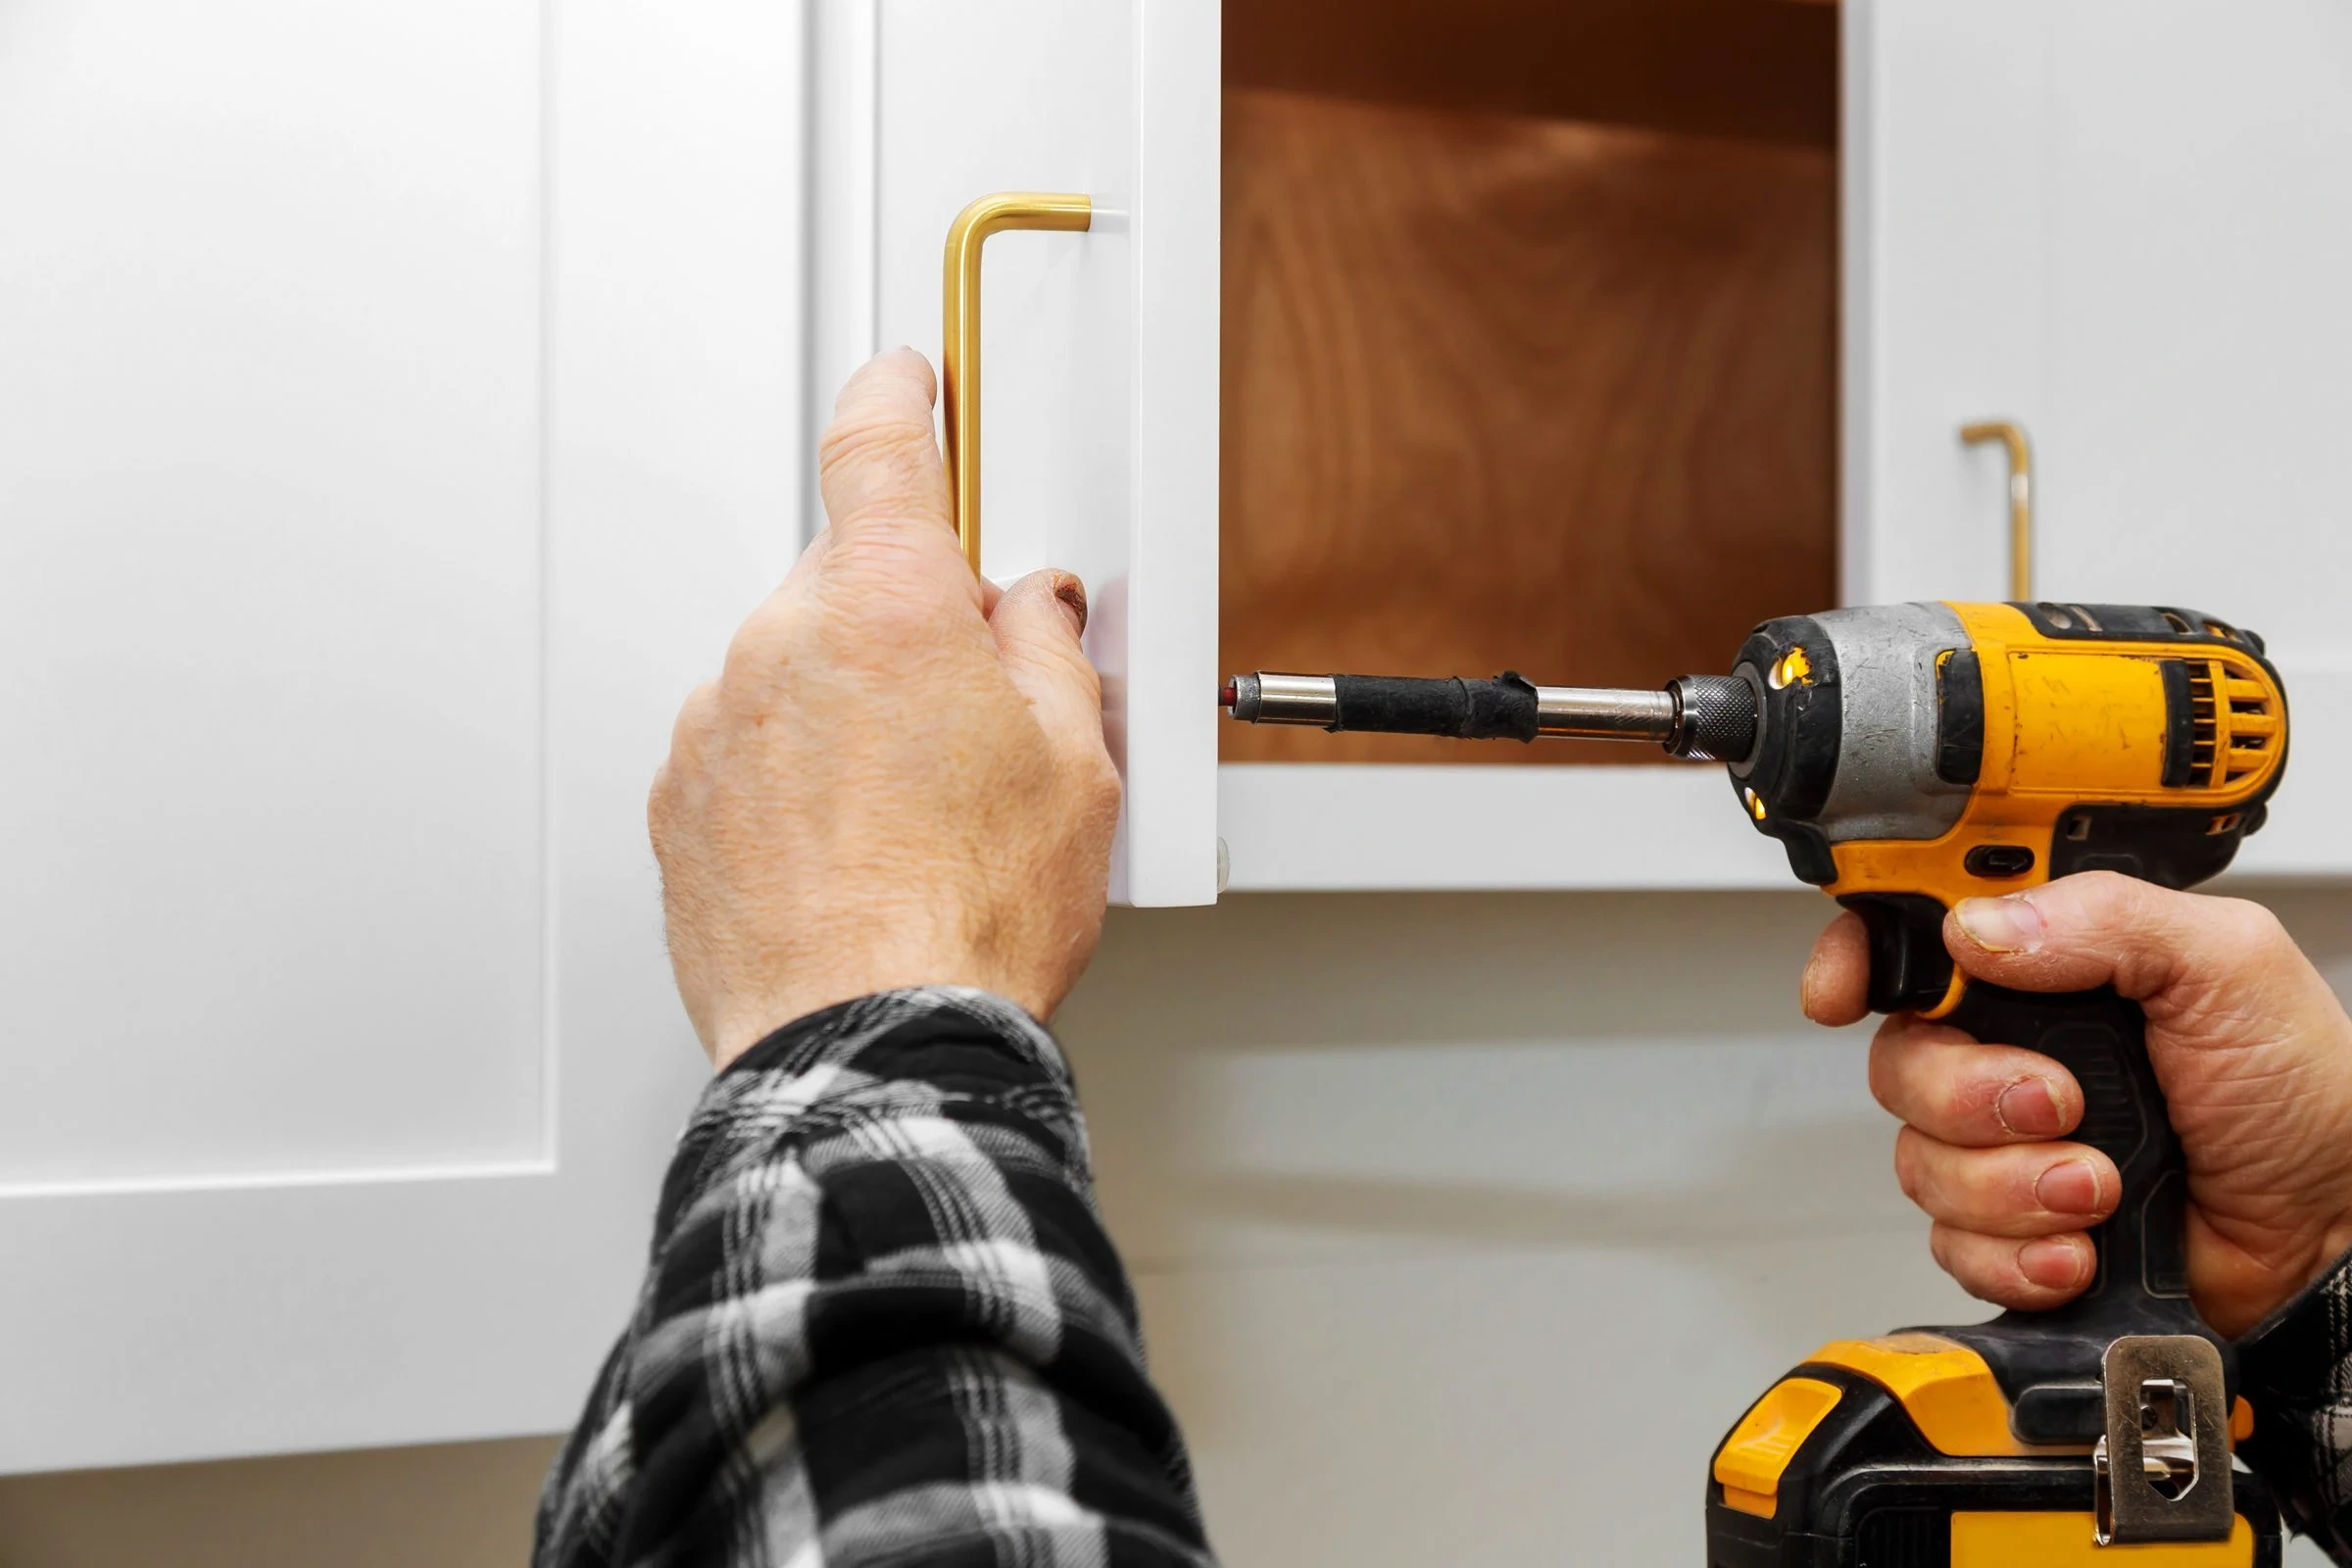
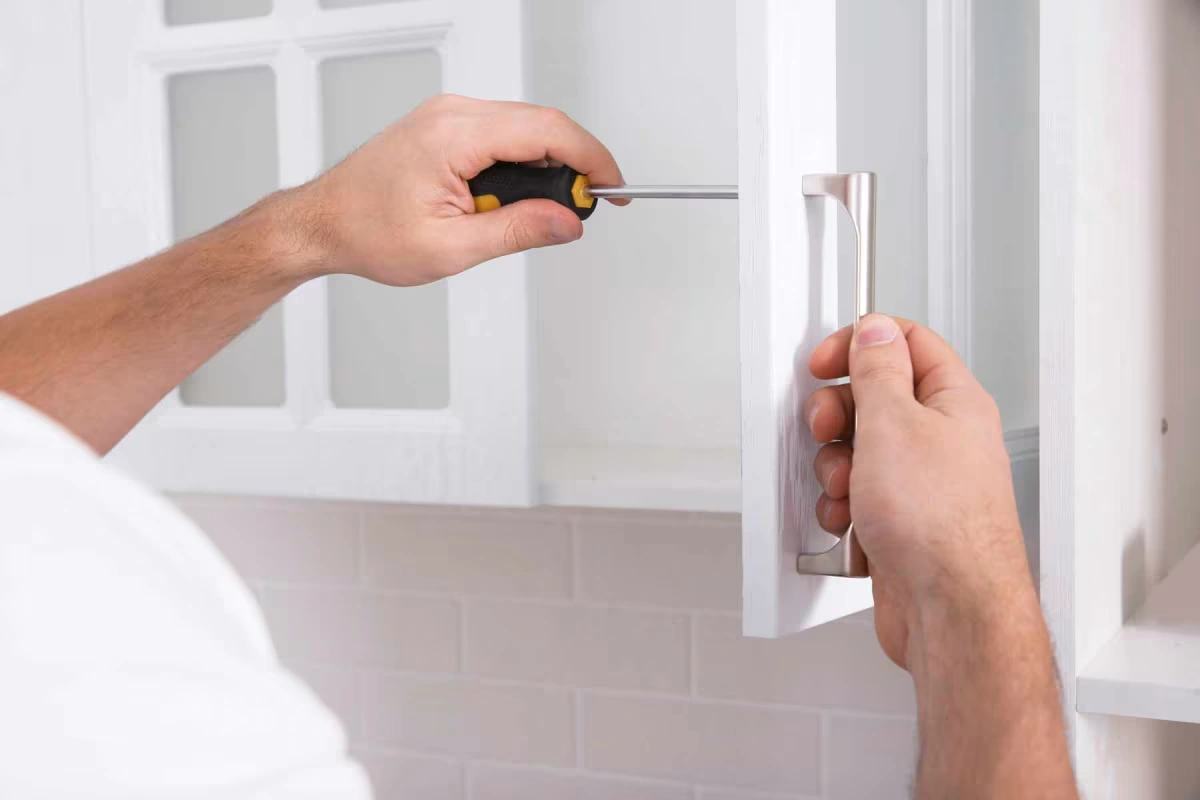
What Are the Benefits of Using Specialist Tools and Techniques?
Applying the right tools can make a groundbreaking difference in your cabinet painting project. For example:
- Spray Gun Application: Offers smooth, even coverage in less time, perfect for intricate details or large surfaces. It minimizes brush strokes and drips, delivering a sleek finish.
- Quality Brushes and Rollers: Use brushes designed for smooth finishes and rollers with appropriate nap length. This reduces streaks and dispersion issues.
- Minimal Overspray and Controlled Application: Proper masking and protective gear prevent messes and overspray, saving time and effort during cleanup.
Learning how to handle these tools can dramatically enhance your cabinet painting mastery, turning a DIY job into a professional-looking transformation.
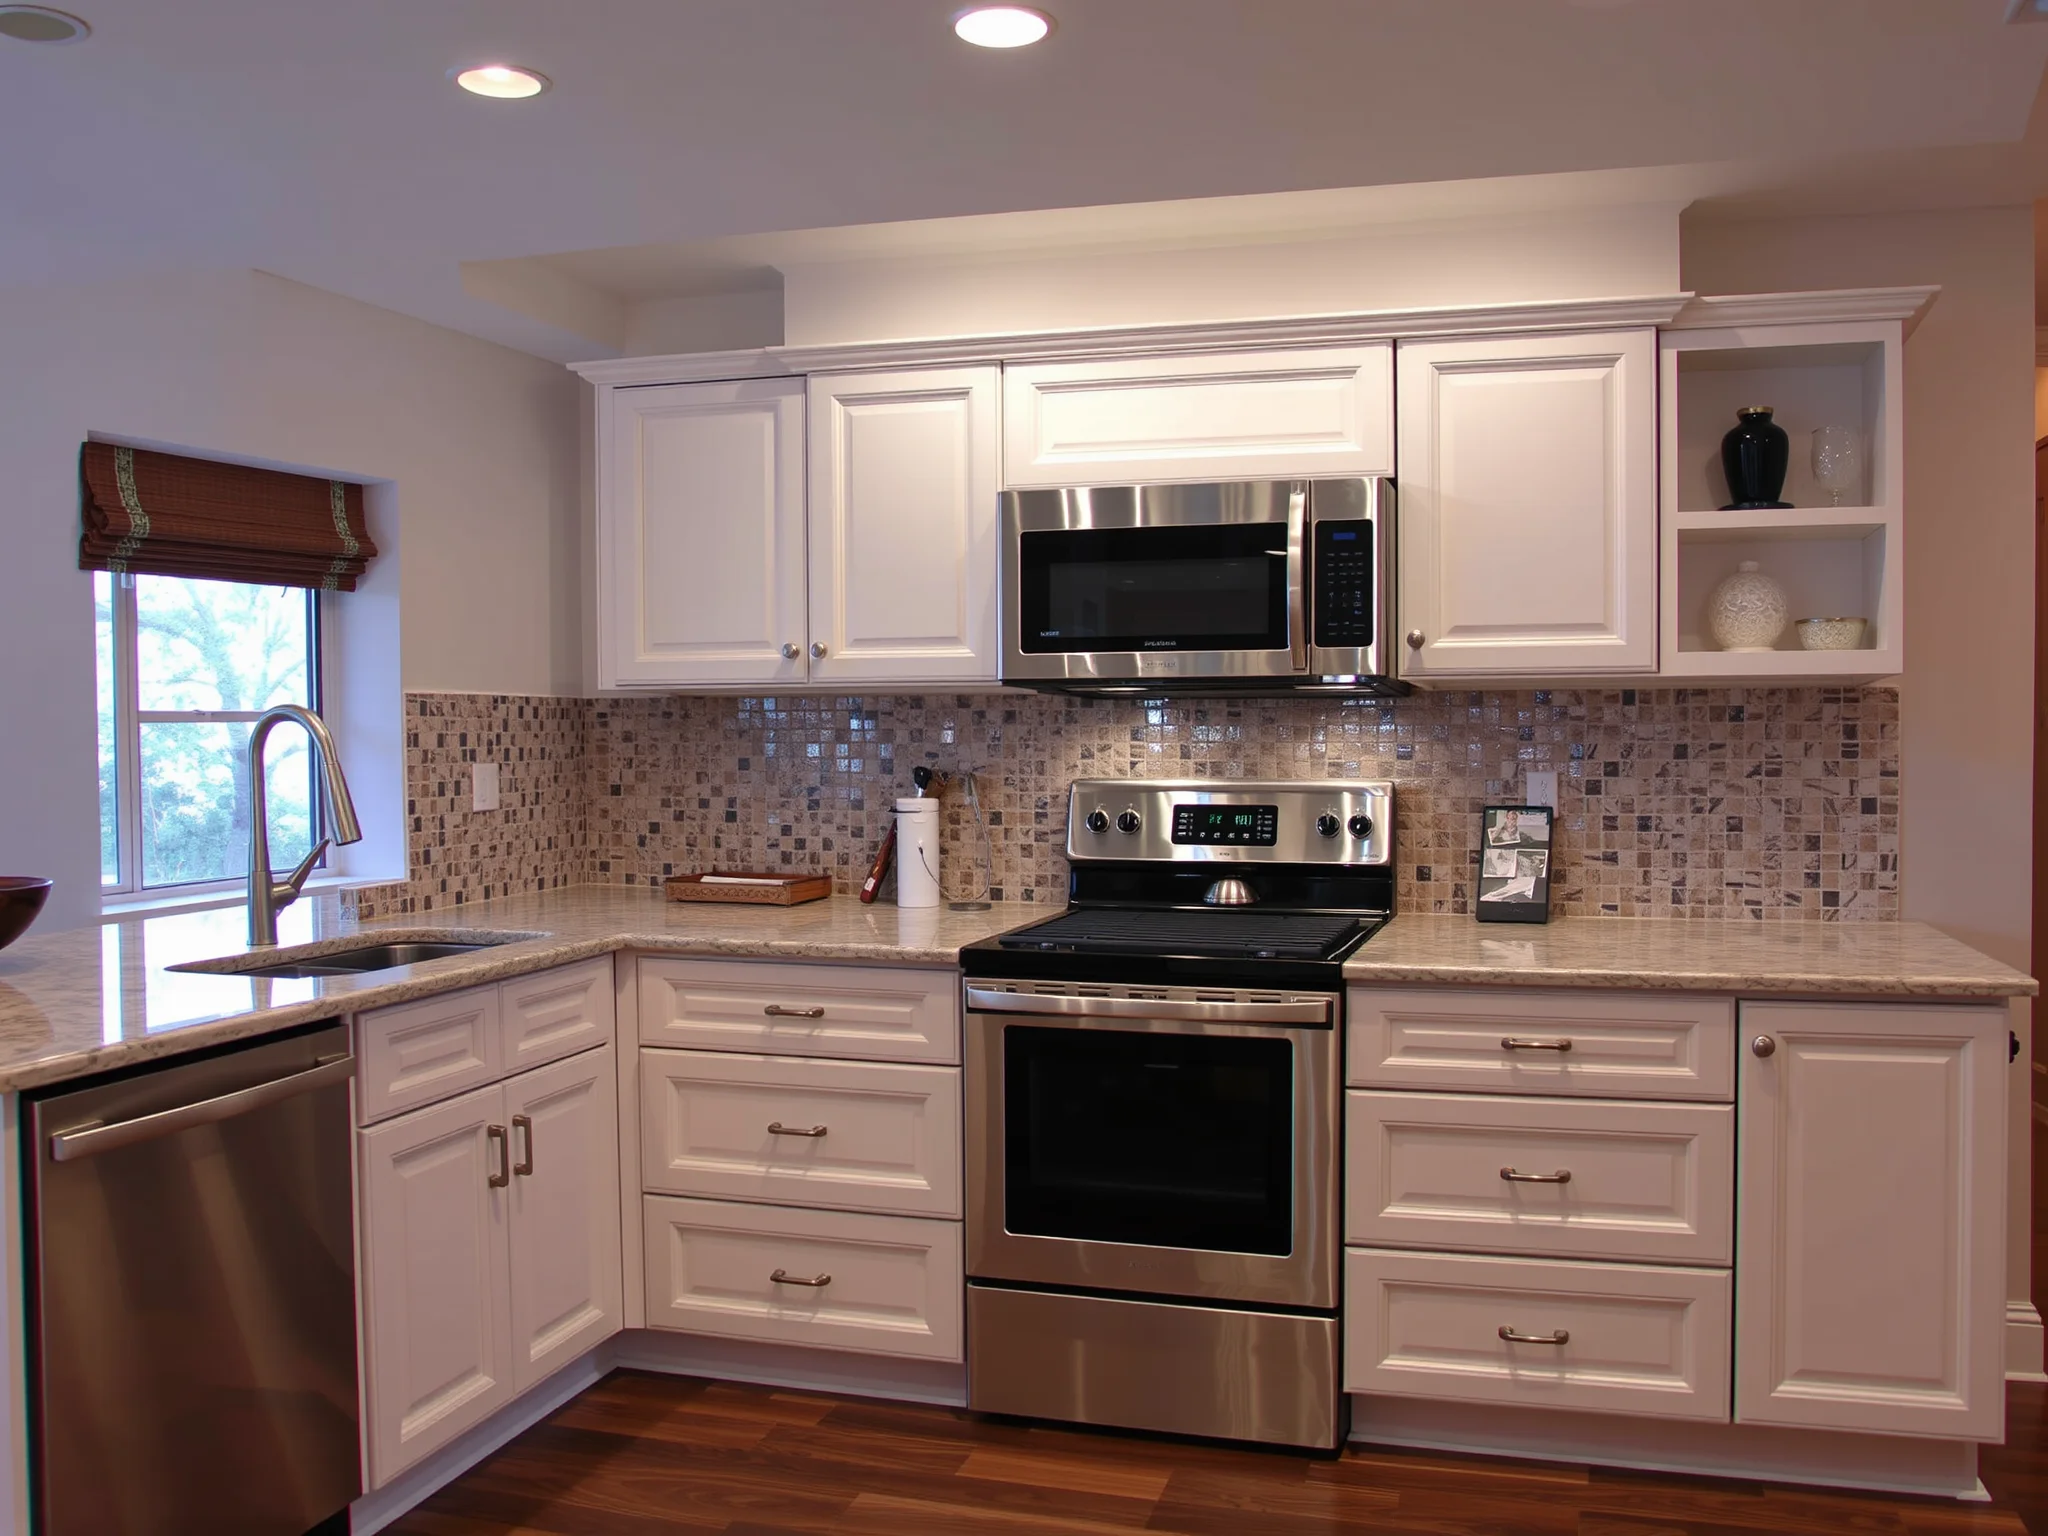
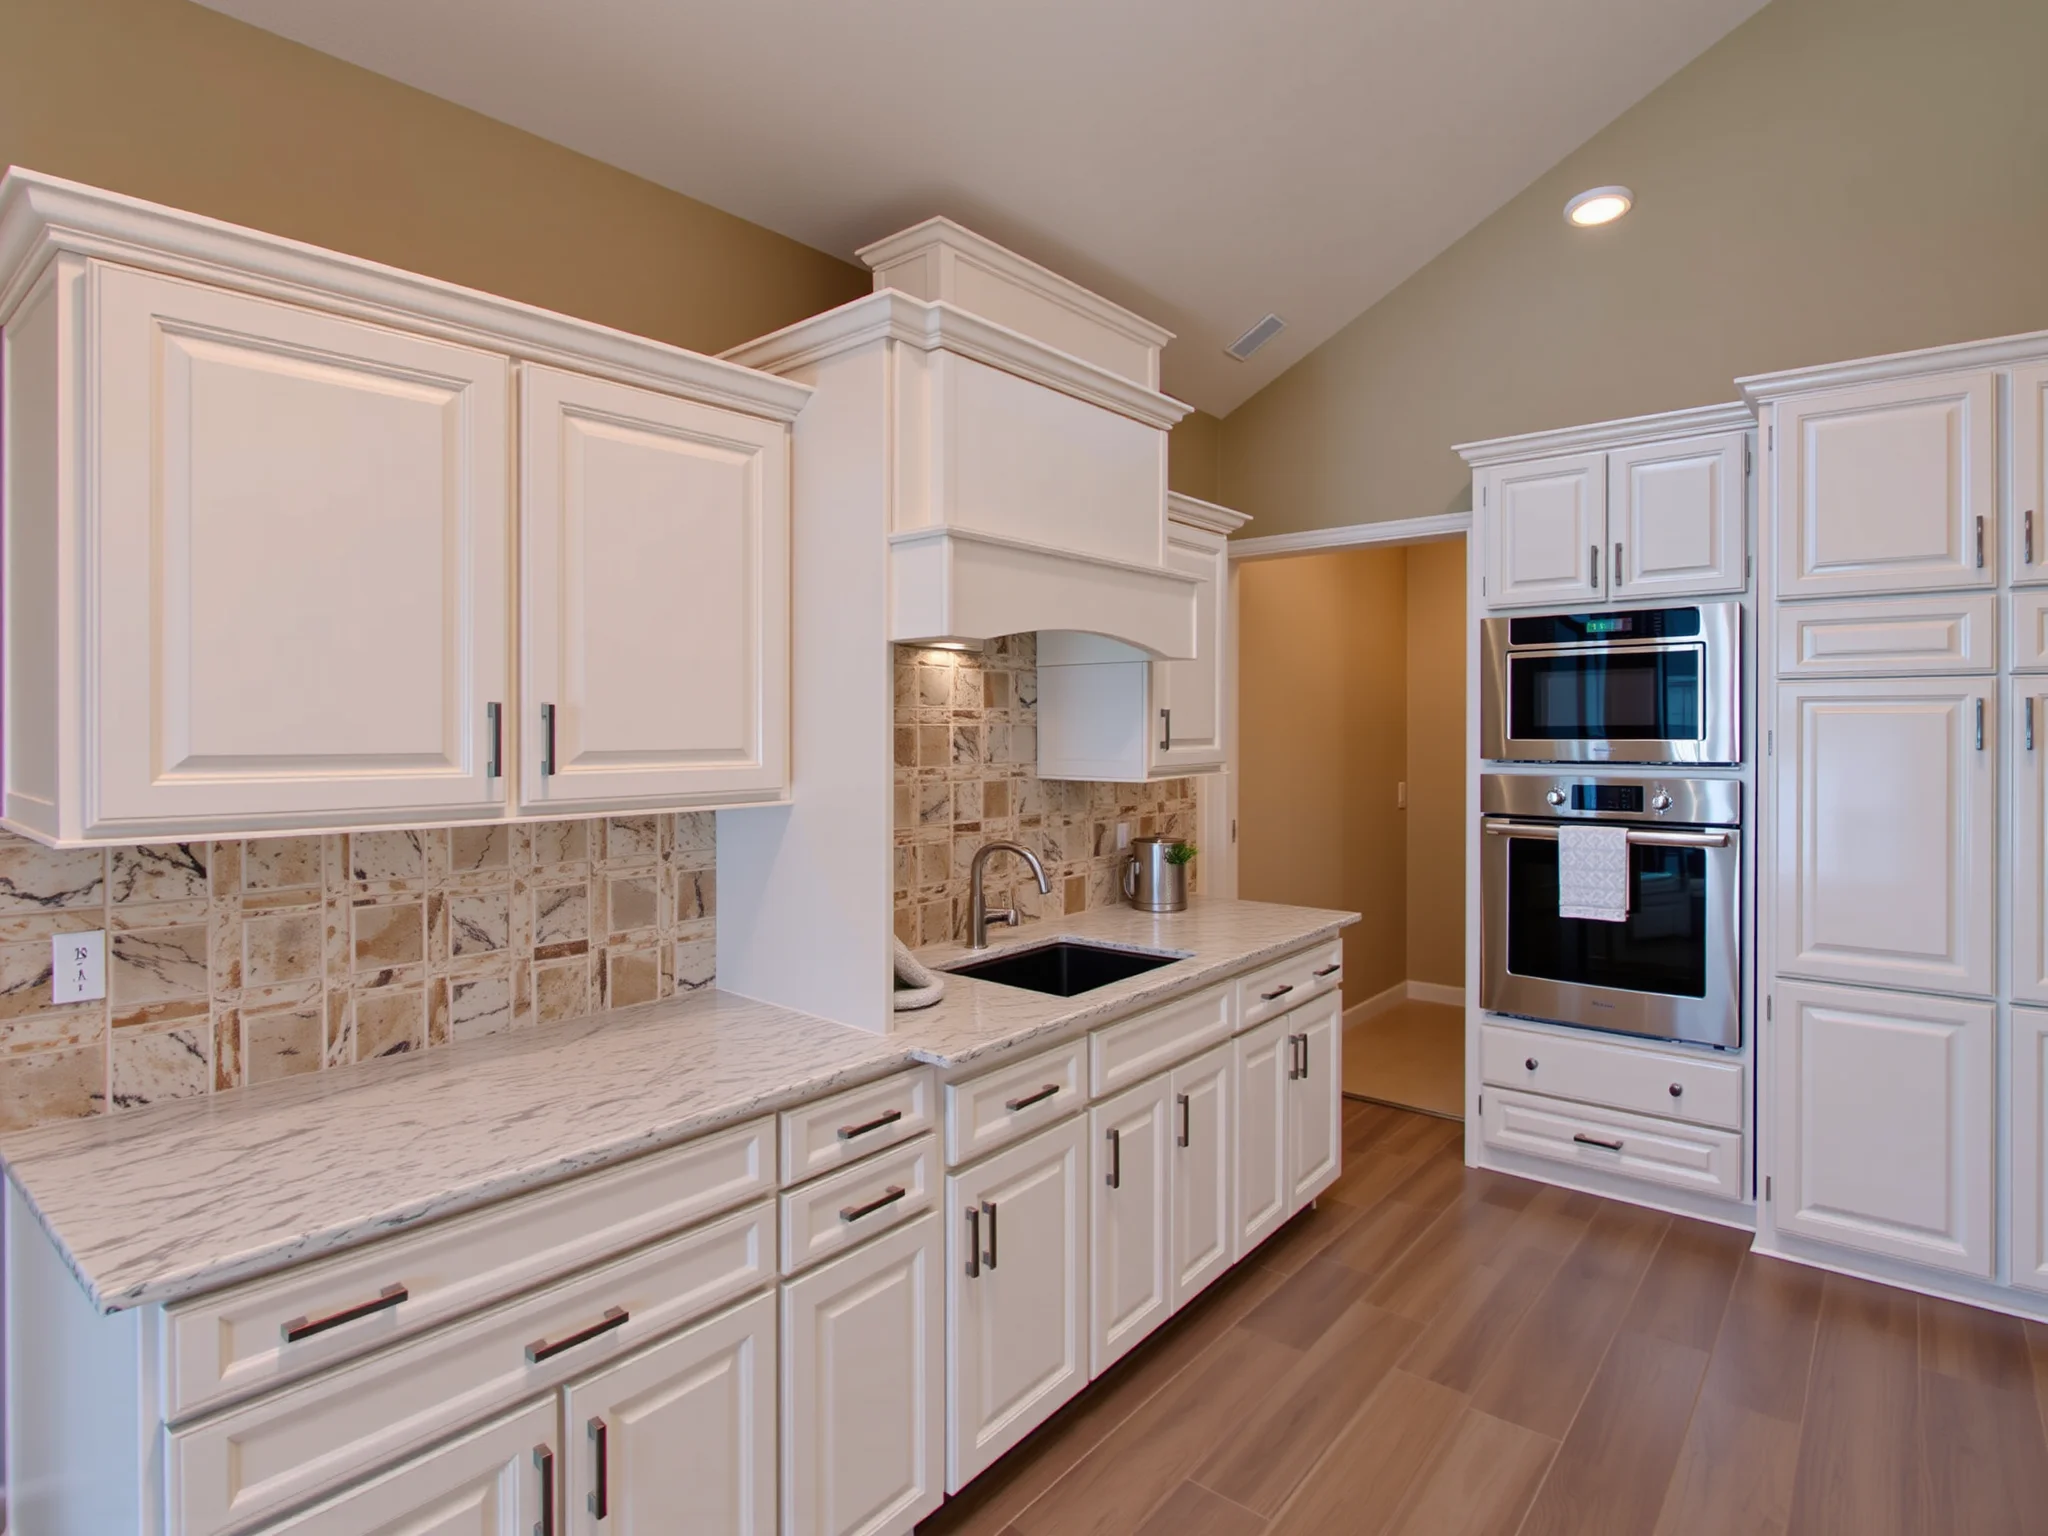
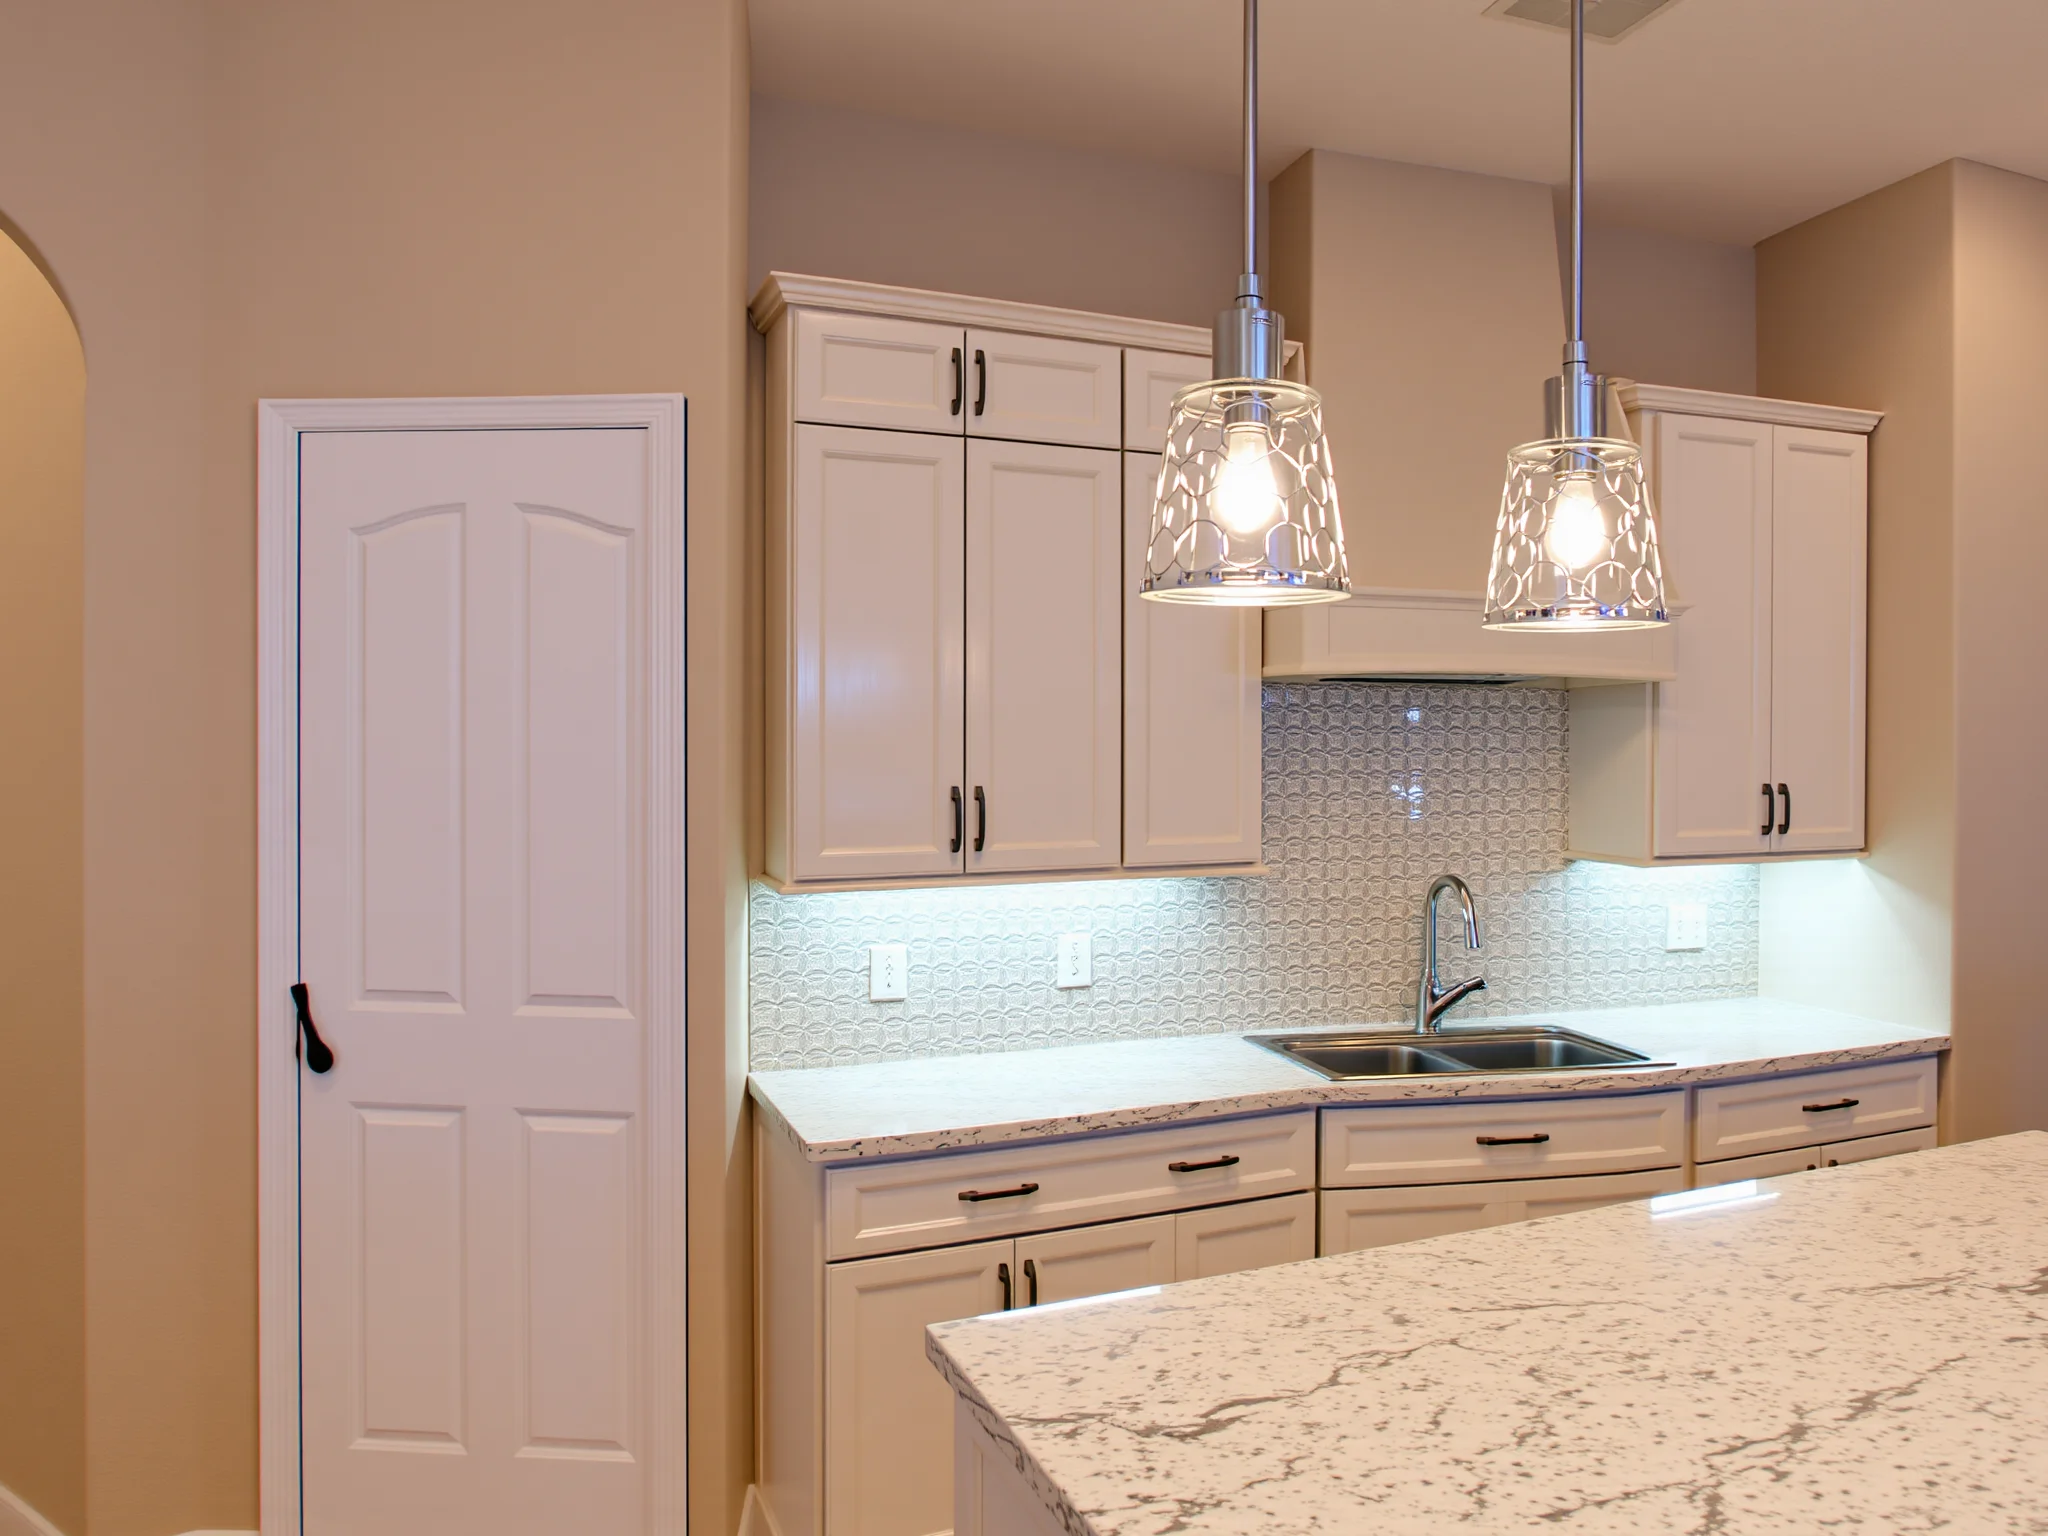
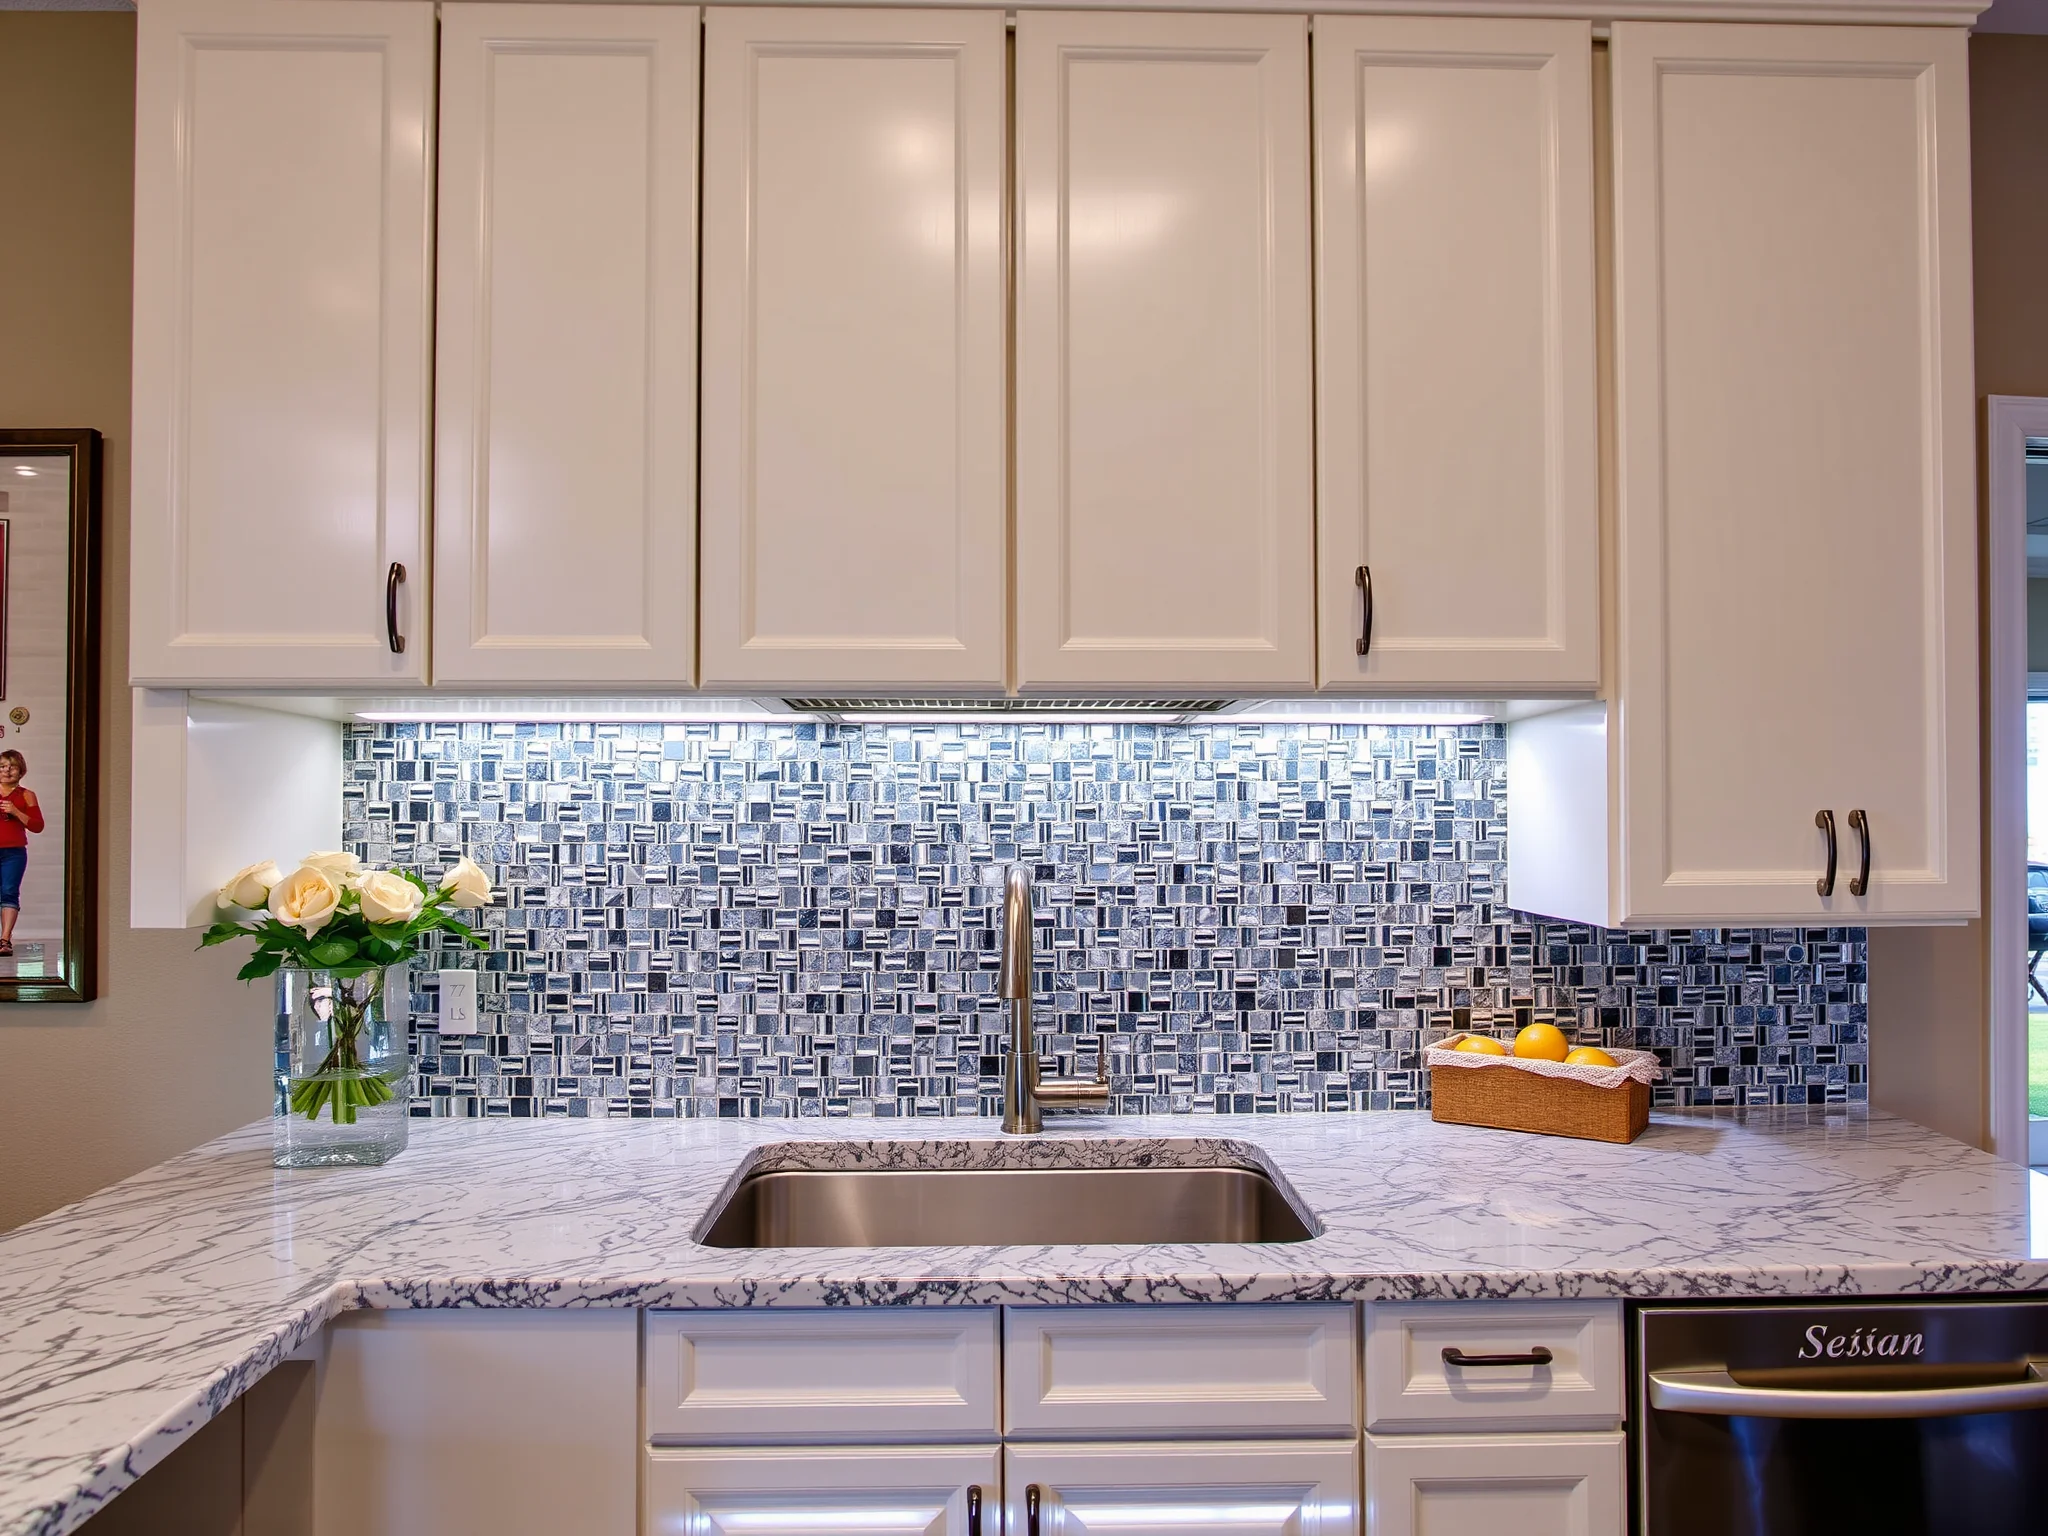
How Can a Strategic Color Choice Elevate Your Cabinets and Overall Interior?
The right color can redefine your space, making functional cabinetry a stunning design statement. Innovative color layering and accent techniques can add depth, texture, and personality. Consider:
- Using contrasting colors for doors and frames to create visual interest.
- Applying a dark, moody hue for modern sophistication or a bright, cheerful tone to energize your space.
- Incorporating metallic or matte finishes for a touch of luxury and elegance.
For inspiration, explore our farmhouse-style cabinet upgrade ideas. These innovative ideas demonstrate how creative color application can dramatically upgrade your kitchen or bathroom cabinetry.
What Are Proven Maintenance Tips to Keep Your Newly Painted Cabinets Looking Fresh?
Freshly painted cabinets require proper maintenance to retain their beauty and durability. Following these groundbreaking tips can extend their lifespan:
- Gentle Cleaning: Use mild soap and a soft cloth to remove smudges and spills. Avoid abrasive cleaners that can dull or damage the finish.
- Immediate Spill Management: Wipe away liquid stains promptly to prevent staining and moisture infiltration.
- Avoid Excessive Moisture: Ensure good ventilation and avoid long-term exposure to moisture, especially in kitchens and bathrooms.
- Routine Touch-Up: Keep spare paint or touch-up kits handy to address scratches or chips early before they worsen.
For more detailed maintenance guidance tailored to busy lifestyles, check out our cabinet refinishing maintenance tips.
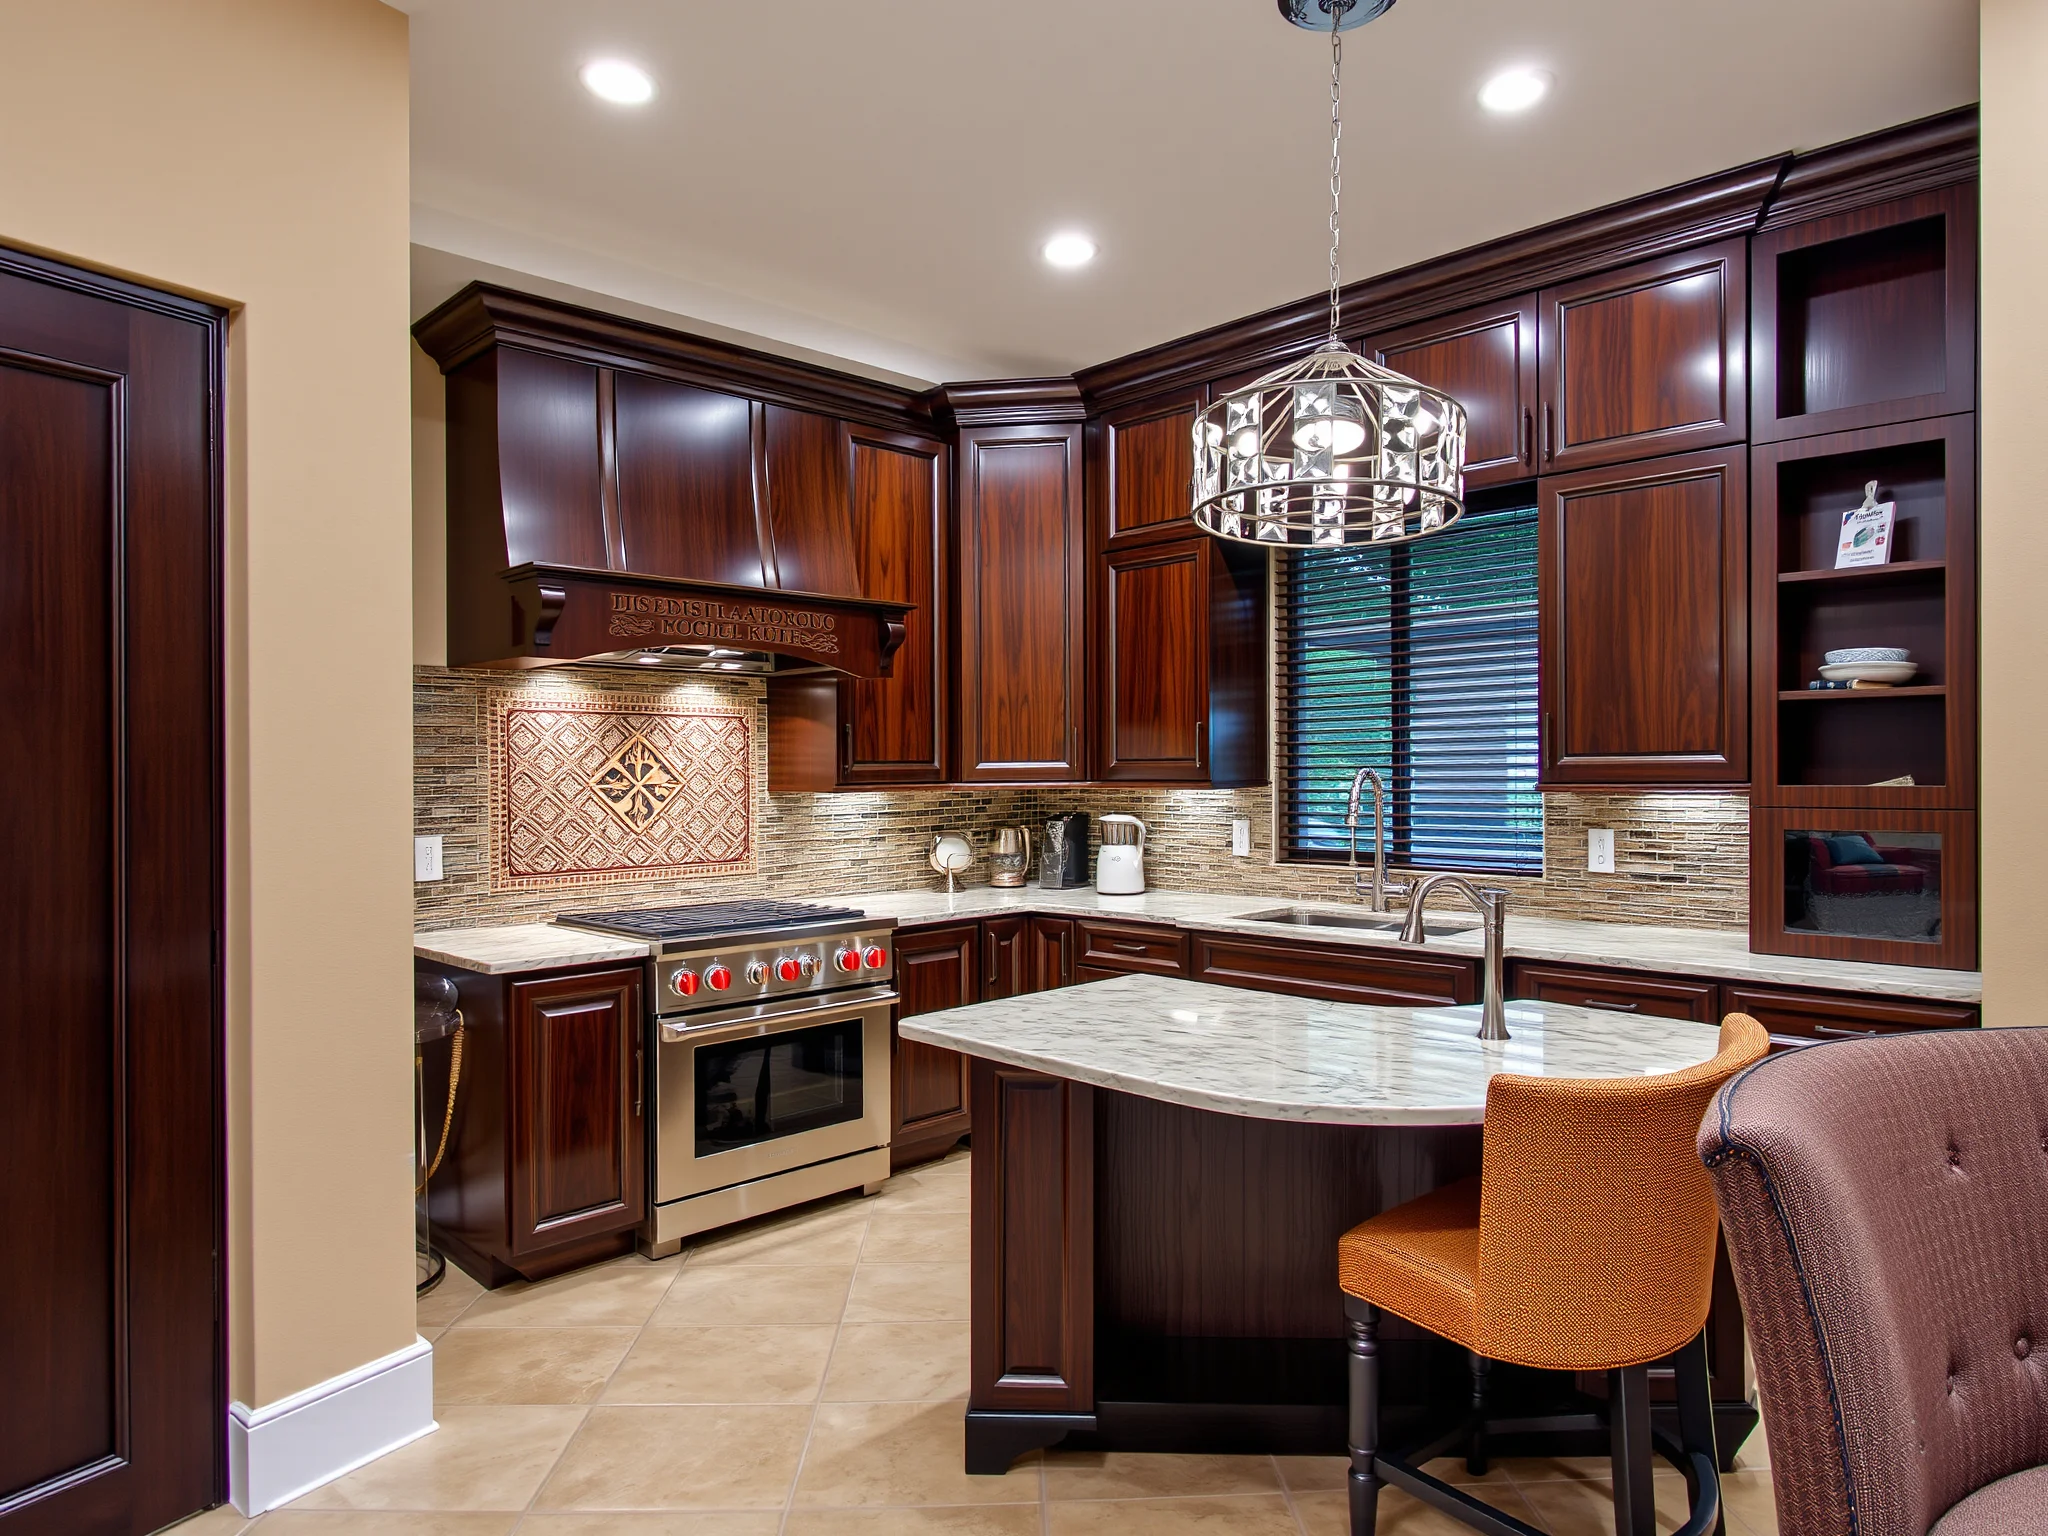
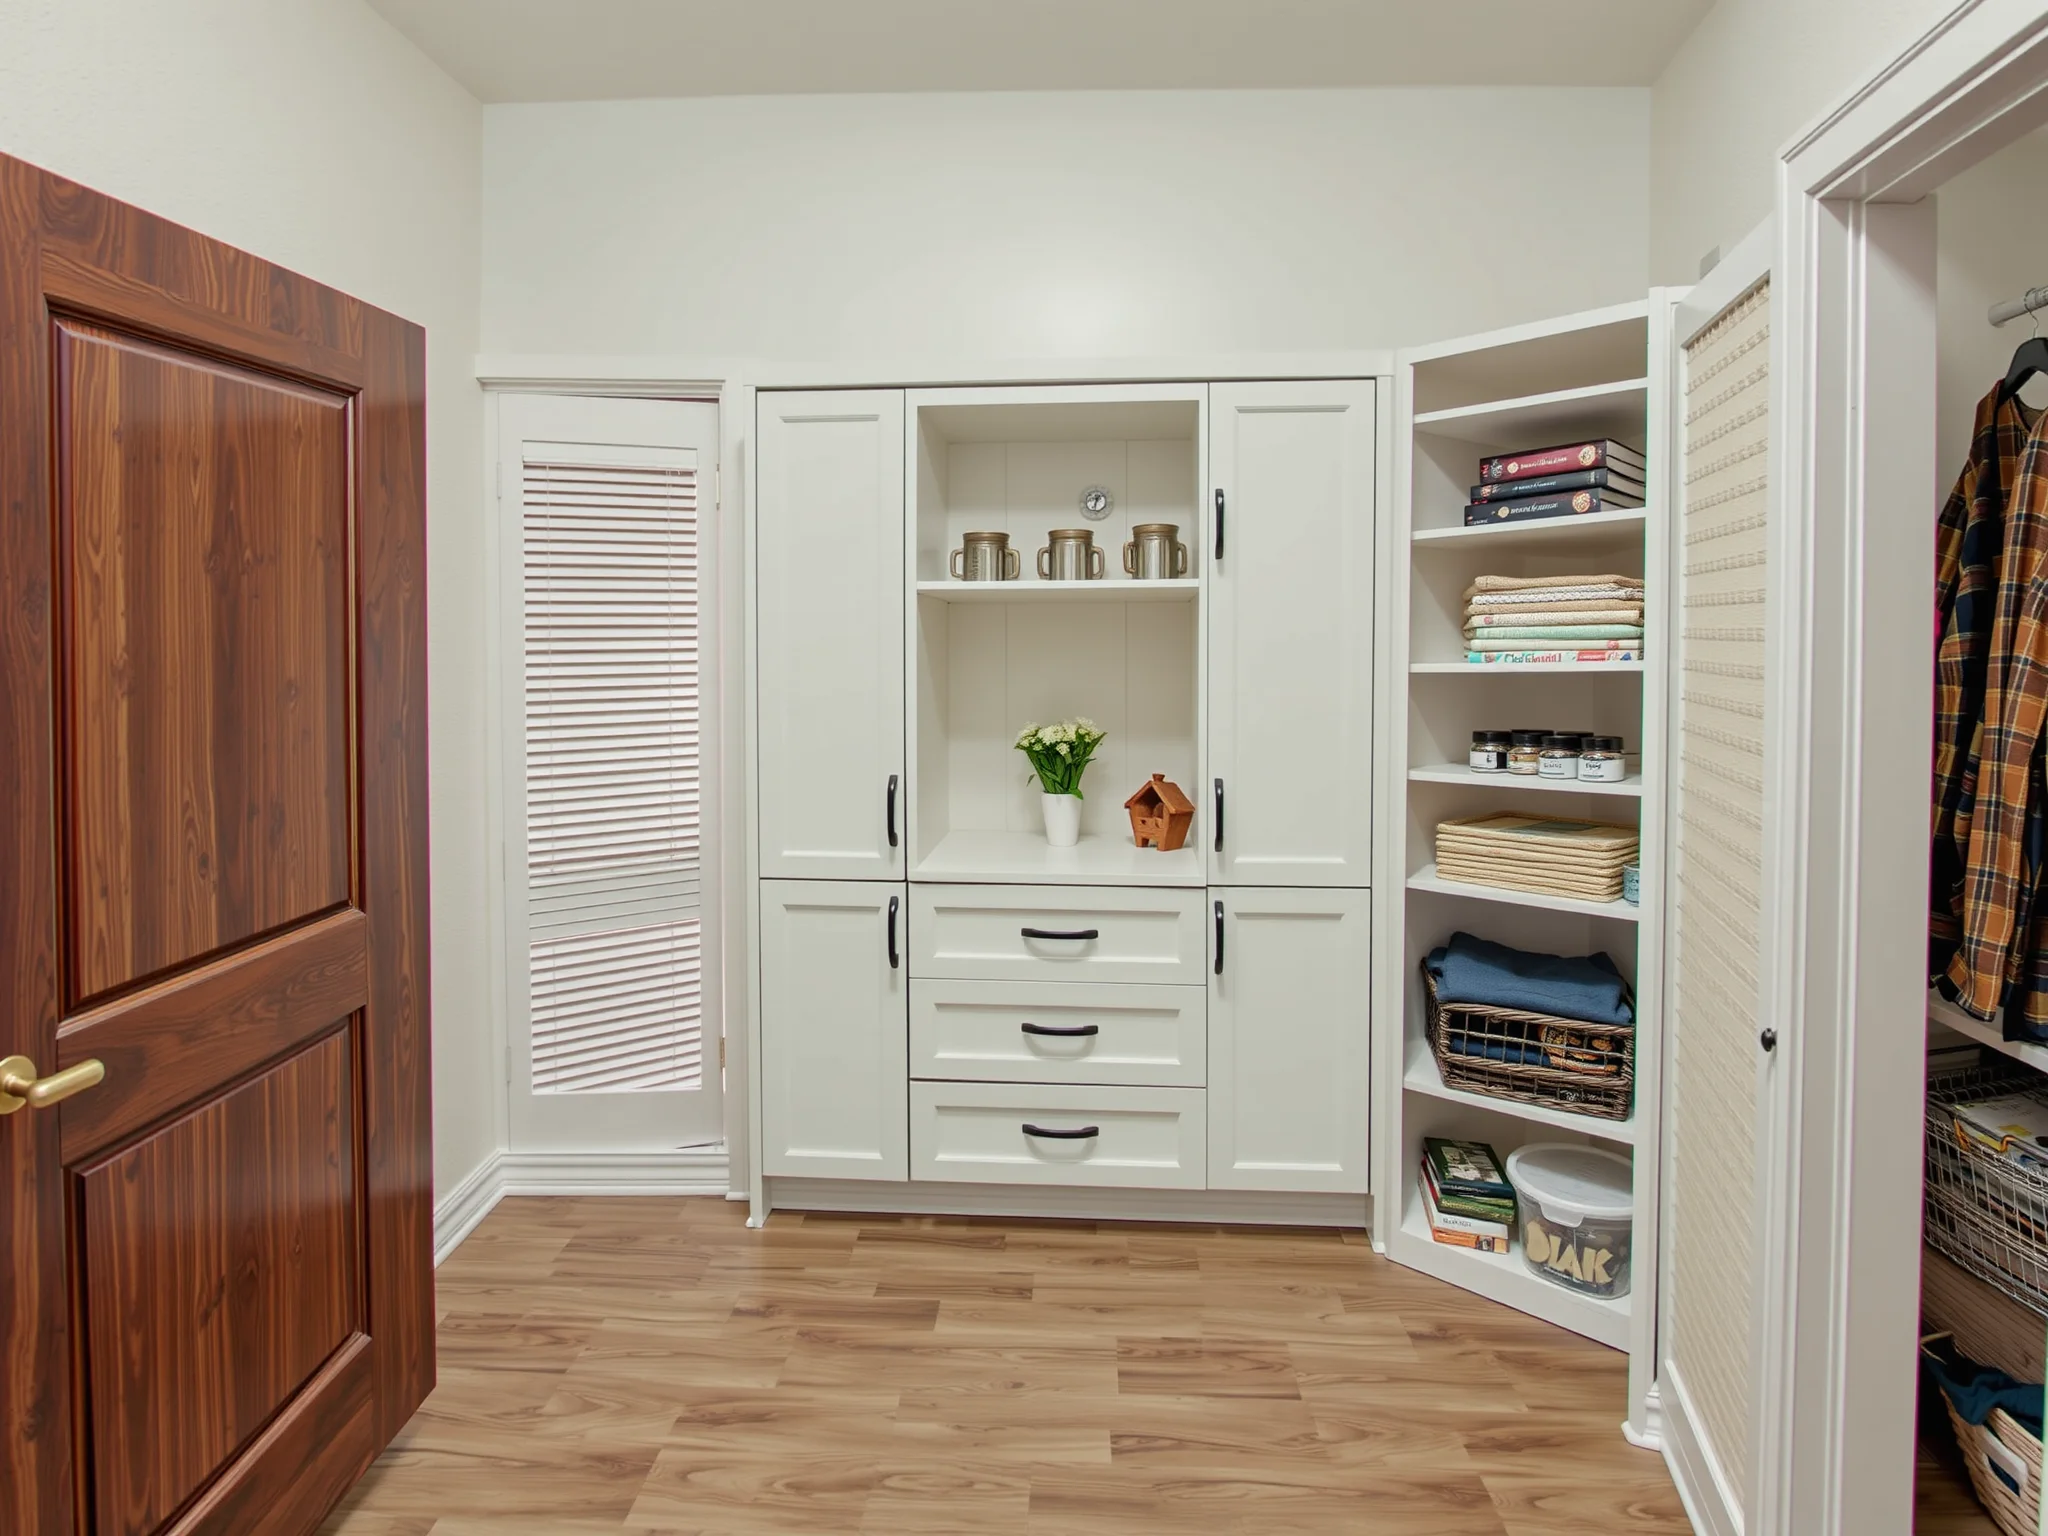
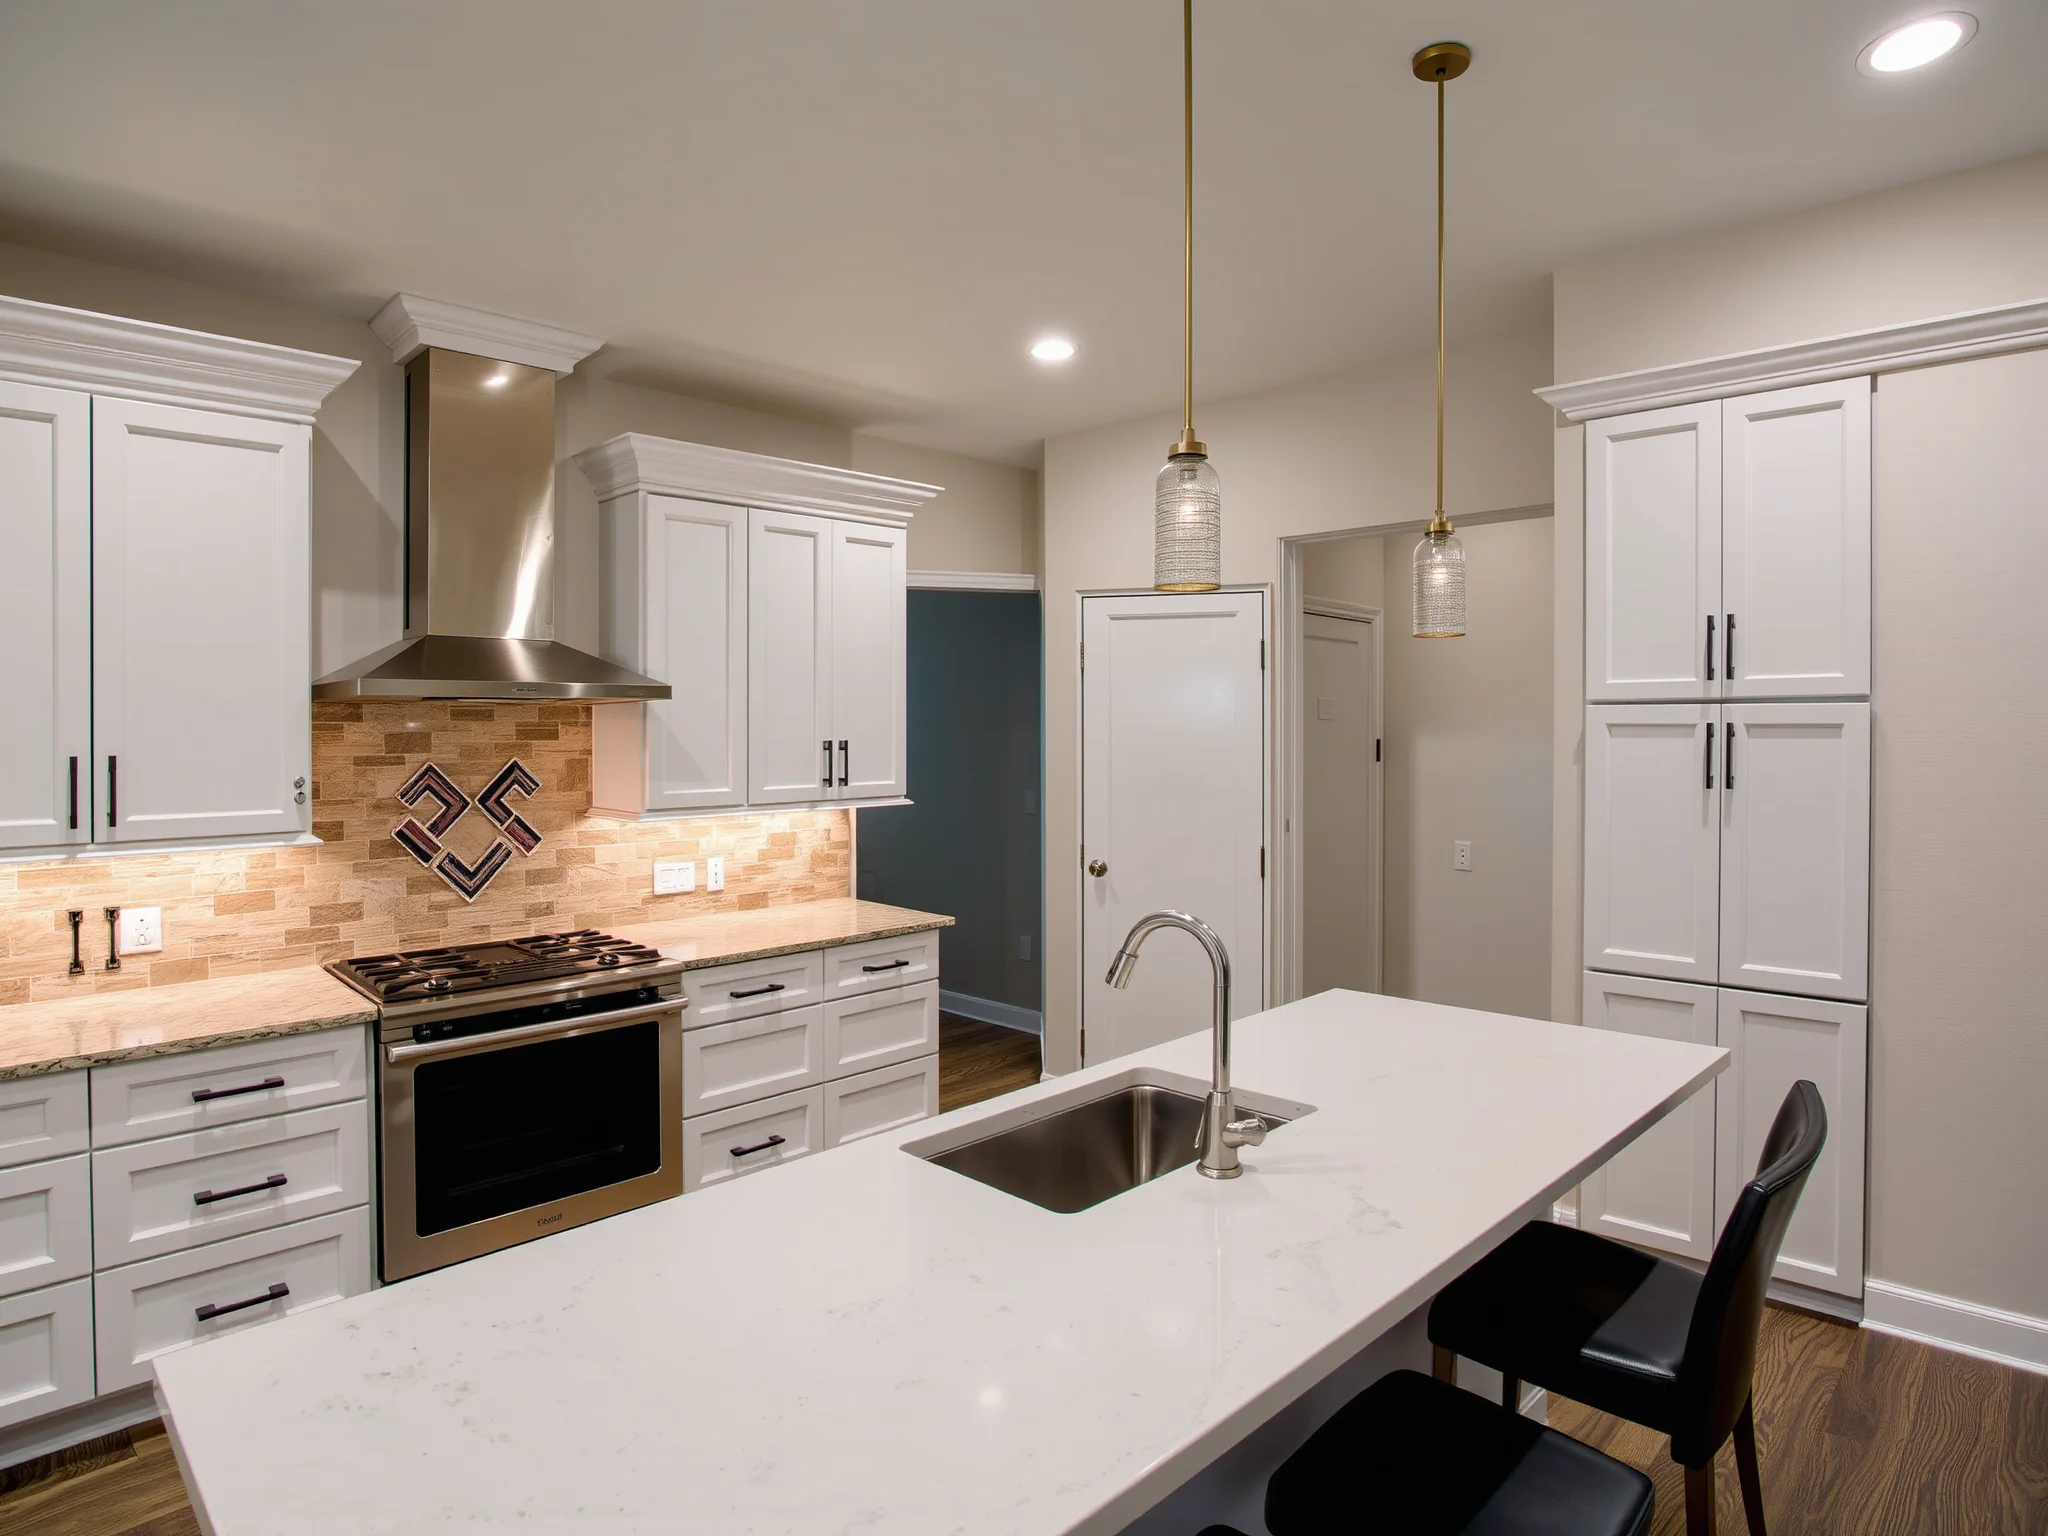
How Can I Incorporate Trending Styles Like Farmhouse or Modern Minimalist into My Cabinet Painting?
Groundbreaking cabinet painting is as much about style as technique. Switching to trending design themes can significantly enhance your home's ambiance. For example:
- Farmhouse Style: Emphasizes distressed finishes, rustic colors, and vintage hardware for cozy charm. Use relevant ideas from our farmhouse upgrade ideas.
- Modern Minimalist: Favor clean lines, monochromatic color schemes, and matte paints for sleek sophistication.
- Traditional Elegance: Incorporate ornate details and warm wood tones with subtle paint accents for a timeless look.
Customizing your cabinet painting approach allows your interior to reflect your personality and current trends effectively.
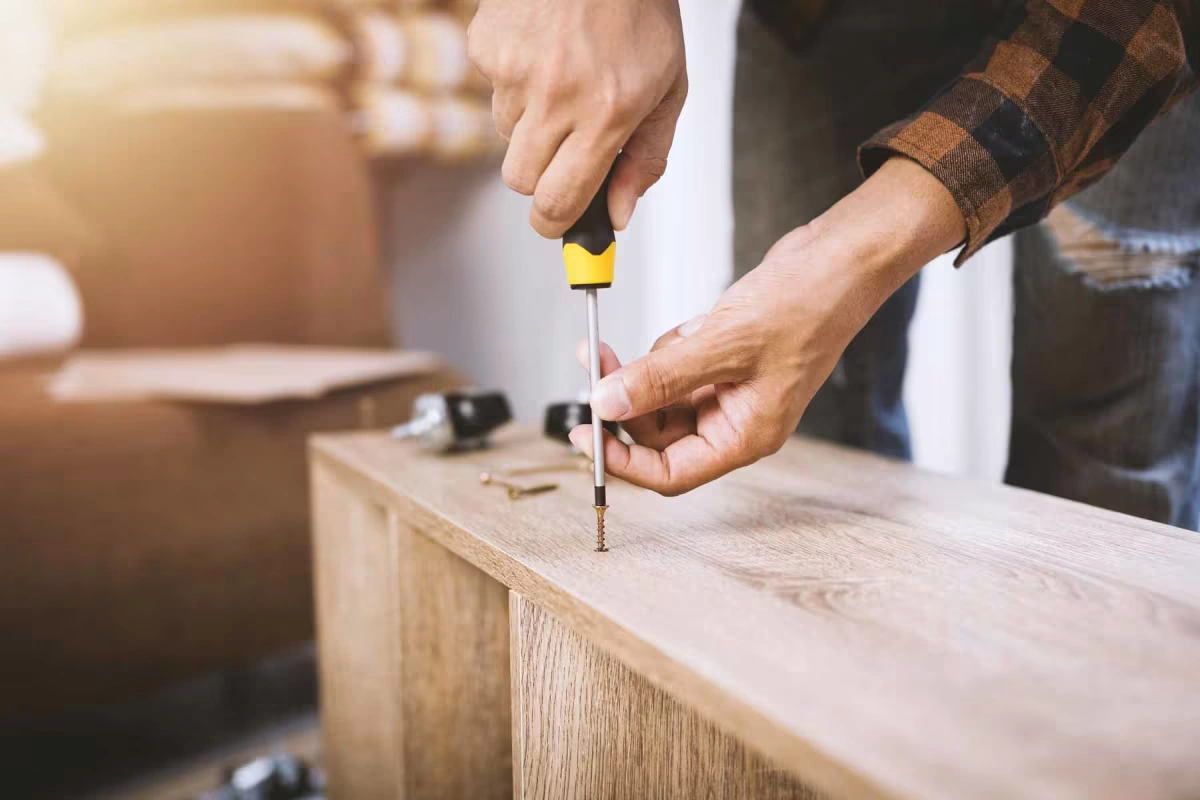
What Are the Critical First Steps When Refinishing Old Cabinets?
Refinishing old cabinets is a groundbreaking way to breathe new life into tired, worn-out furniture. Before diving into paint application, consider:
- Assessment of Damage: Determine if any cabinetry requires repairs or replacements before refinishing.
- Deep Cleaning and Stripping: Remove old paint, varnish, or surface grime to ensure adherence of new coat.
- Sanding with Precision: Use coarse grit initially, then fine grit to create a smooth surface suitable for painting.
- Priming and Sealing: Apply a primer that binds well to old surfaces and prevents future peeling or staining.
Good preparation simplifies the painting process and results in a professional-grade finish.
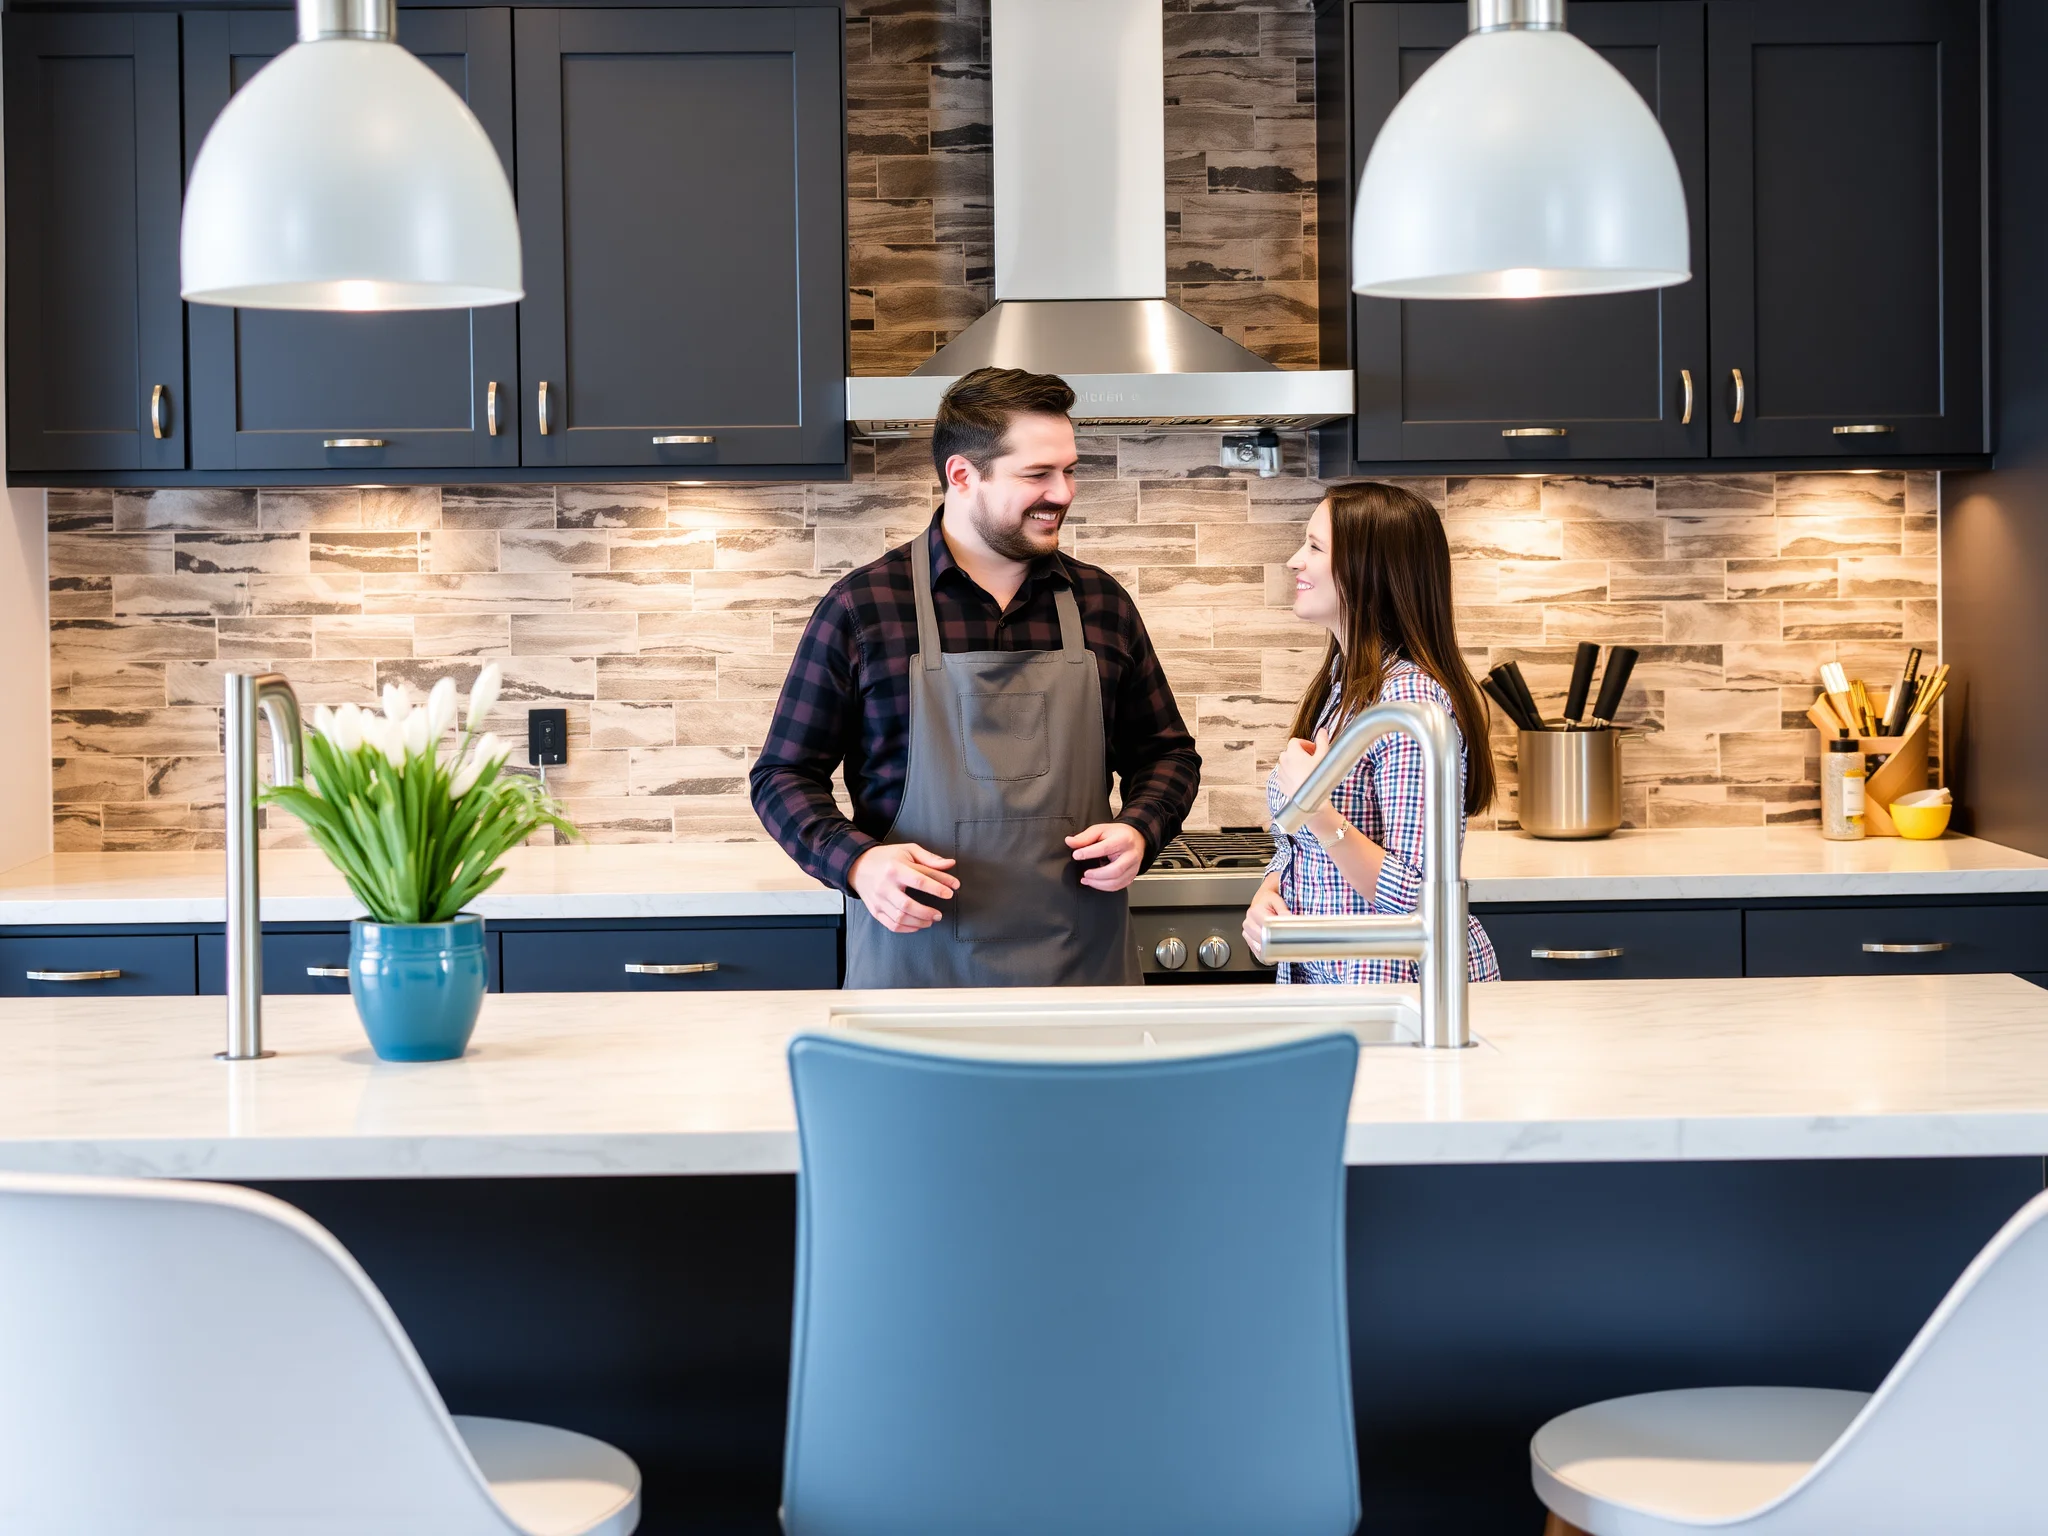
How Do Professional Services Enhance Your Cabinet Refinishing Project?
While DIY can be rewarding, partnering with a professional like Hollywood Cabinet Refinishing ensures precision, quality, and durability. Experts bring advanced techniques, access to high-grade materials, and an eye for detail that transforms your vision into reality. Their experience is especially valuable when tackling complex designs or high-traffic areas prone to wear.
Frequently Asked Questions About Groundbreaking Cabinet Painting Tips
Common mistakes include inadequate surface preparation, choosing the wrong paint type, applying too thick coats, and neglecting proper drying times. These errors can compromise the finish's durability and appearance.
Project duration varies depending on size, complexity, and method used. A small kitchen may take a few days, while larger projects might span a week or more. Proper planning and professional execution can optimize timelines.
Yes, but proper preparation is key. Sanding and applying an appropriate primer ensure adhesion and prevent peeling or uneven color development.
Absolutely. Using durable finishes like semi-gloss or epoxy paints can add resistance to moisture, stains, and scratches, especially in high-use areas.
Explore local hardware stores or visit specialized online shops. For curated options, check our post on cabinet hardware stores in Allen, Texas.
Ultimately, groundbreaking cabinet painting tips involve a combination of proper techniques, innovative products, and creative vision. Whether DIY or professional, embracing these insights will elevate your cabinetry and redefine your entire space.


:max_bytes(150000):strip_icc()/TAL-the-star-frisco-texas-FRISCOTX0223-5fb5e2ddde5a431e8072e46cbc504b63.jpg)


