
Transform Your Home with DIY Cabinet Door Refacing Tips
Are You Ready to Transform Your Space with DIY Cabinet Door Refacing?
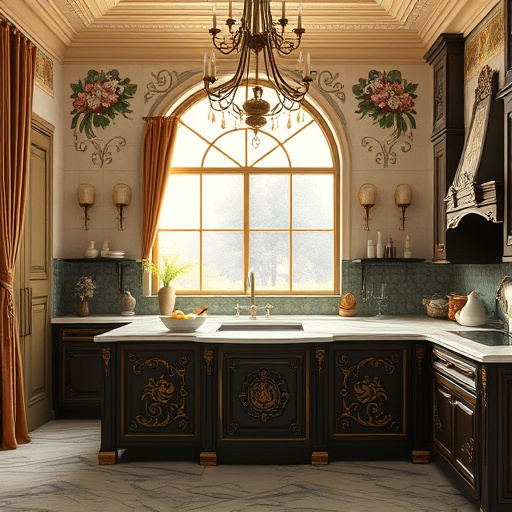
Imagine walking into your kitchen and being greeted by a modern, luxurious look that feels entirely new—without the hefty price tag of a full remodel. DIY cabinet door refacing is the secret magic trick of homeowners craving a dramatic transformation on a budget. It’s the art of giving your cabinetry a stunning facelift by replacing just the doors and updating hardware, rather than tearing out entire units. Whether you’re a seasoned DIY enthusiast or a passionate beginner, this guide is your ultimate toolkit for achieving jaw-dropping results. Let's dive into the fabulous world of cabinet refacing, where creativity meets craftsmanship!
What Exactly Is DIY Cabinet Door Refacing, and Why Should You Consider It?
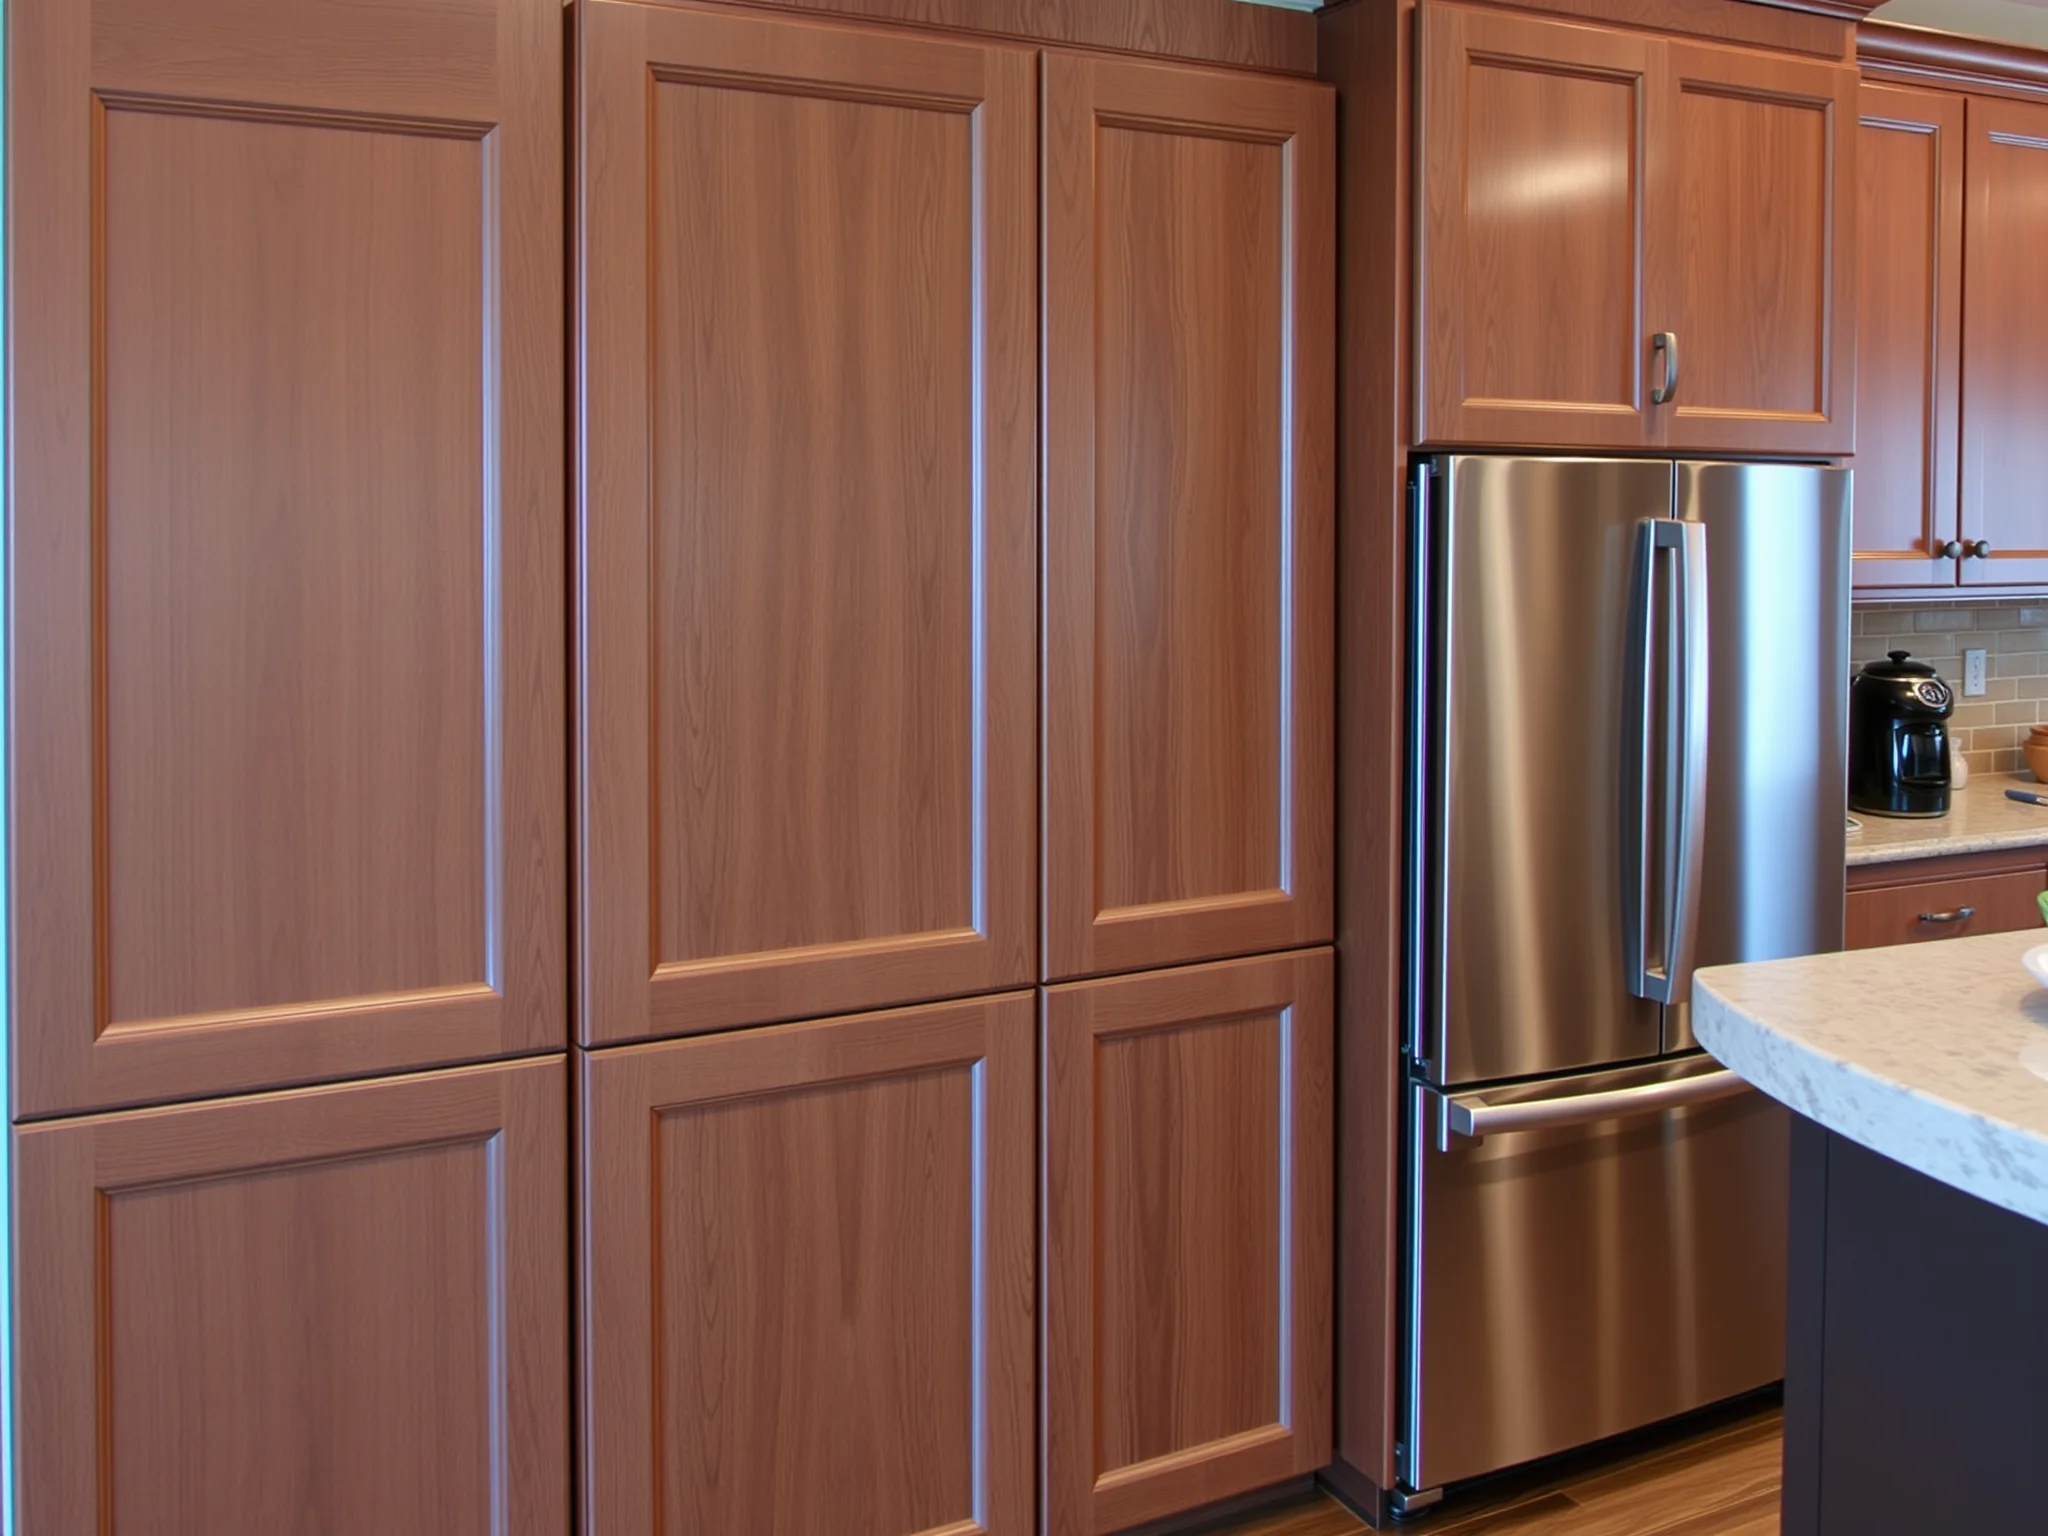
At its core, DIY cabinet door refacing involves removing the old cabinet doors and replacing or refinishing them with fresh, stylish materials. It’s a savvy way to breathe new life into tired, outdated cabinets without the chaos and cost of comprehensive replacements. This process allows you to choose from a vast array of finishes, colors, and styles to suit your unique taste and elevate your home’s aesthetic to Hollywood glamour levels.
Besides its cost-effectiveness, other compelling reasons to opt for DIY cabinet door refacing include:
- Customization: Personalize every detail—from paint colors to intricate designs.
- Time efficiency: Complete your project in a fraction of the time required for full cabinetry replacements.
- Environmental friendliness: Reuse existing cabinetry, reducing waste.
- Satisfaction of craftsmanship: Achieve a sense of pride with your DIY masterpiece.
Curious about how cabinet refacing compares to full renovation? Check out our post on how to refinish kitchen cabinets for more insights.
What Are the Essential Tools and Materials Needed for DIY Cabinet Door Refacing?
Embarking on this artistic journey requires a well-curated toolkit. Here’s what you should gather:
- screwdriver set: For removing and installing cabinet doors and hardware.
- Clamps: To hold pieces in place while gluing or painting.
- Sandpaper or power sander: For prepping surfaces and ensuring smooth finishes.
- Primer and paint or stain: To achieve the desired look and durability.
- Paint brushes and rollers: For seamless application.
- Replacement hardware: Knobs, pulls, hinges—choose bold or subtle accents.
- Protective gear: Gloves, mask, eye protection—safety first!
For a more in-depth list, visit our recommended supplies in our guide on cabinet refinishing success stories.
How Do You Properly Prepare Your Cabinets for Refacing?
Preparation is the secret ingredient to a professional-looking finish. Follow these crucial steps:
- Clear the Area: Empty your cabinets and work surface completely.
- Remove Hardware: Take off handles, knobs, and hinges—labeling them if you plan to reuse.
- Clean Thoroughly: Use a degreaser or mild detergent to eliminate grease and grime. Sticky residues can ruin your finish.
- Sand the Surface: Lightly sand the cabinet doors and frames to remove old paint, varnish, or gloss. This ensures better adhesion for your new finish.
- Fill in Imperfections: Use wood filler to repair dents, scratches, or holes, then sand smooth.
With the surface primed, your cabinet framework is ready to shine. It’s time for the next phase—selecting your style!
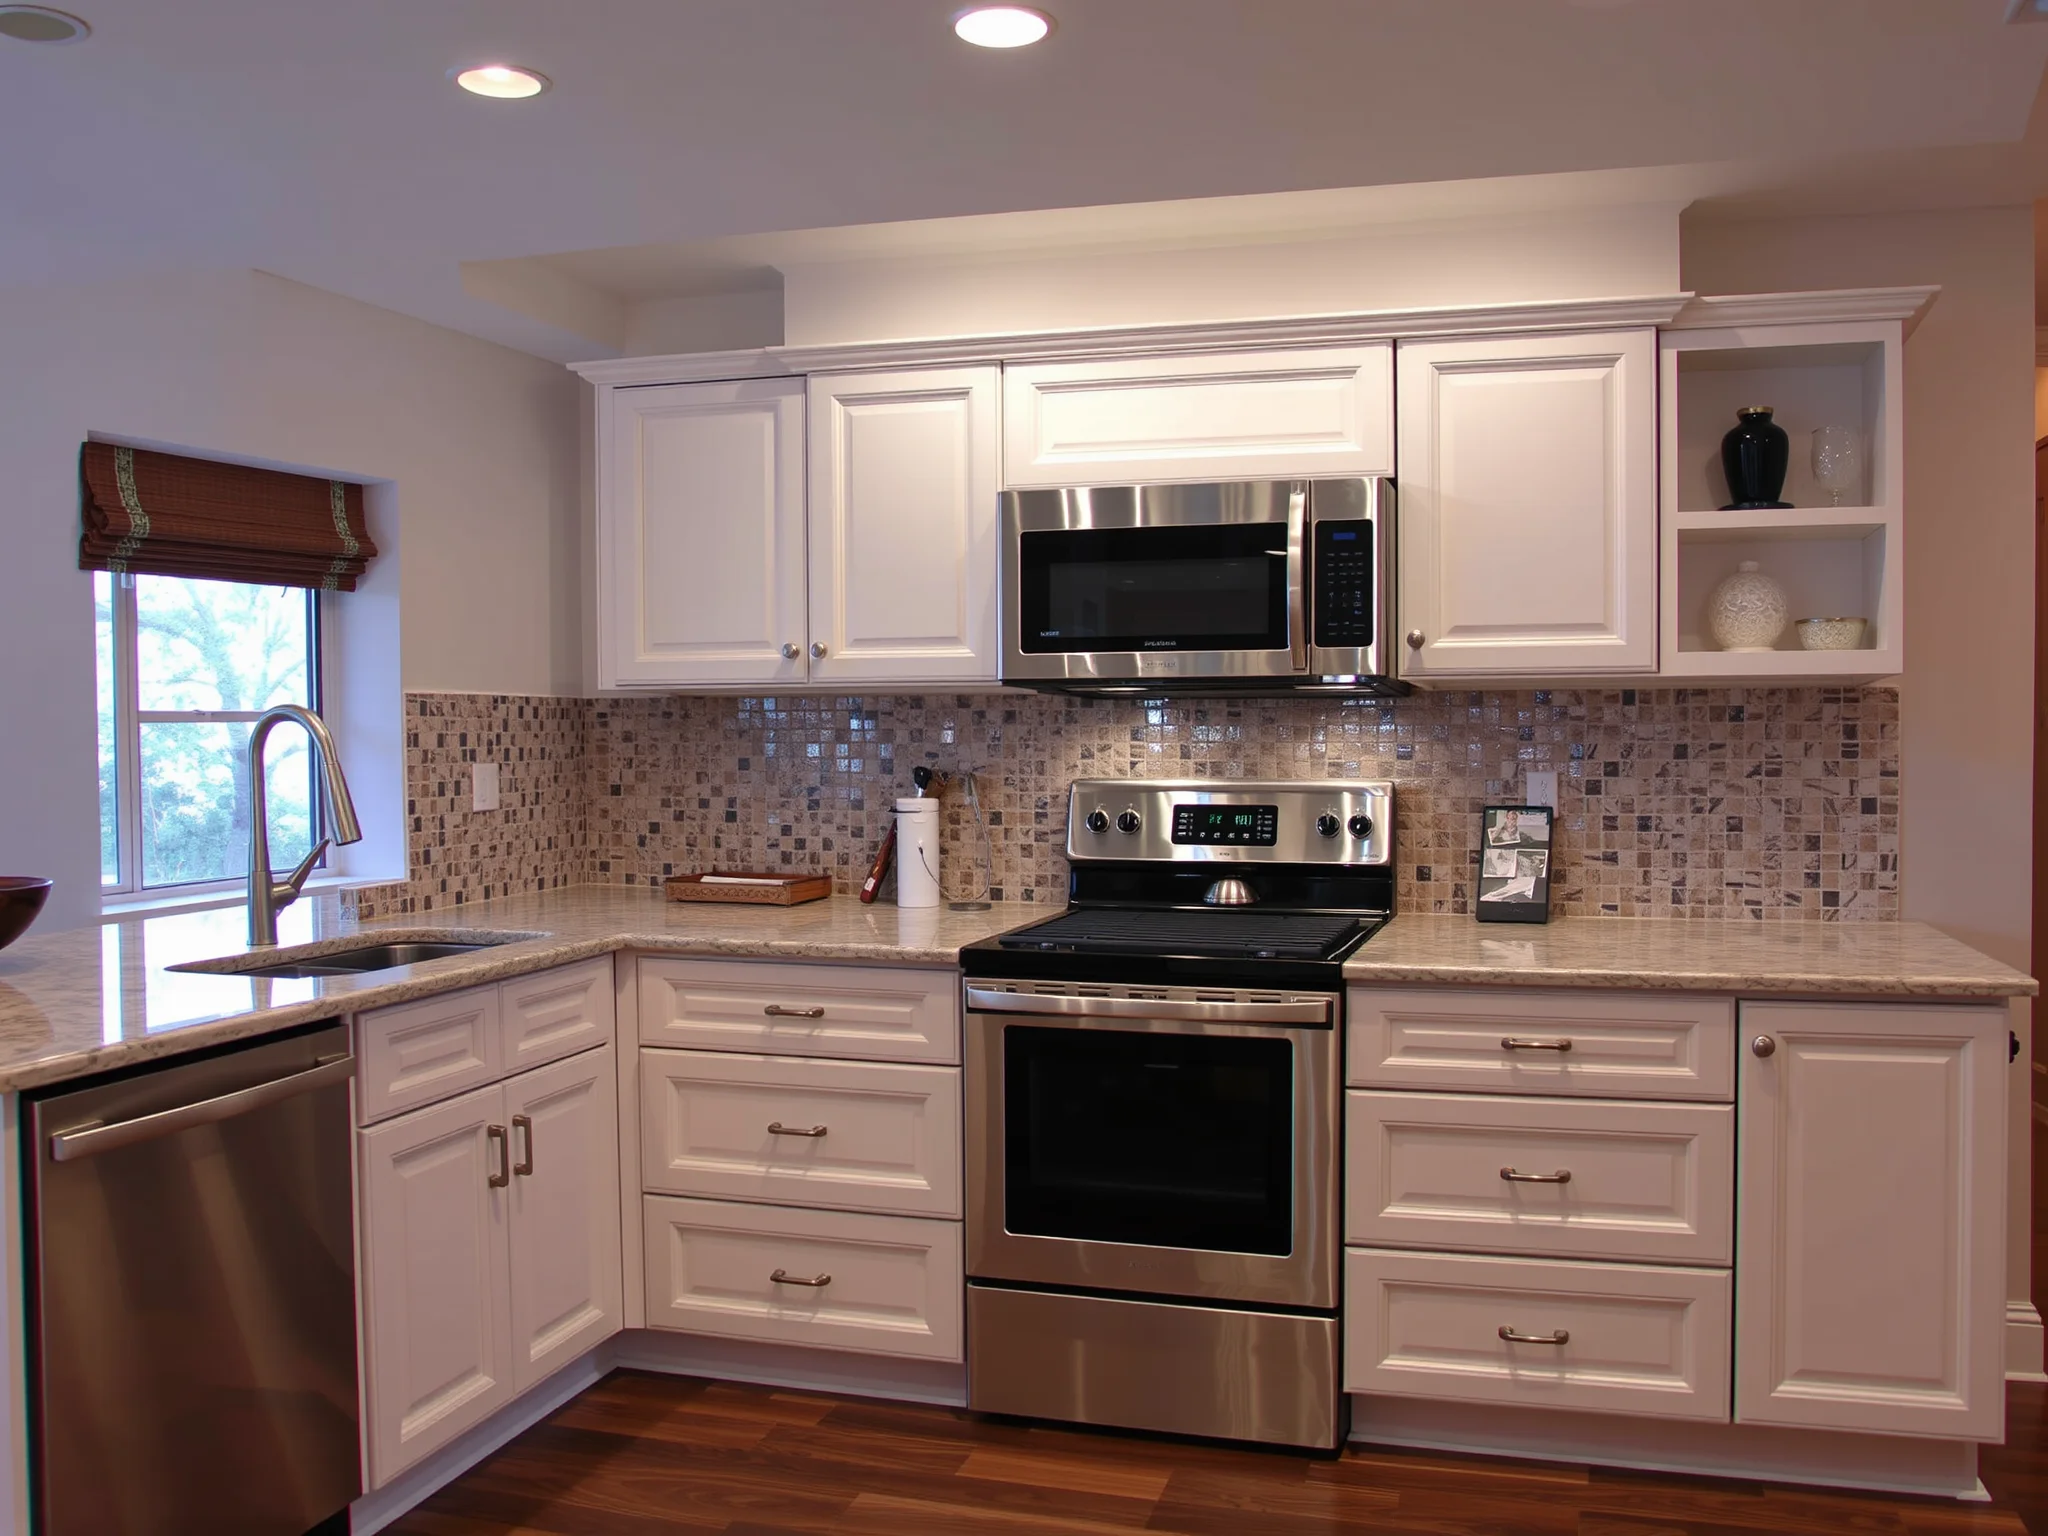
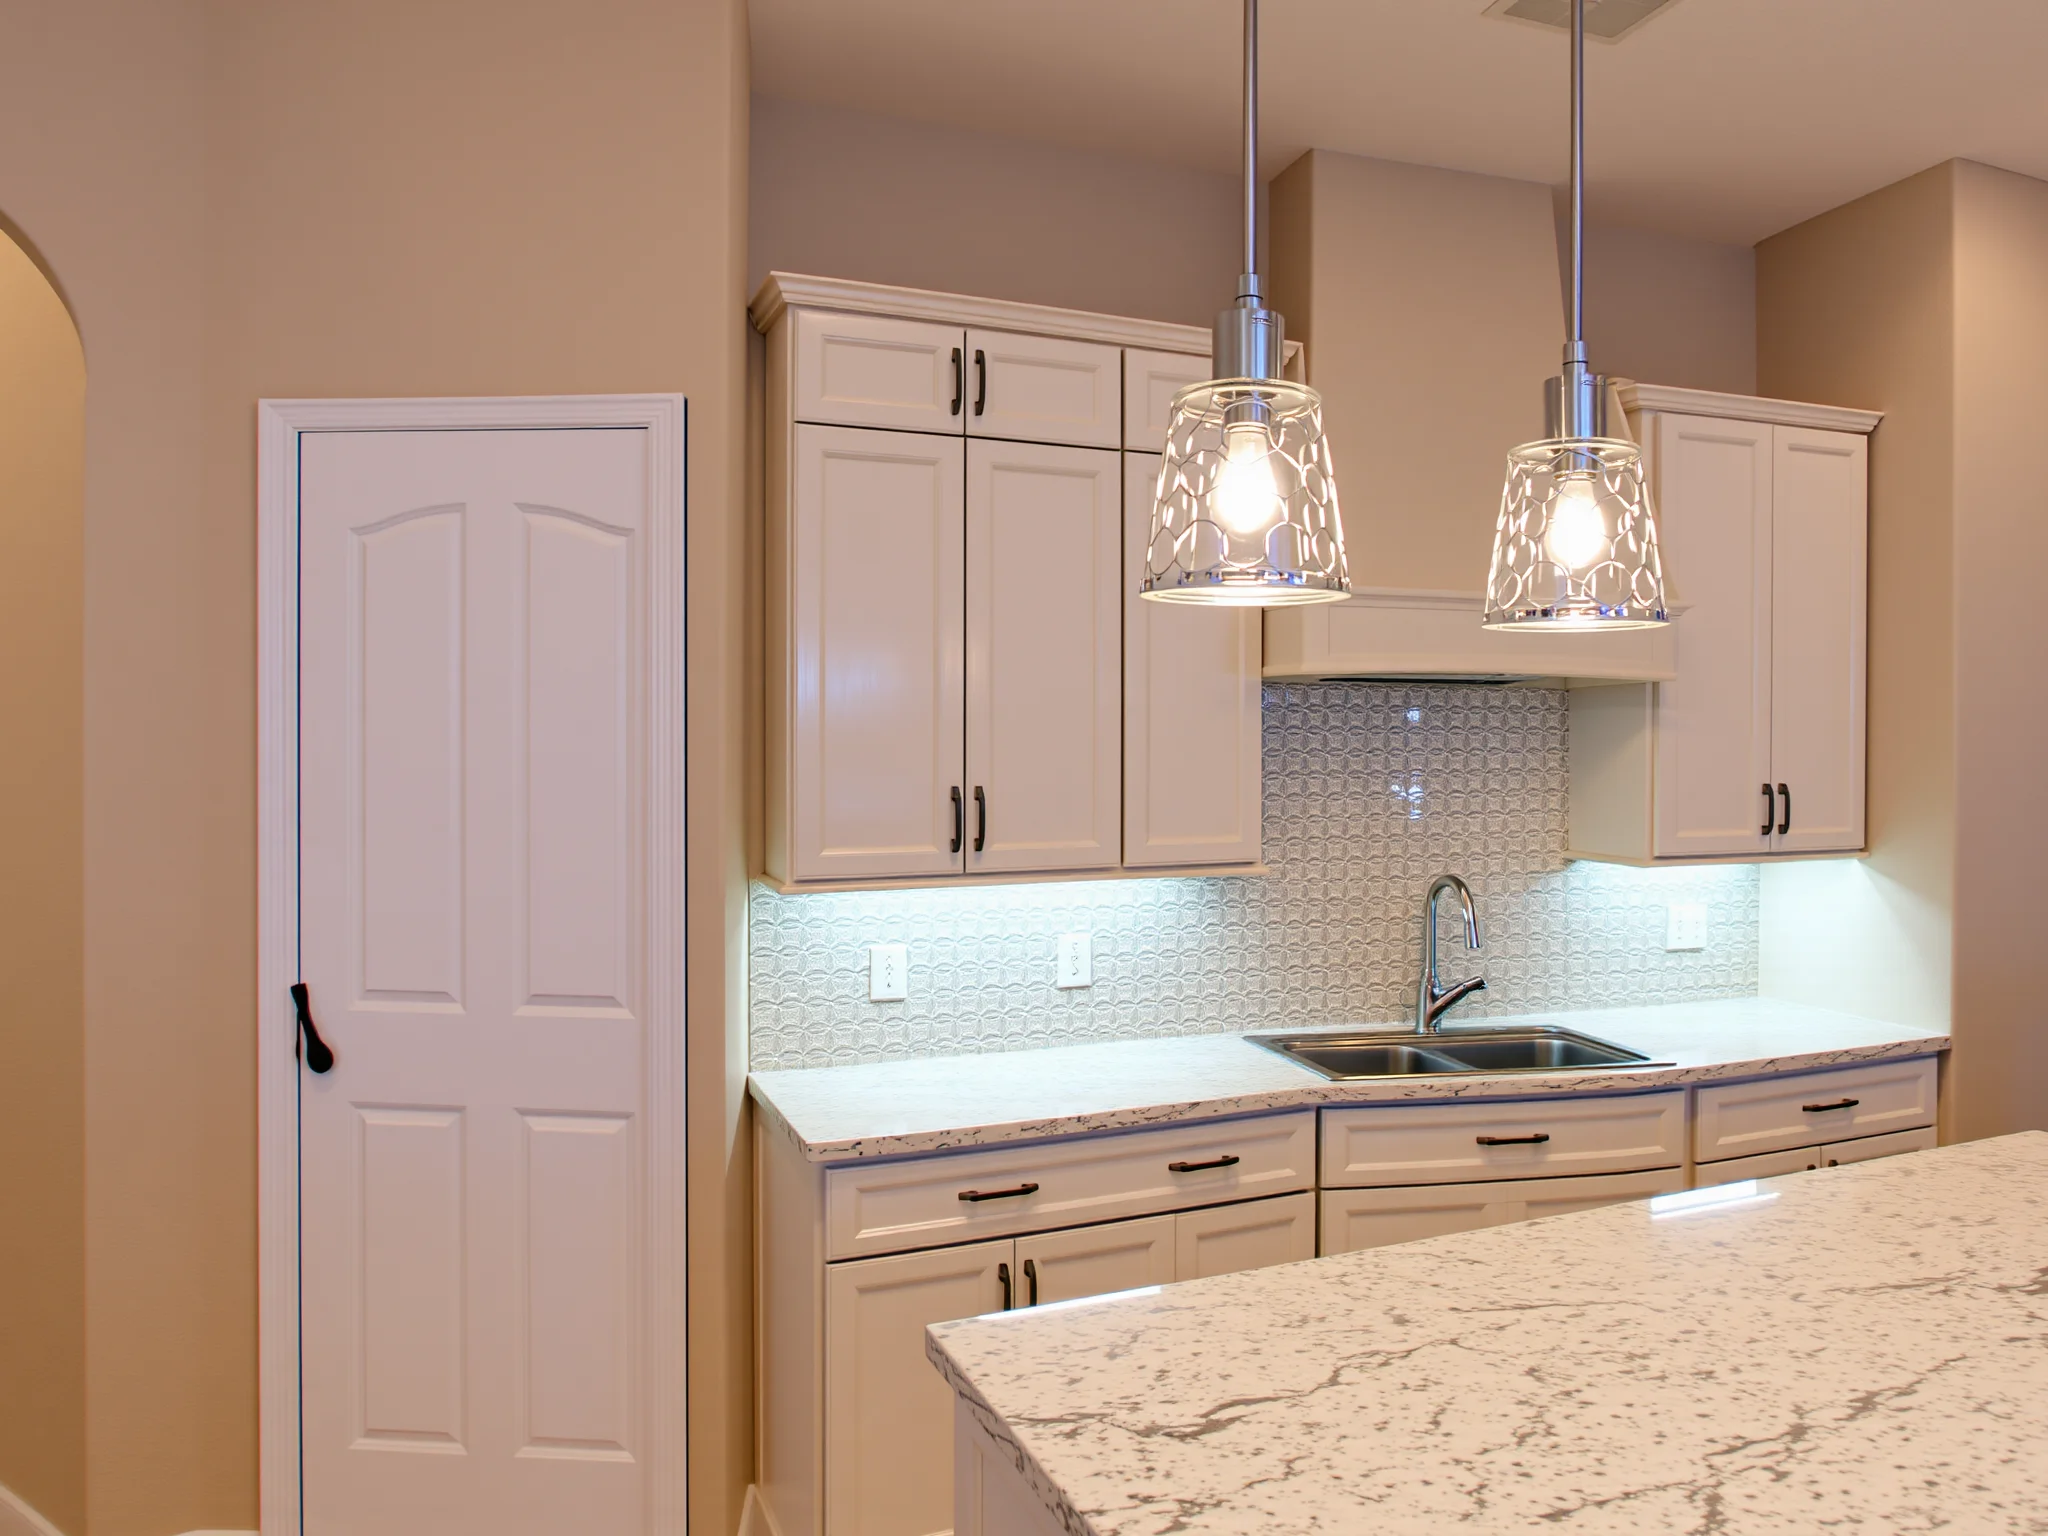
What Are The Most Popular DIY Cabinet Door Refacing Styles and Finishes?
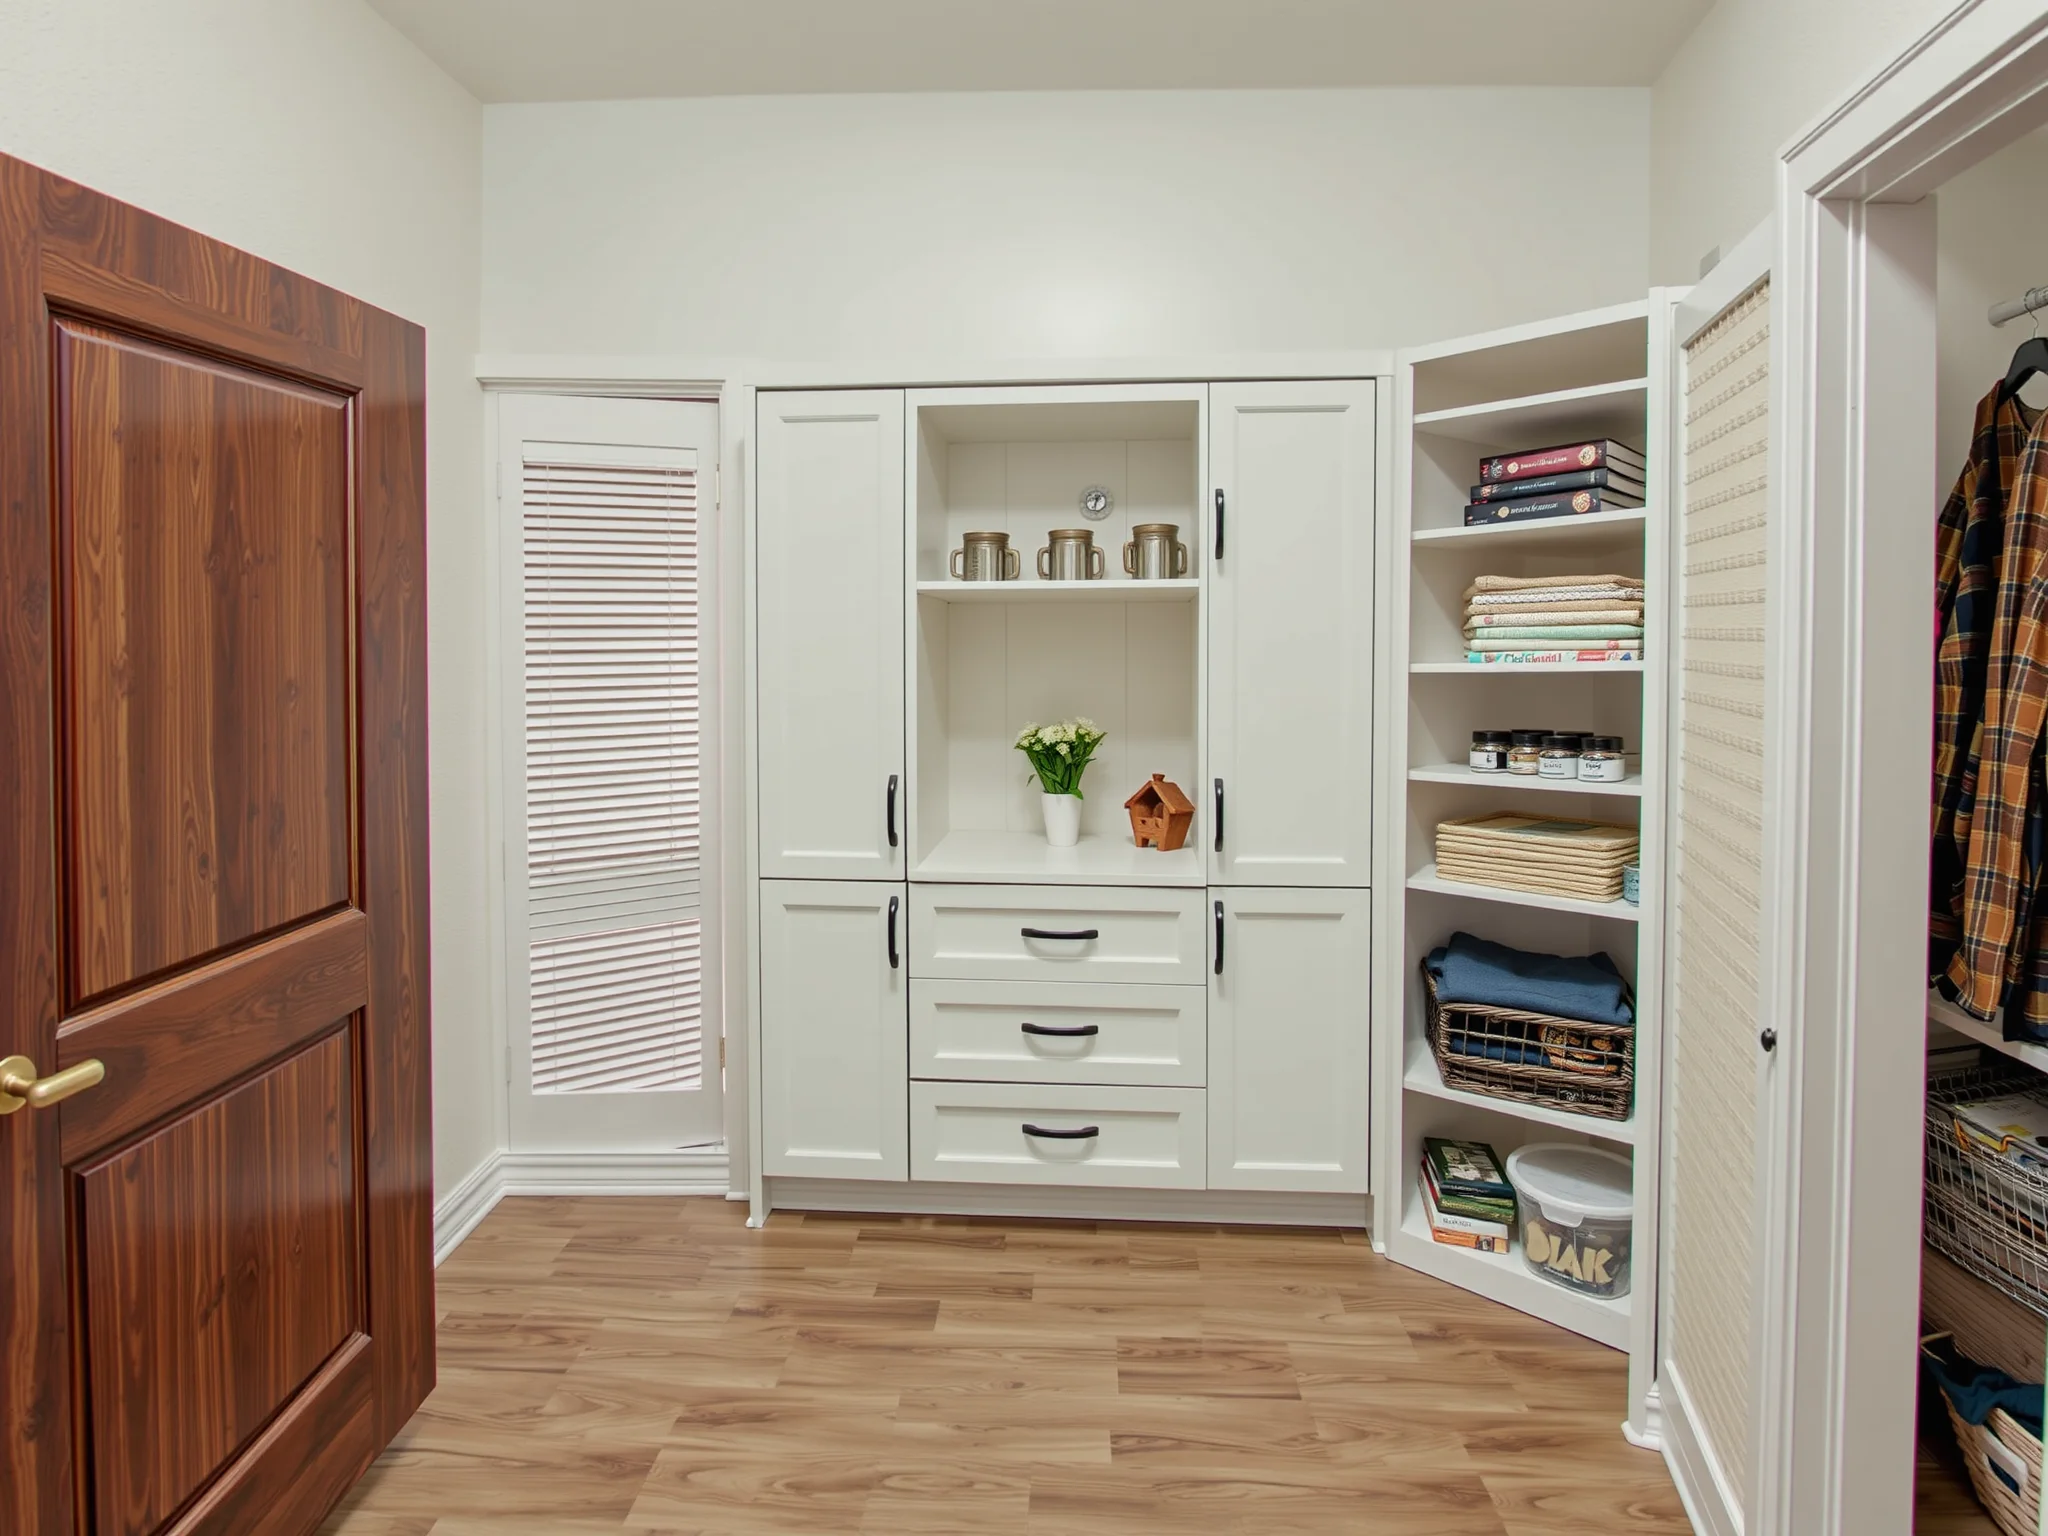
The variety of styles available for DIY cabinet door refacing is staggering, allowing you to craft a space that perfectly reflects your personality. Here are some trending options:
- Shaker Style: Sleek, simple, and timeless—perfect for modern and rustic interiors alike. Explore options at Shaker cabinets for sale in McKinney, Texas.
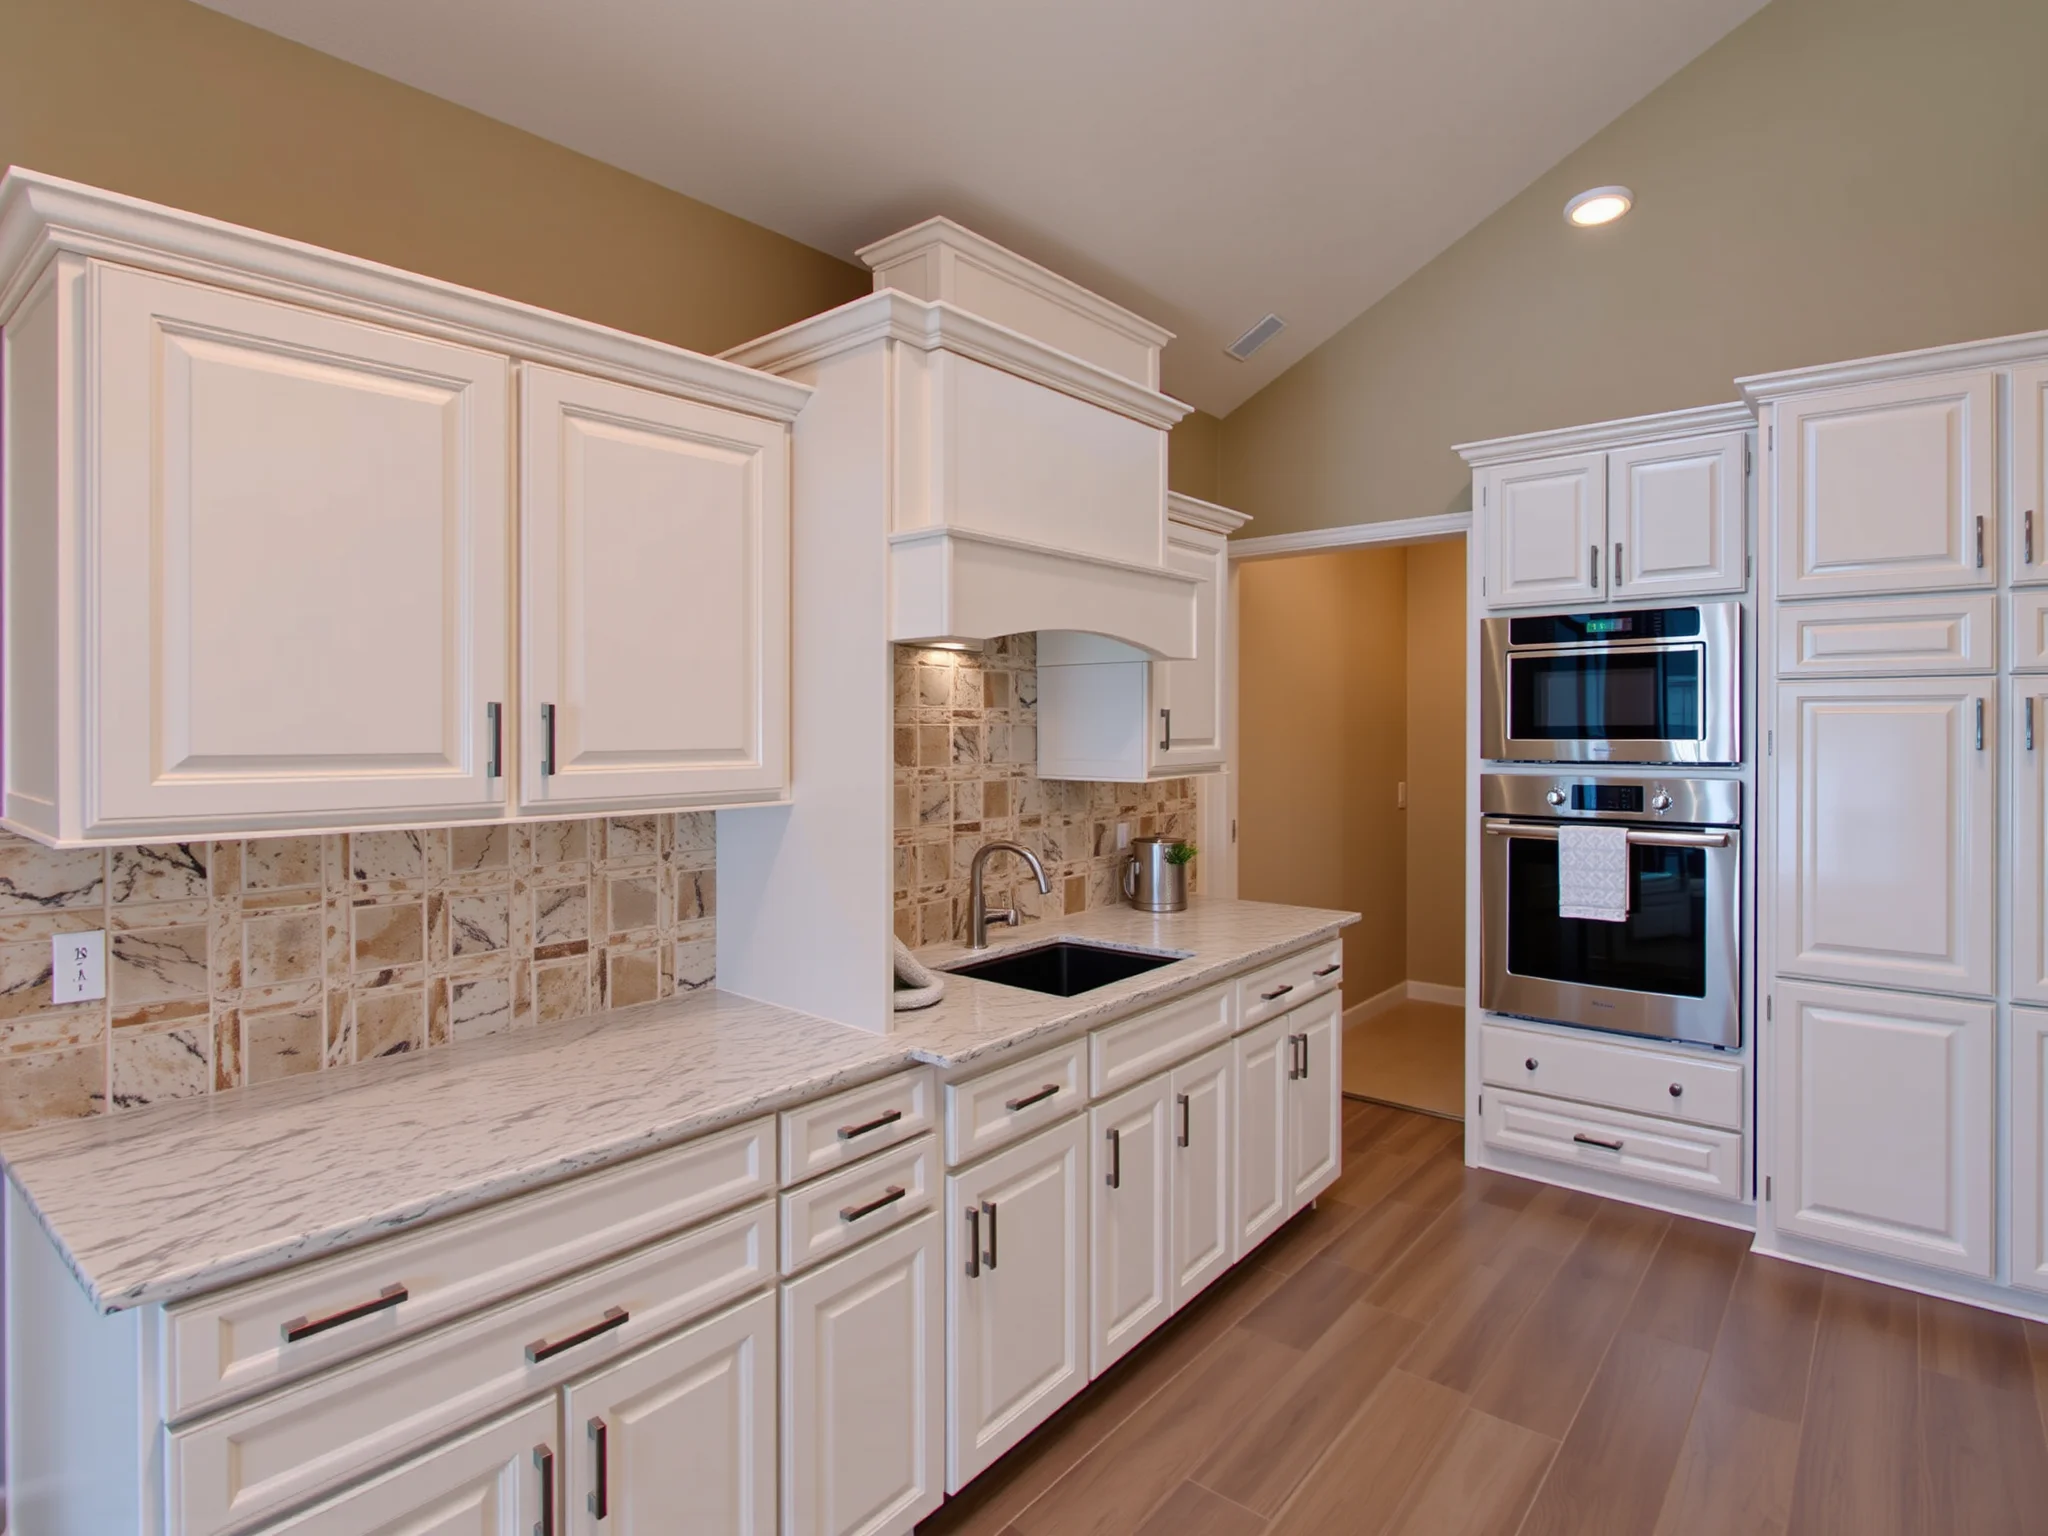
- Painted Cabinets: Bright, bold, or pastel—go monochrome or mix shades for a playful vibe.
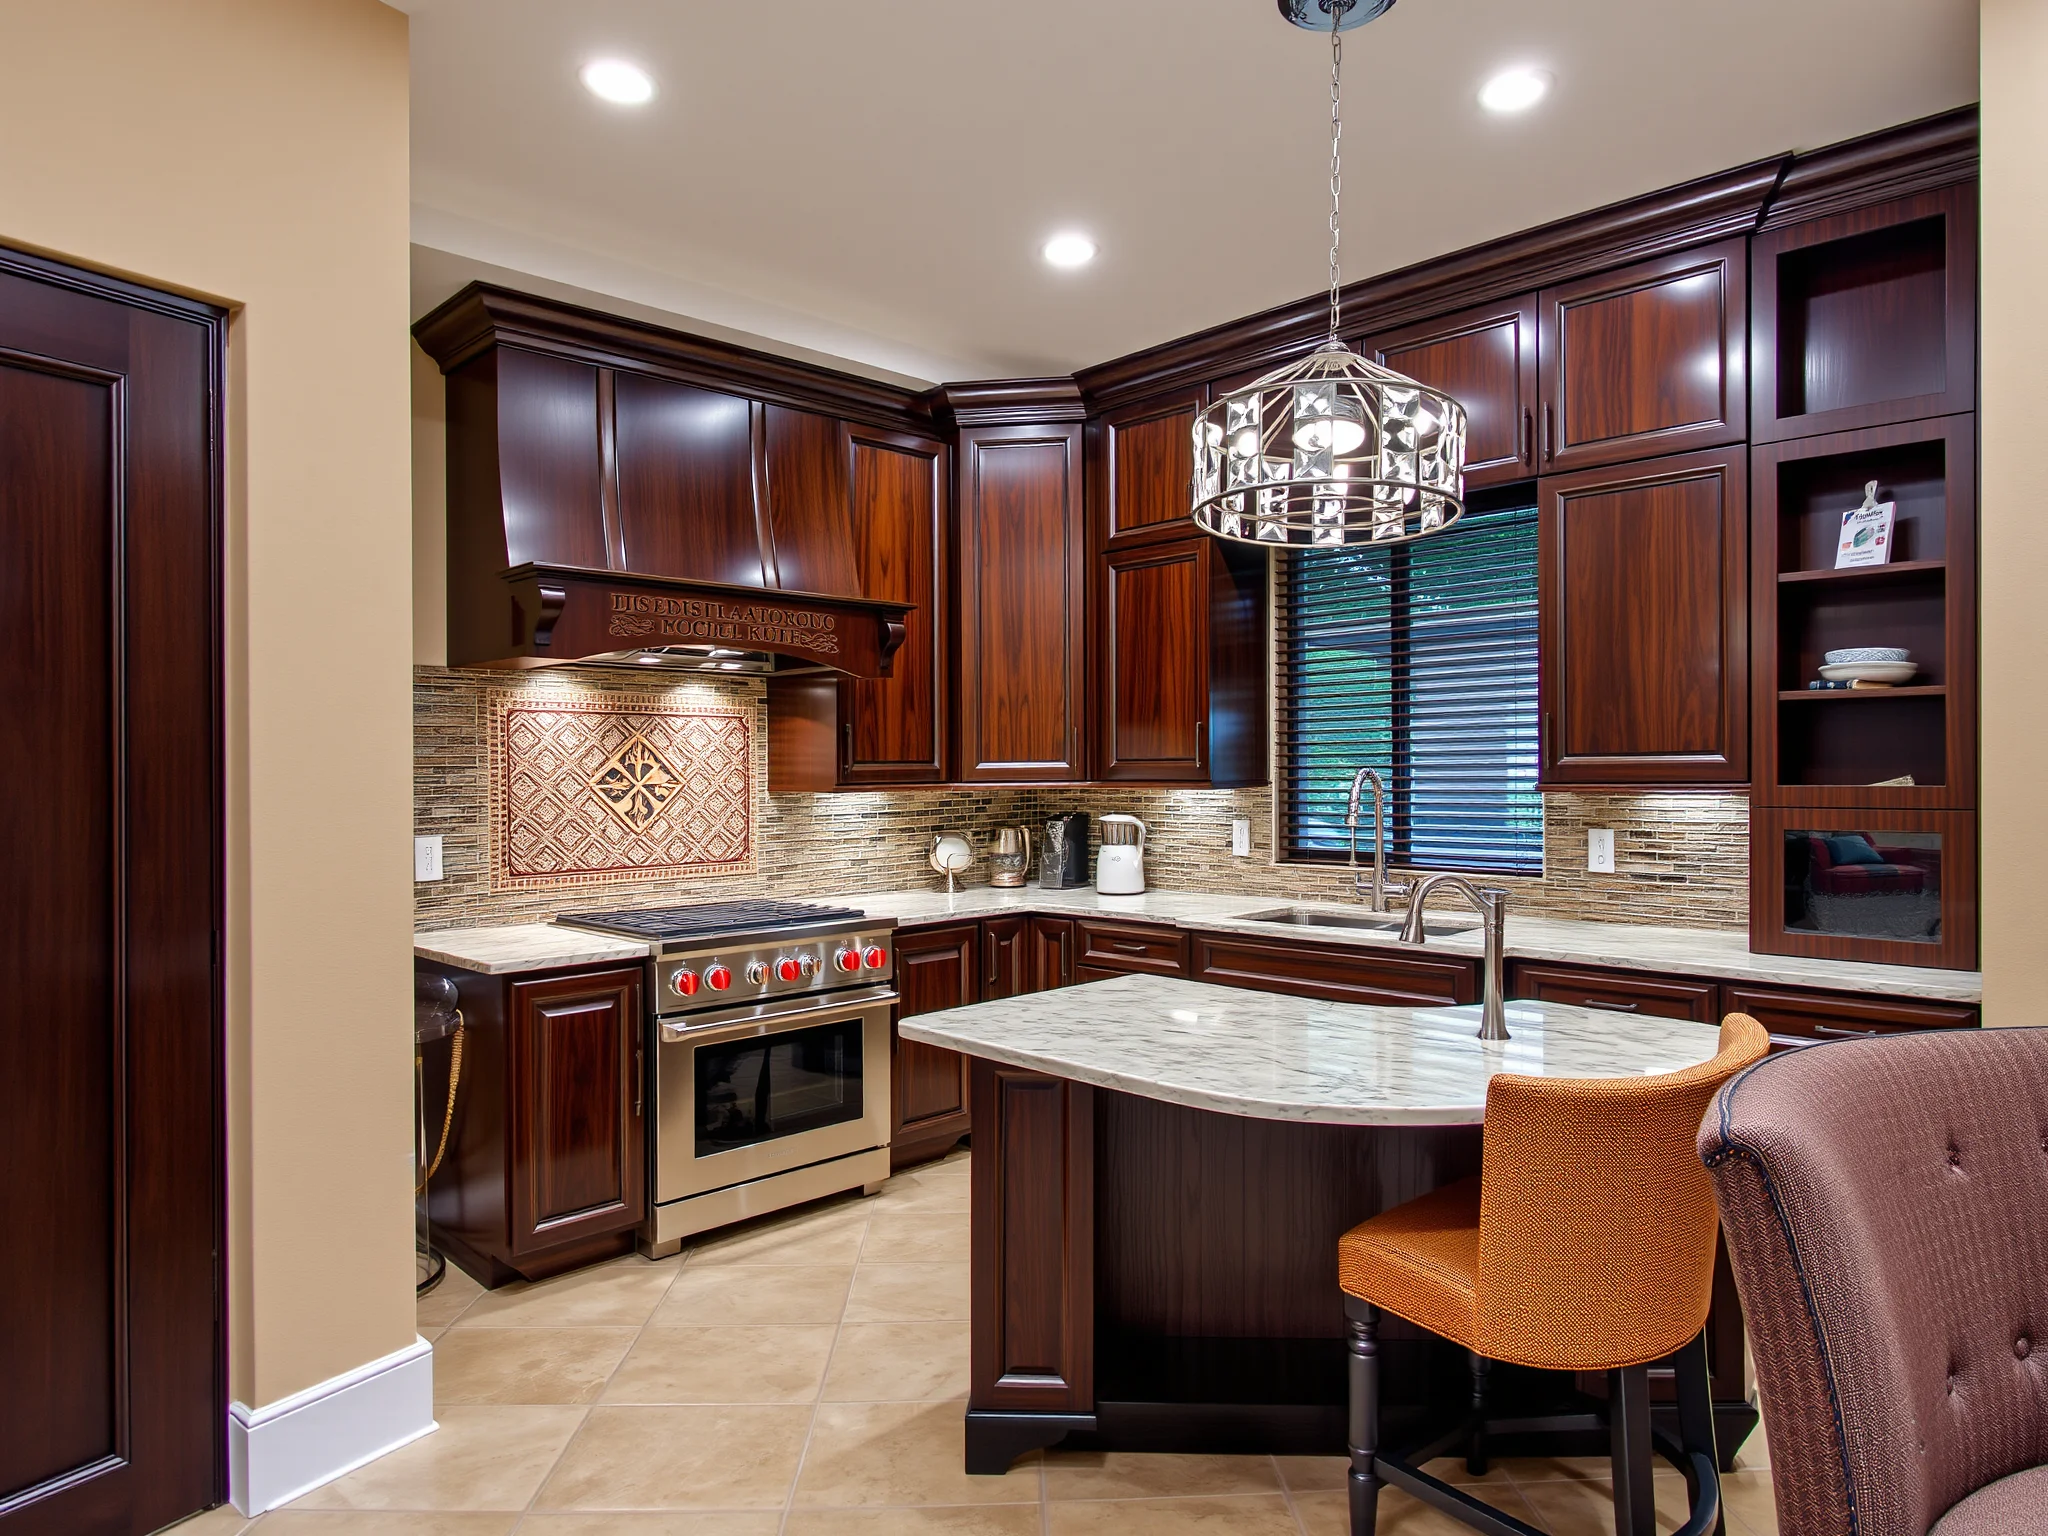
- Stained Finishes: Highlight the natural beauty of wood with rich stains—think mahogany or cherry.
- Glazed or Distressed Looks: Add character with age-worn, vintage charm.
- High-Gloss Lacquers: Achieve a modern, reflective surface that amplifies light and space.
Additionally, consider pairing your style with statement hardware, like designer pulls and knobs, to complete your vision.
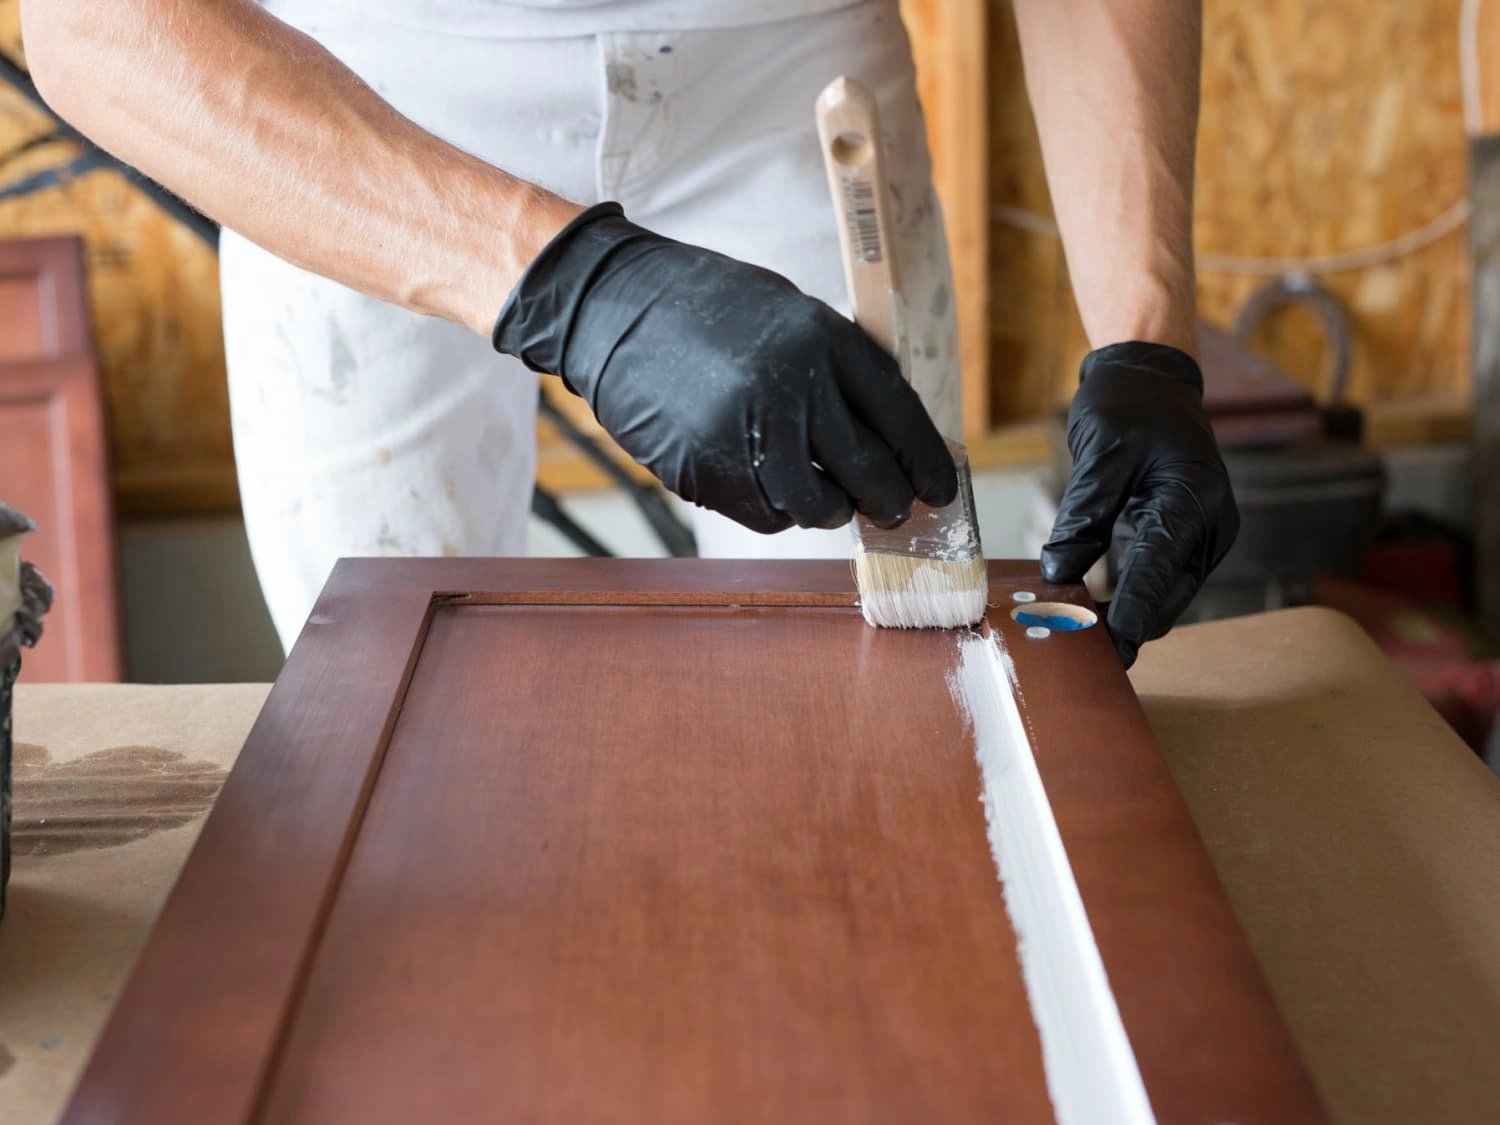
How Do You Apply Paint or Stain to Your New Cabinets for a Flawless Finish?
Achieving a flawless finish requires patience and attention to detail. Here's your step-by-step guide:
- Prime the Surface: Use a high-quality primer suited for your chosen finish to ensure adhesion and hide previous colors or imperfections.
- Use Proper Application Tools: Foam rollers or brushes can give you a smooth finish. For more precision, consider a sprayer if you're experienced.
- Thin Coats: Apply multiple thin coats rather than one thick coat. This reduces drips and uneven coverage.
- Sanding Between Coats: Lightly sand after each coat to remove bubbles or imperfections, ensuring an ultra-smooth finish.
- Seal and Protect: Finish with a clear, durable topcoat to enhance longevity and resistance to moisture and scratches.
Remember: patience is your best friend in this process. Different paints and stains may have specific drying times, so always follow manufacturer instructions.
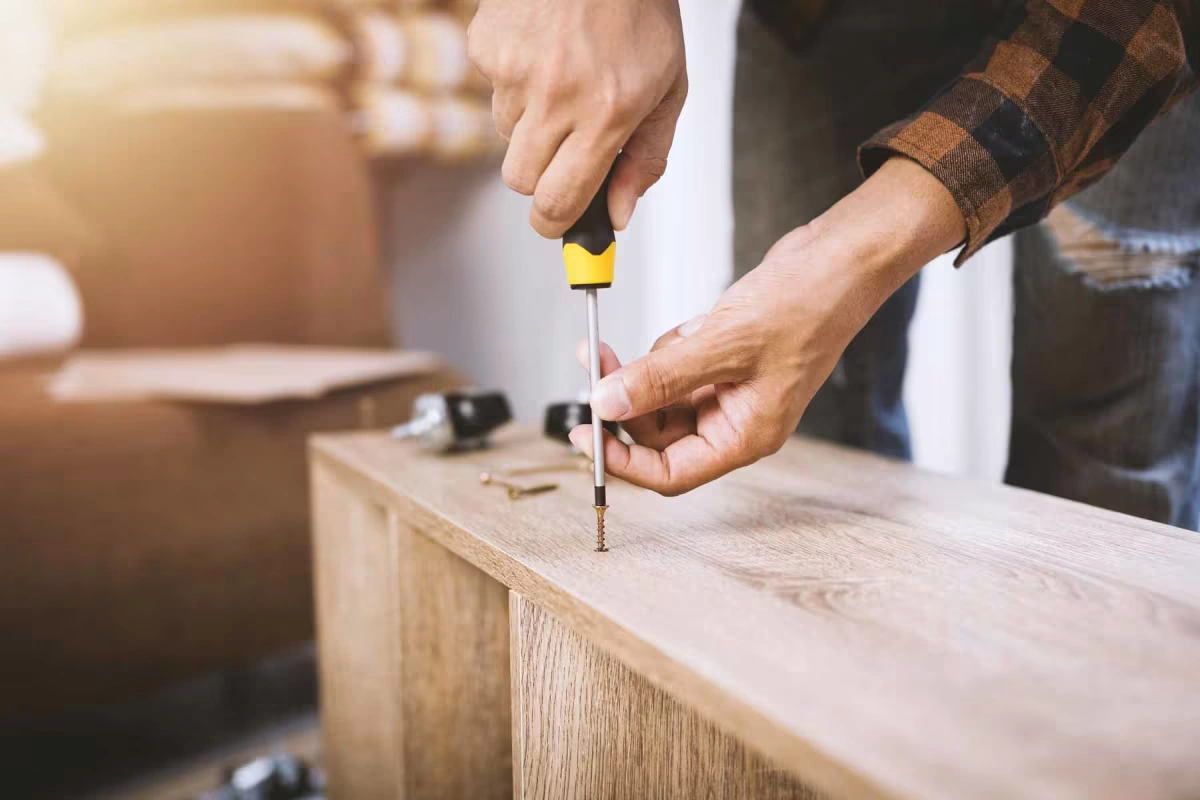
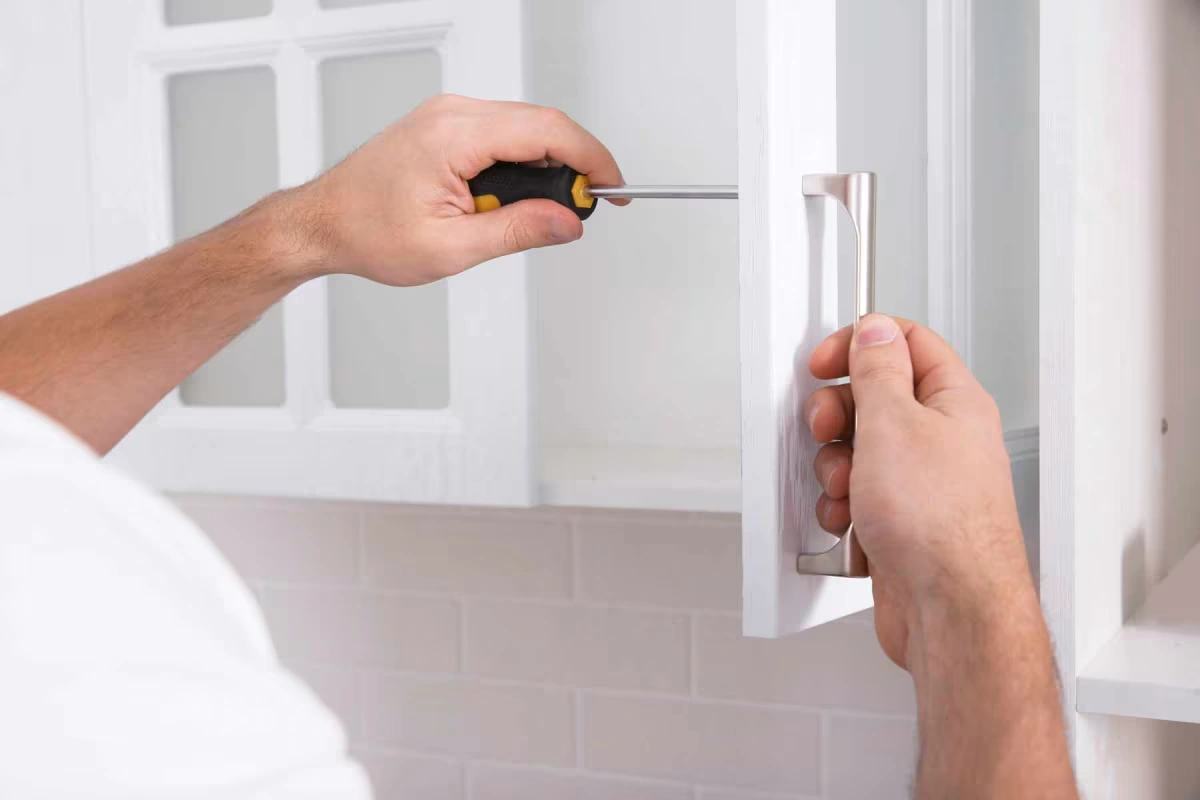
How Can You Successfully Reinstall Hardware and Attach Your Cabinet Doors?
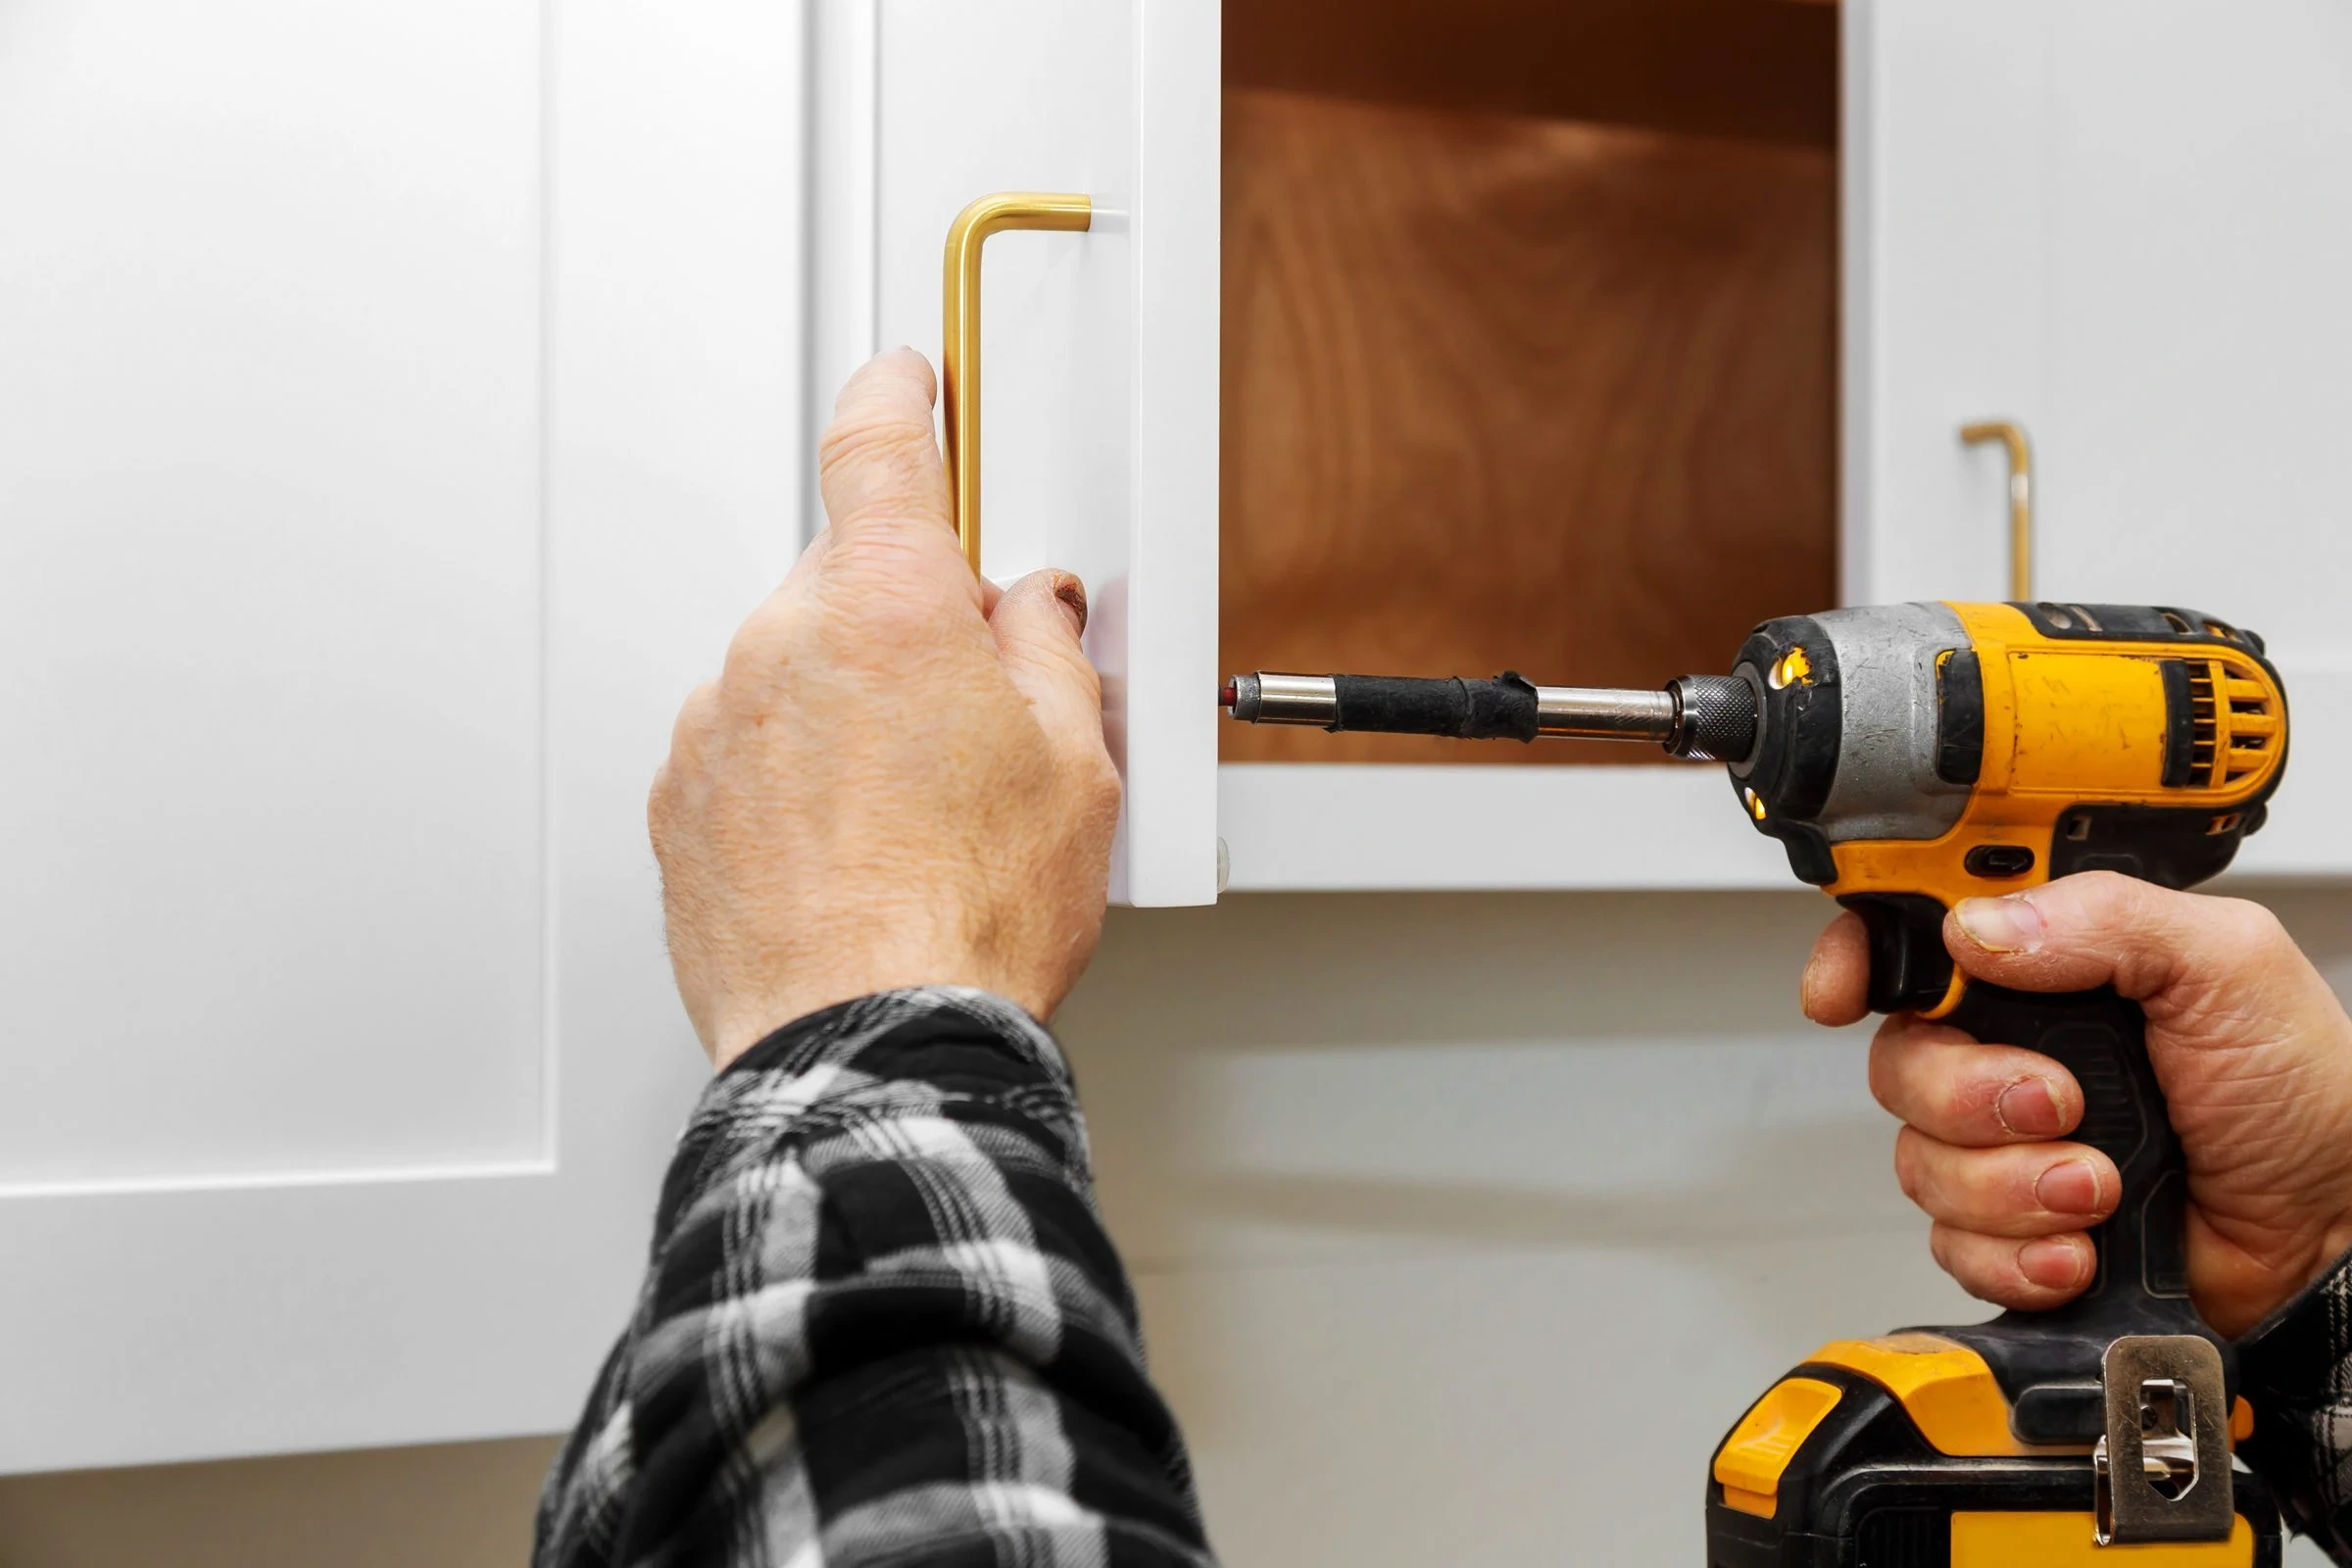
Reinstalling hardware enhances the overall look and functionality of your refreshed cabinets. Here's how to do it flawlessly:
- Mark the Positions: Use painter's tape and a level or template to ensure consistent placement of knobs and pulls.
- Replace Hinges: Use the original hinge holes if possible; if not, drill new ones carefully aligned for even spacing.
- Secure Hardware: Tighten screws firmly but avoid overtightening, which could damage the new finish.
- Check Alignment: Ensure doors are even and swing smoothly. Adjust hinges if necessary.
For expert inspiration, explore our cabinet restoration success stories for design ideas and practical tips.
What Are Common Challenges in DIY Cabinet Door Refacing, and How Can You Overcome Them?
No project is without its hurdles, but knowing how to navigate them will elevate your DIY experience. Some common challenges include:
- Uneven Finishes: Ensure surfaces are properly sanded and apply coats evenly.
- Paint Drips and Runs: Thin your paint and use quality brushes or sprayers for smoother application.
- Misaligned Doors: Take precise measurements during hinge installation and use level guides.
- Hardware Compatibility: Double-check sizes and hole placements before drilling to avoid misfitting knobs or pulls.
Remember, patience and meticulous attention to detail will make the difference between a good project and a great masterpiece.
Can DIY Cabinet Door Refacing Truly Match Professional Results?
Absolutely! With the right tools, a clear plan, and a dash of flair, DIY cabinet door refacing can rival professional standards. Here’s how:
- Research and Planning: Visualize your final look with mood boards and samples.
- Proper Surface Prep: The foundation of a stunning finish starts here.
- Quality Materials: Invest in high-grade paints, stains, and hardware for longevity and vibrancy.
- Attention to Detail: Take your time with sanding, painting, and hardware placement.
- Seek Inspiration and Community: Online forums, tutorials, and success stories boost confidence and provide helpful hacks.
By embracing these principles, you can turn your DIY dream into a dazzling reality that turns heads and pleases the eye.
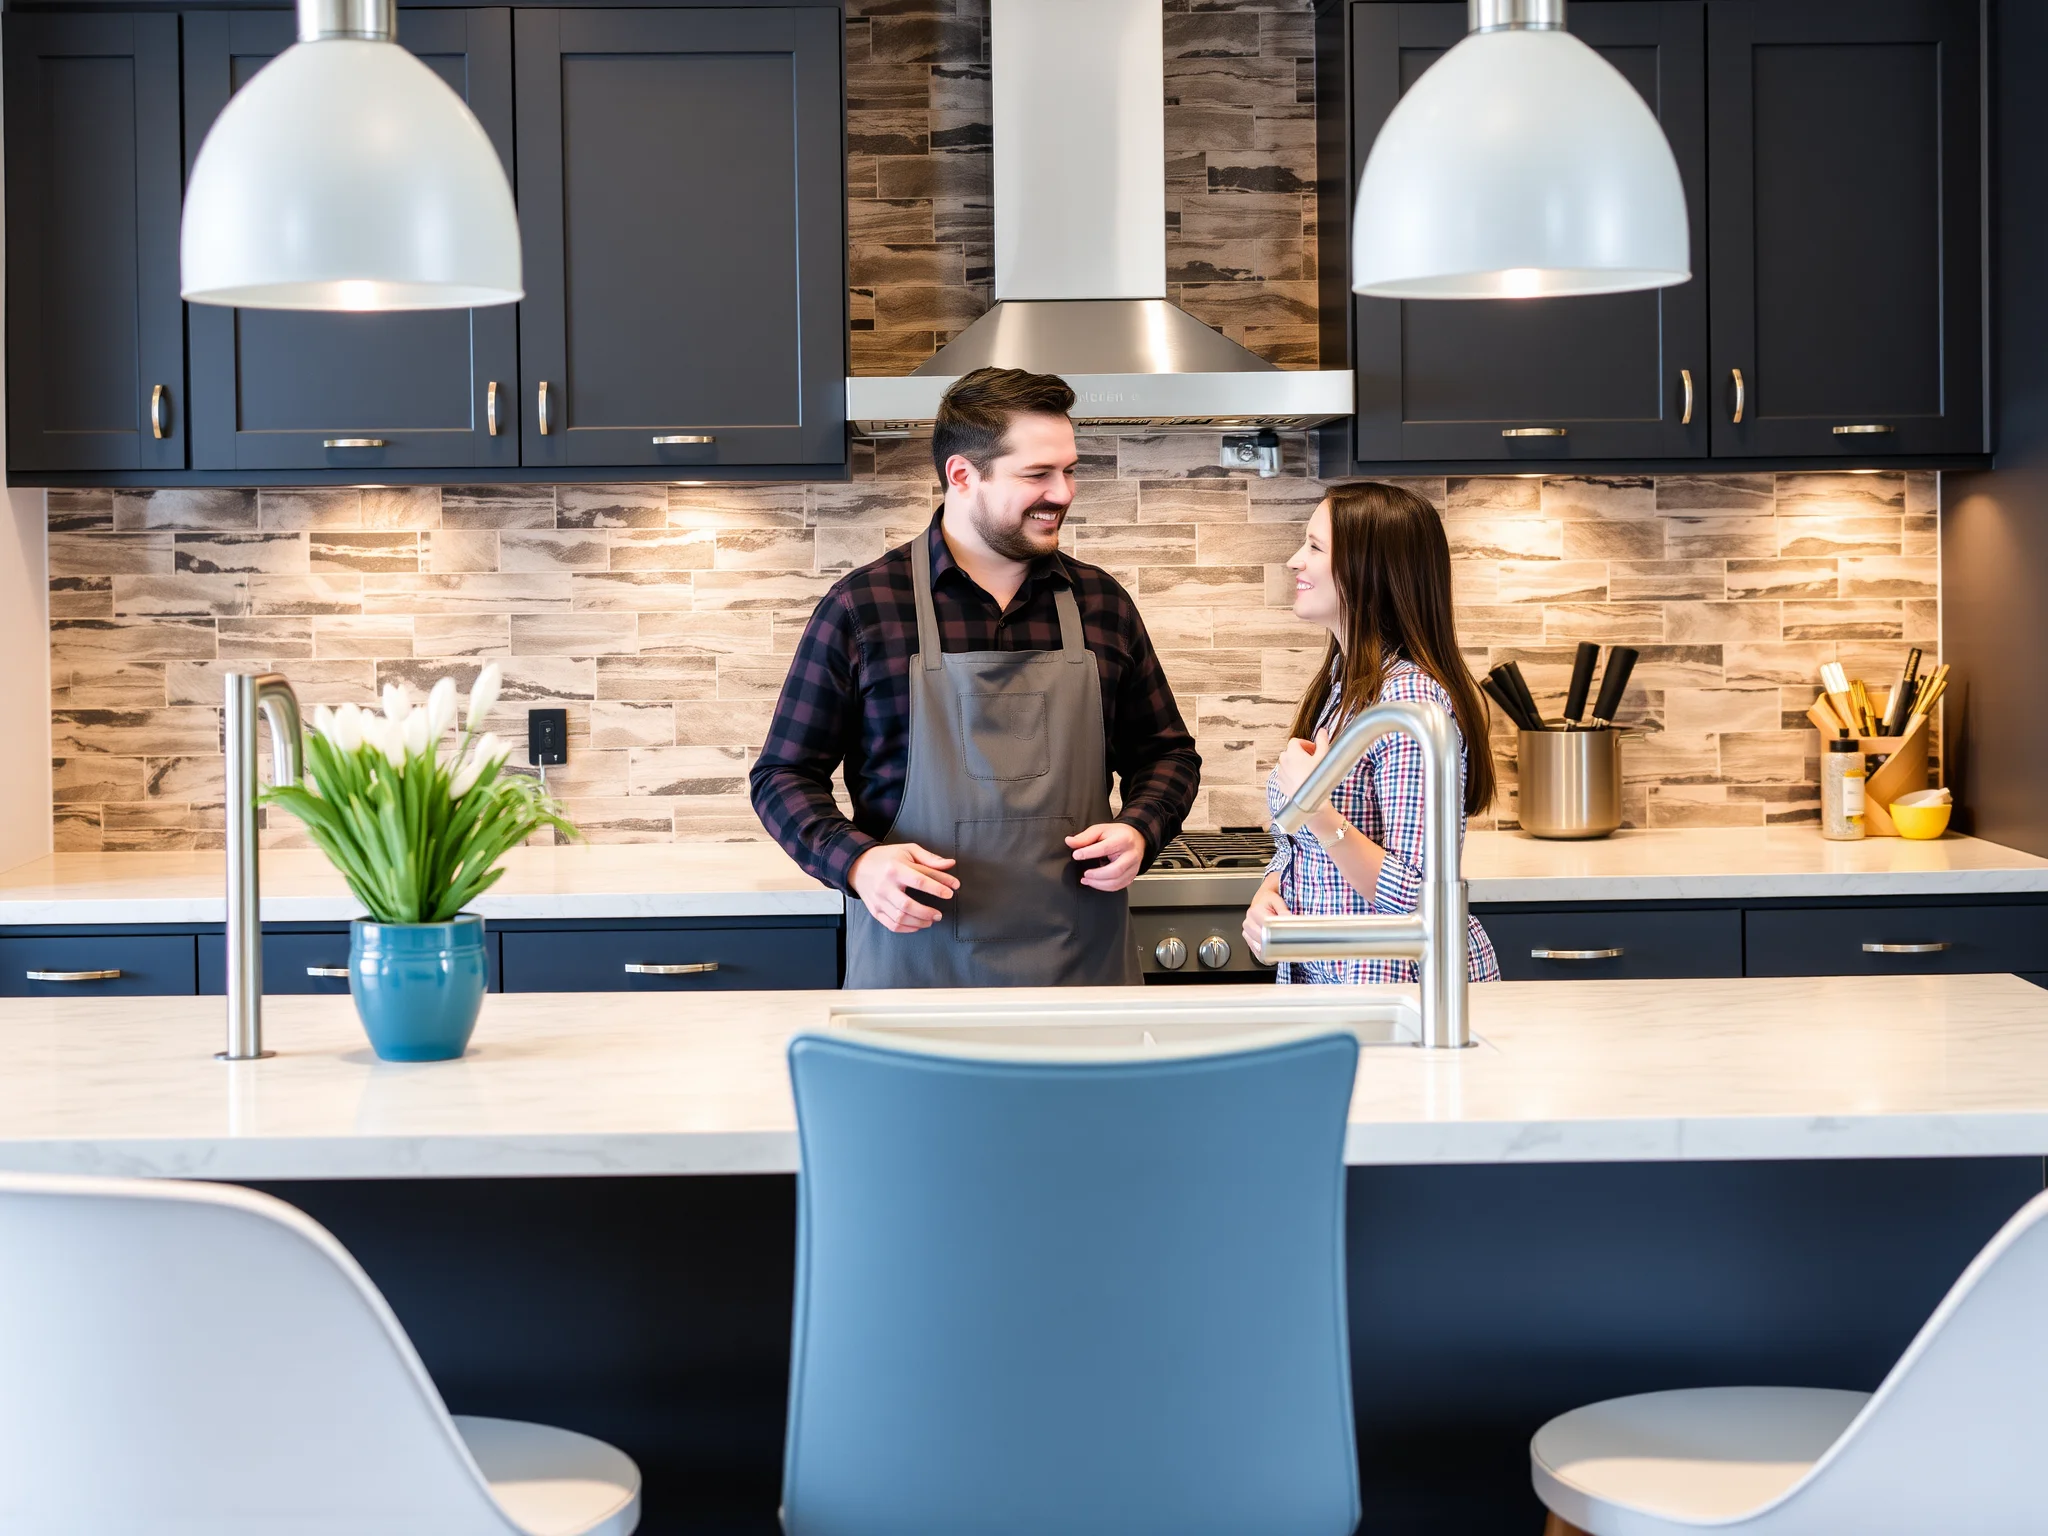
Is It Worth Investing Time and Effort Into DIY Cabinet Door Refacing?
Absolutely! Not only does DIY cabinet door refacing save you money, but it also offers a fulfilling creative outlet. Imagine the bragging rights when friends marvel at your custom kitchen upgrade! Plus, you’re contributing to sustainability by reusing existing cabinets. The satisfaction of transforming your space with your own hands adds a priceless sense of accomplishment. For those considering a more comprehensive overhaul, explore how custom ideas like the latest options in Shaker cabinets can elevate your project into a true masterpiece.
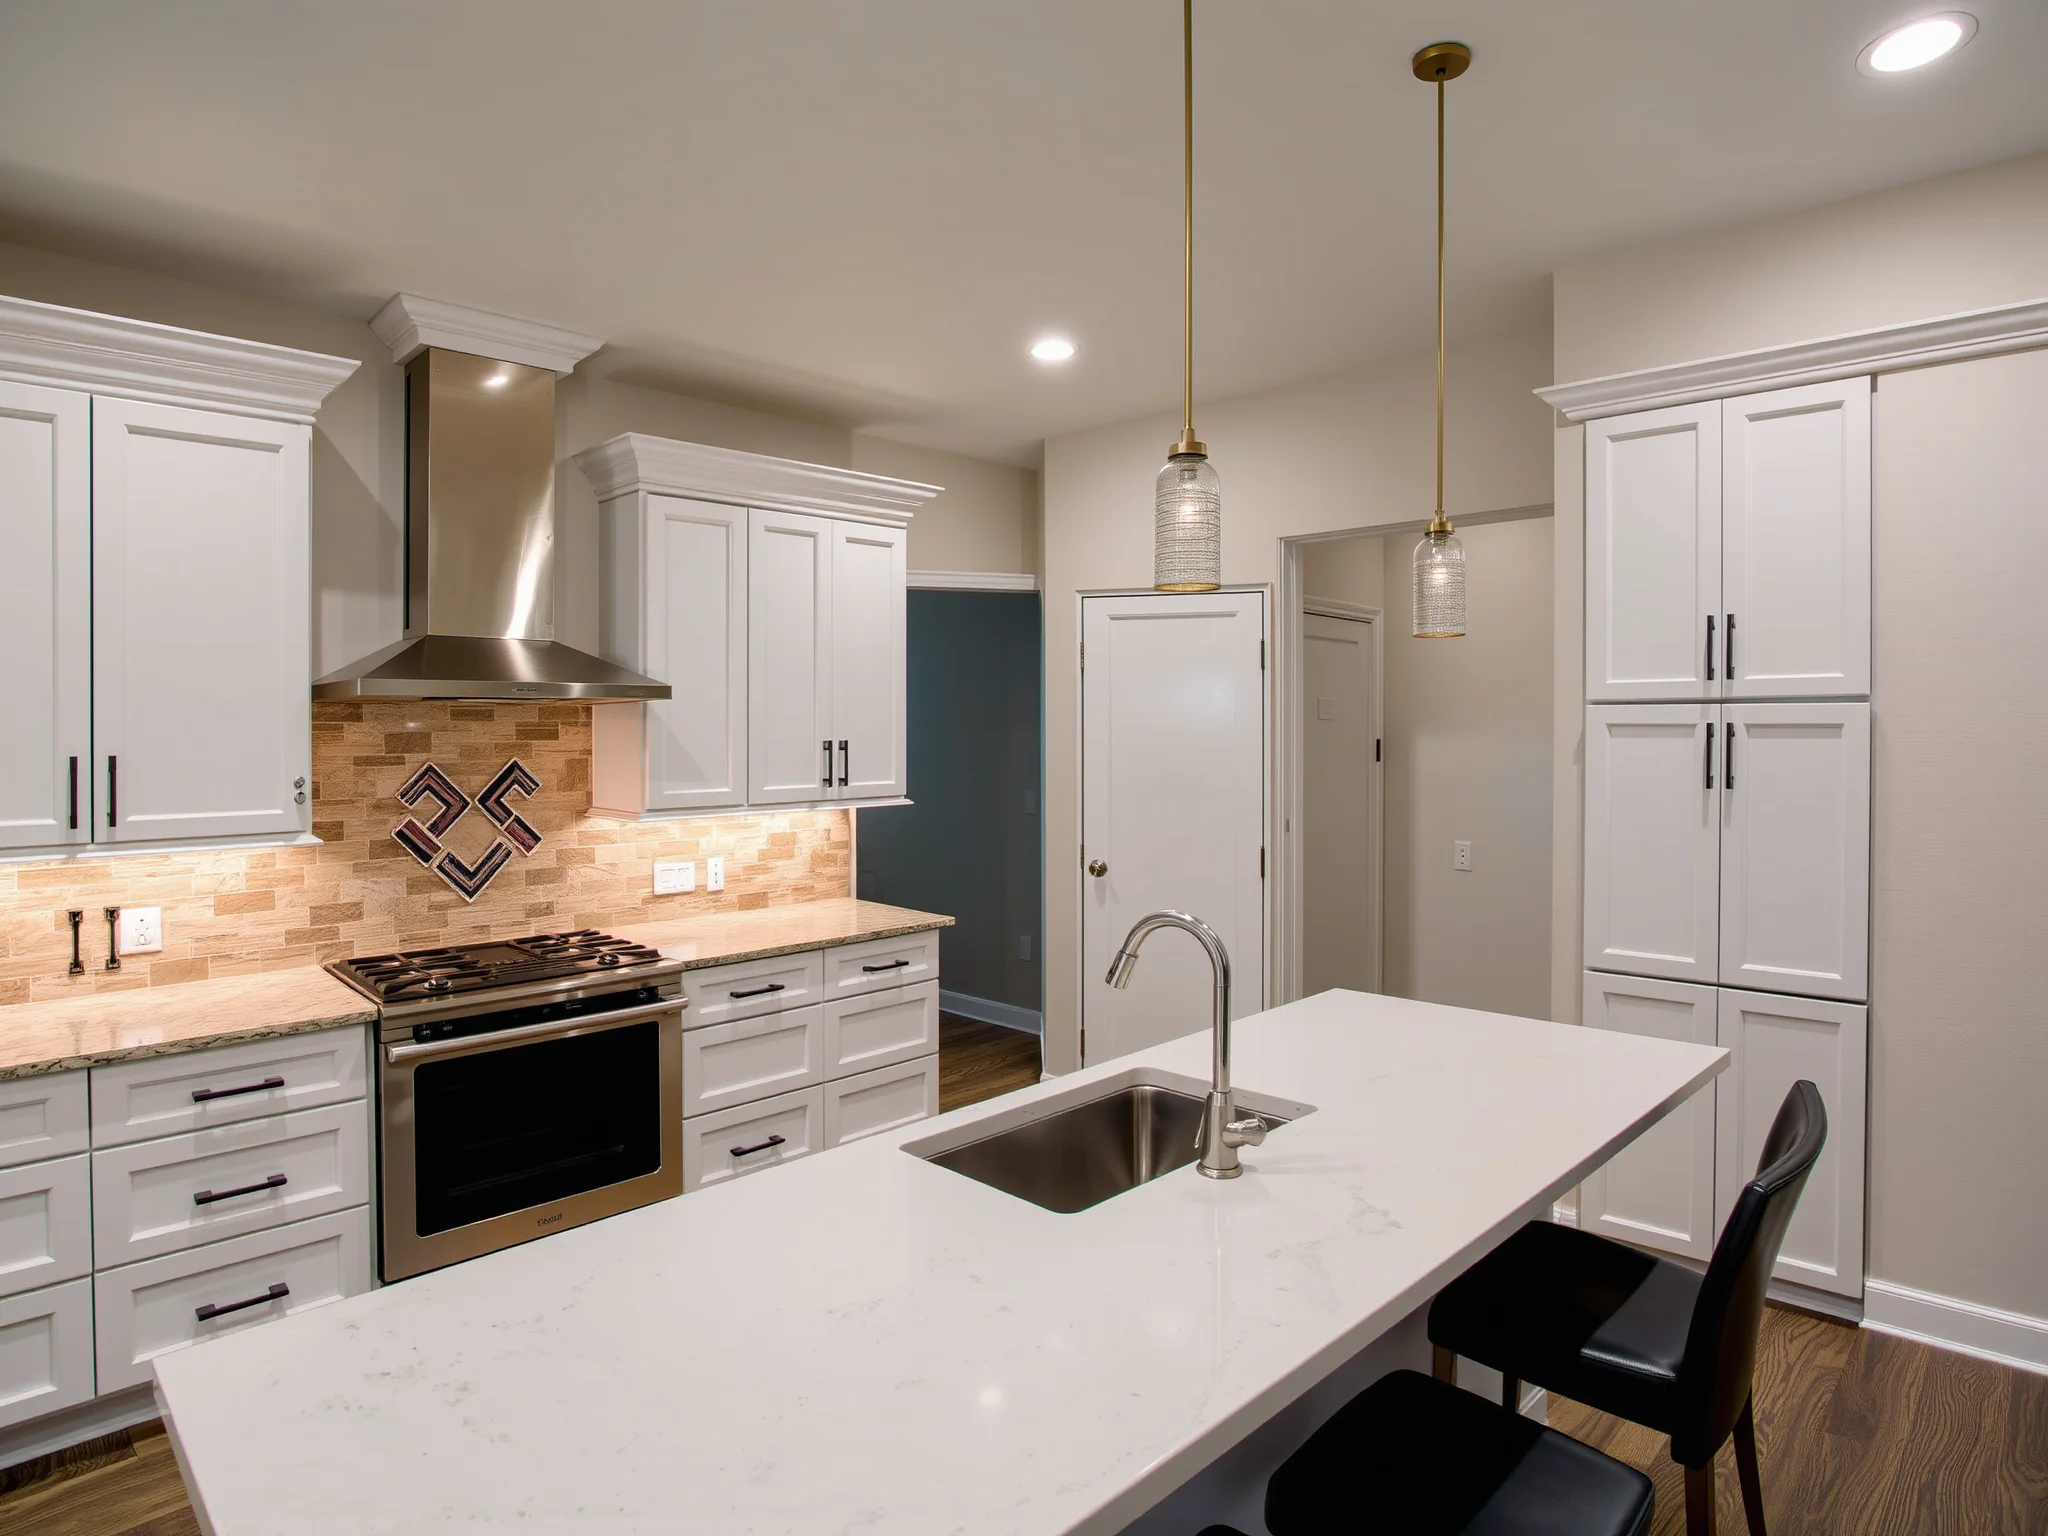
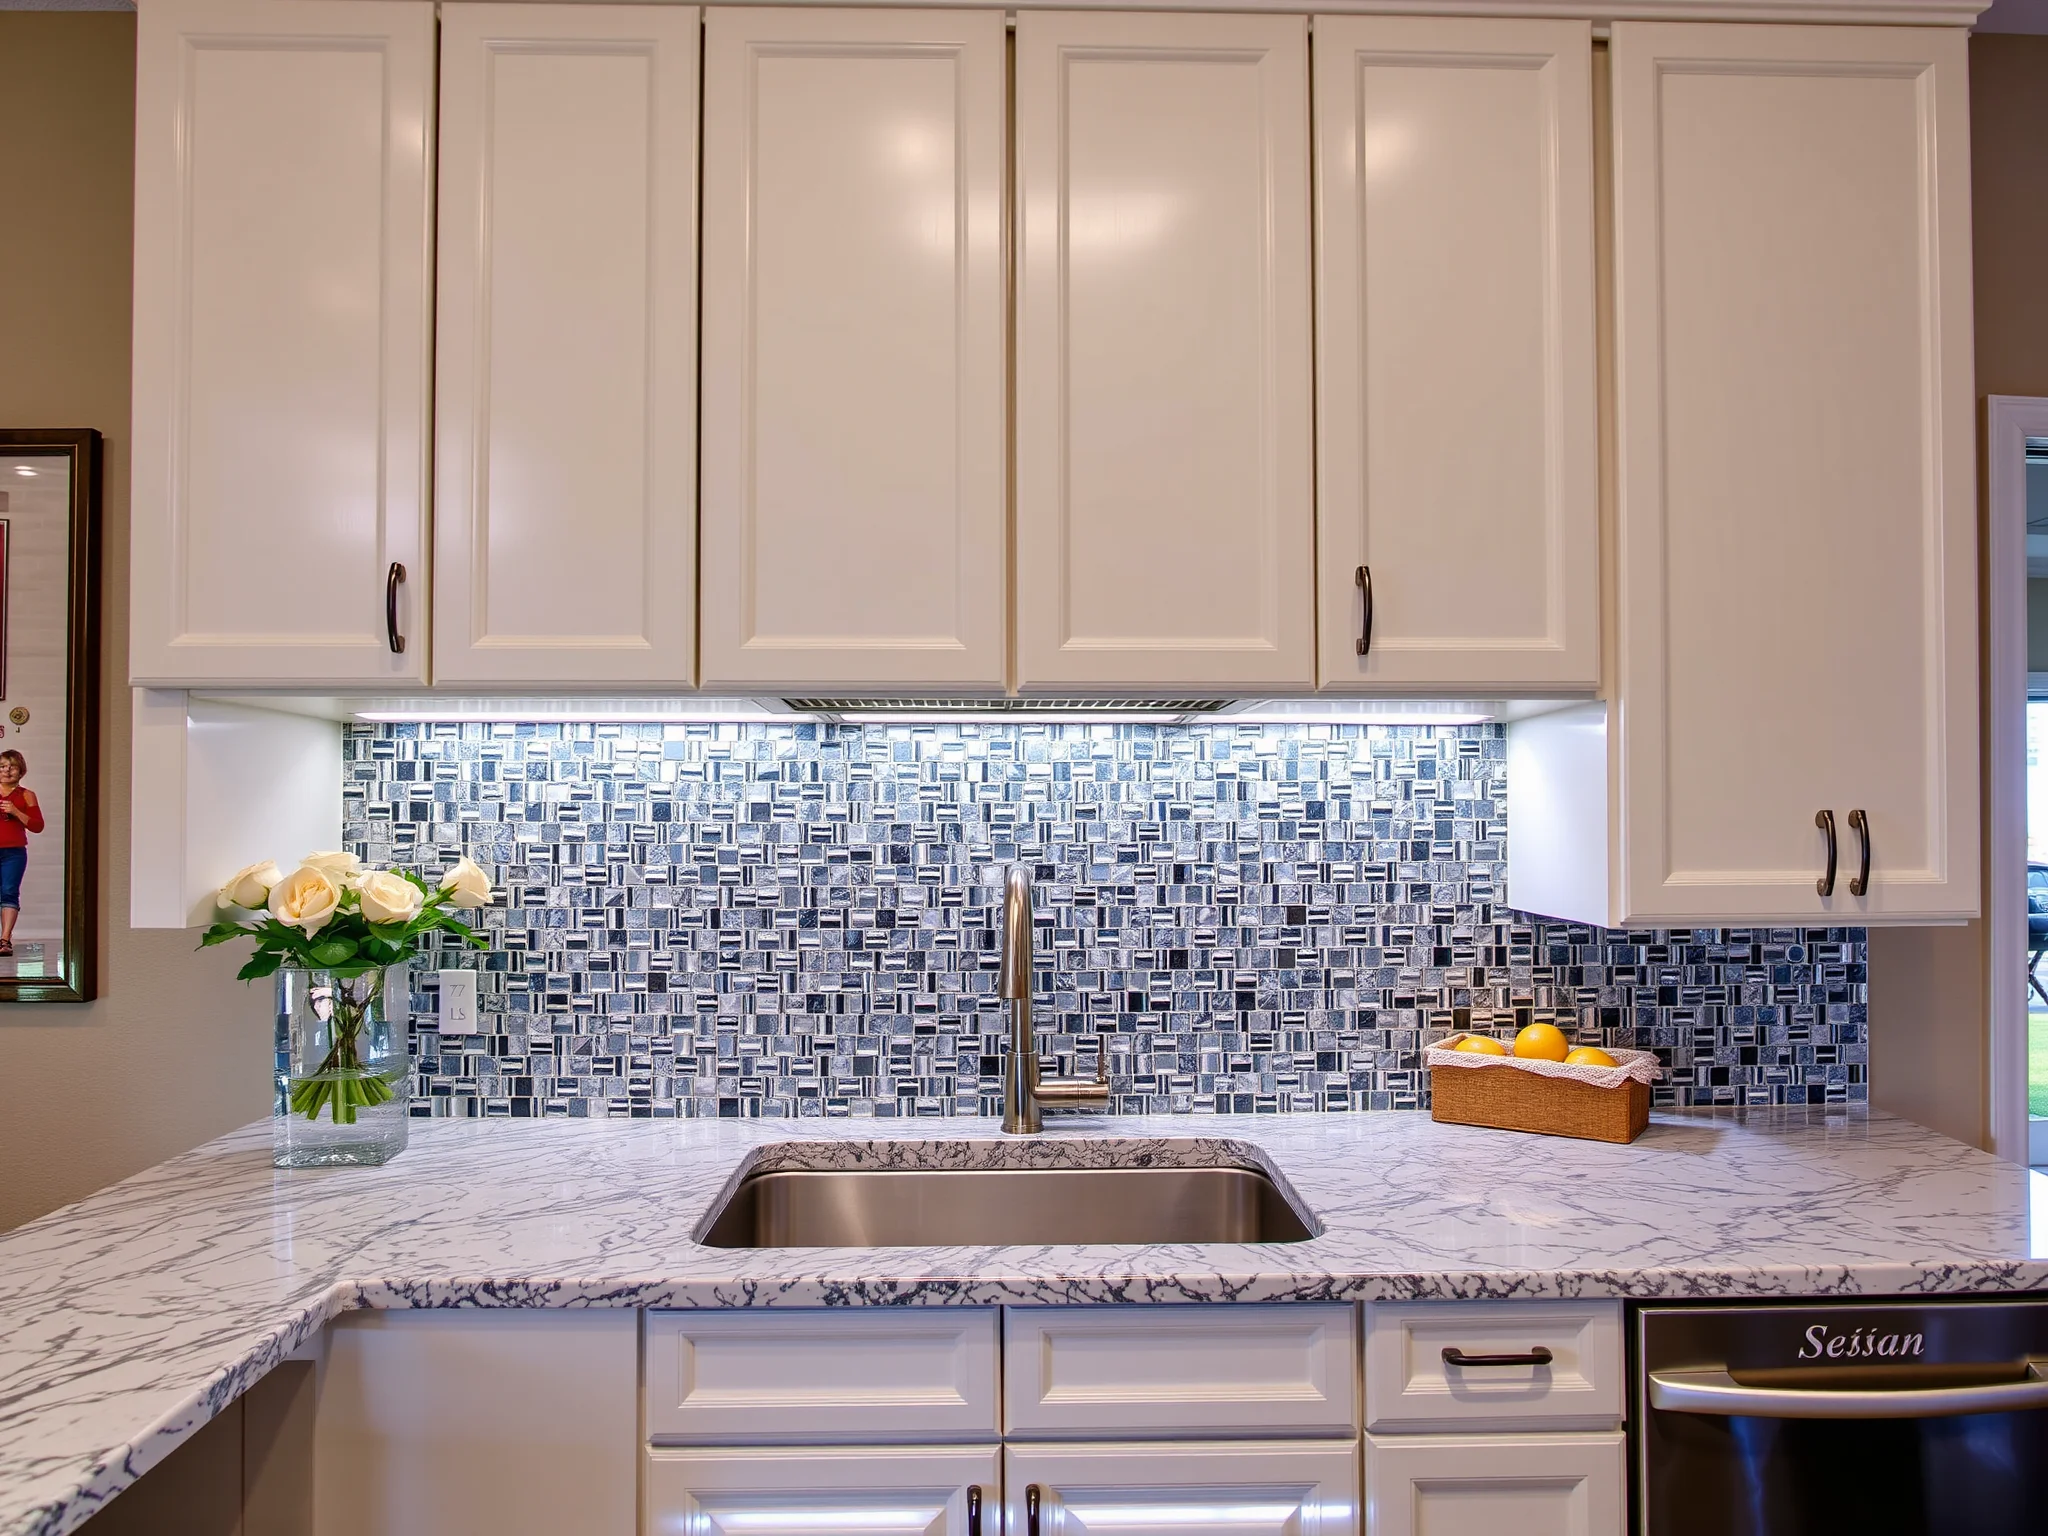
What Are Some Inspiring Before-and-After DIY Cabinet Door Refacing Success Stories?
Need a dose of motivation? Check out our cabinet refinishing success stories that showcase stunning transformations. From gloomy to glamorous, these projects prove that with vision and effort, anyone can elevate their home’s style dramatically.
Can Professional Help Boost My DIY Results, or Should I Do It All Myself?
While DIY cabinet door refacing is incredibly rewarding, sometimes partnering with professionals—especially for complex tasks like precise woodwork or specialized finishes—can ensure immaculate results. Hollywood Cabinet Refinishing offers expert consultation and can assist in turning your DIY vision into reality. To explore your options, see our detailed guide on kitchen cabinet installation in Hurst, Texas.
How Can You Maintain Your Newly Refaced Cabinets for Long-Lasting Beauty?
Homeowners seeking longevity should keep these tips in mind:
- Regularly clean surfaces with gentle soap and water—avoid abrasive cleaners.
- Avoid harsh chemicals that can damage paint or stain.
- Touch up scratches and chips promptly to prevent further damage.
- Use felt pads on hardware to minimize wear and tear.
- Consider periodic sealing or waxing for stained finishes.
Your investment in DIY cabinet door refacing deserves a little TLC to keep it shining bright for years to come.
FAQs About DIY Cabinet Door Refacing: Your Burning Questions Answered
Absolutely! From sleek modern kitchens to rustic farmhouse styles, DIY refacing can be tailored to match virtually any aesthetic by selecting appropriate colors, hardware, and finishes.
The timeframe depends on your project's complexity and scale. On average, expect it to take from a few days to a couple of weeks, considering drying times and curing periods for paint or stain.
You can certainly reuse hardware if it’s in good condition. However, upgrading to new, stylish hardware can dramatically enhance the overall look and feel of your cabinets.
High-quality paints, stains, and sealants designed specifically for cabinetry provide the best durability and aesthetic appeal. Always choose finishes suitable for high-moisture environments like kitchens.
Think about your overall kitchen design, lighting, and personal style. Light colors brighten small spaces, while bold shades add drama. For inspiration, browse trending palettes on sites like Pinterest or Houzz.
Feel inspired to elevate your home’s look with the magic of DIY cabinet door refacing! Whether you’re adding a splash of color, embracing a classic stain, or exploring new hardware options, the results will be nothing short of spectacular—and the pride of creating a space that truly shouts “Hollywood glamour!”


:max_bytes(150000):strip_icc()/TAL-the-star-frisco-texas-FRISCOTX0223-5fb5e2ddde5a431e8072e46cbc504b63.jpg)


