

How to Add Decorative Trim to Cabinets: A Step-by-Step Guide
How to Add Decorative Trim to Cabinets: A Step-by-Step Guide for Homeowners
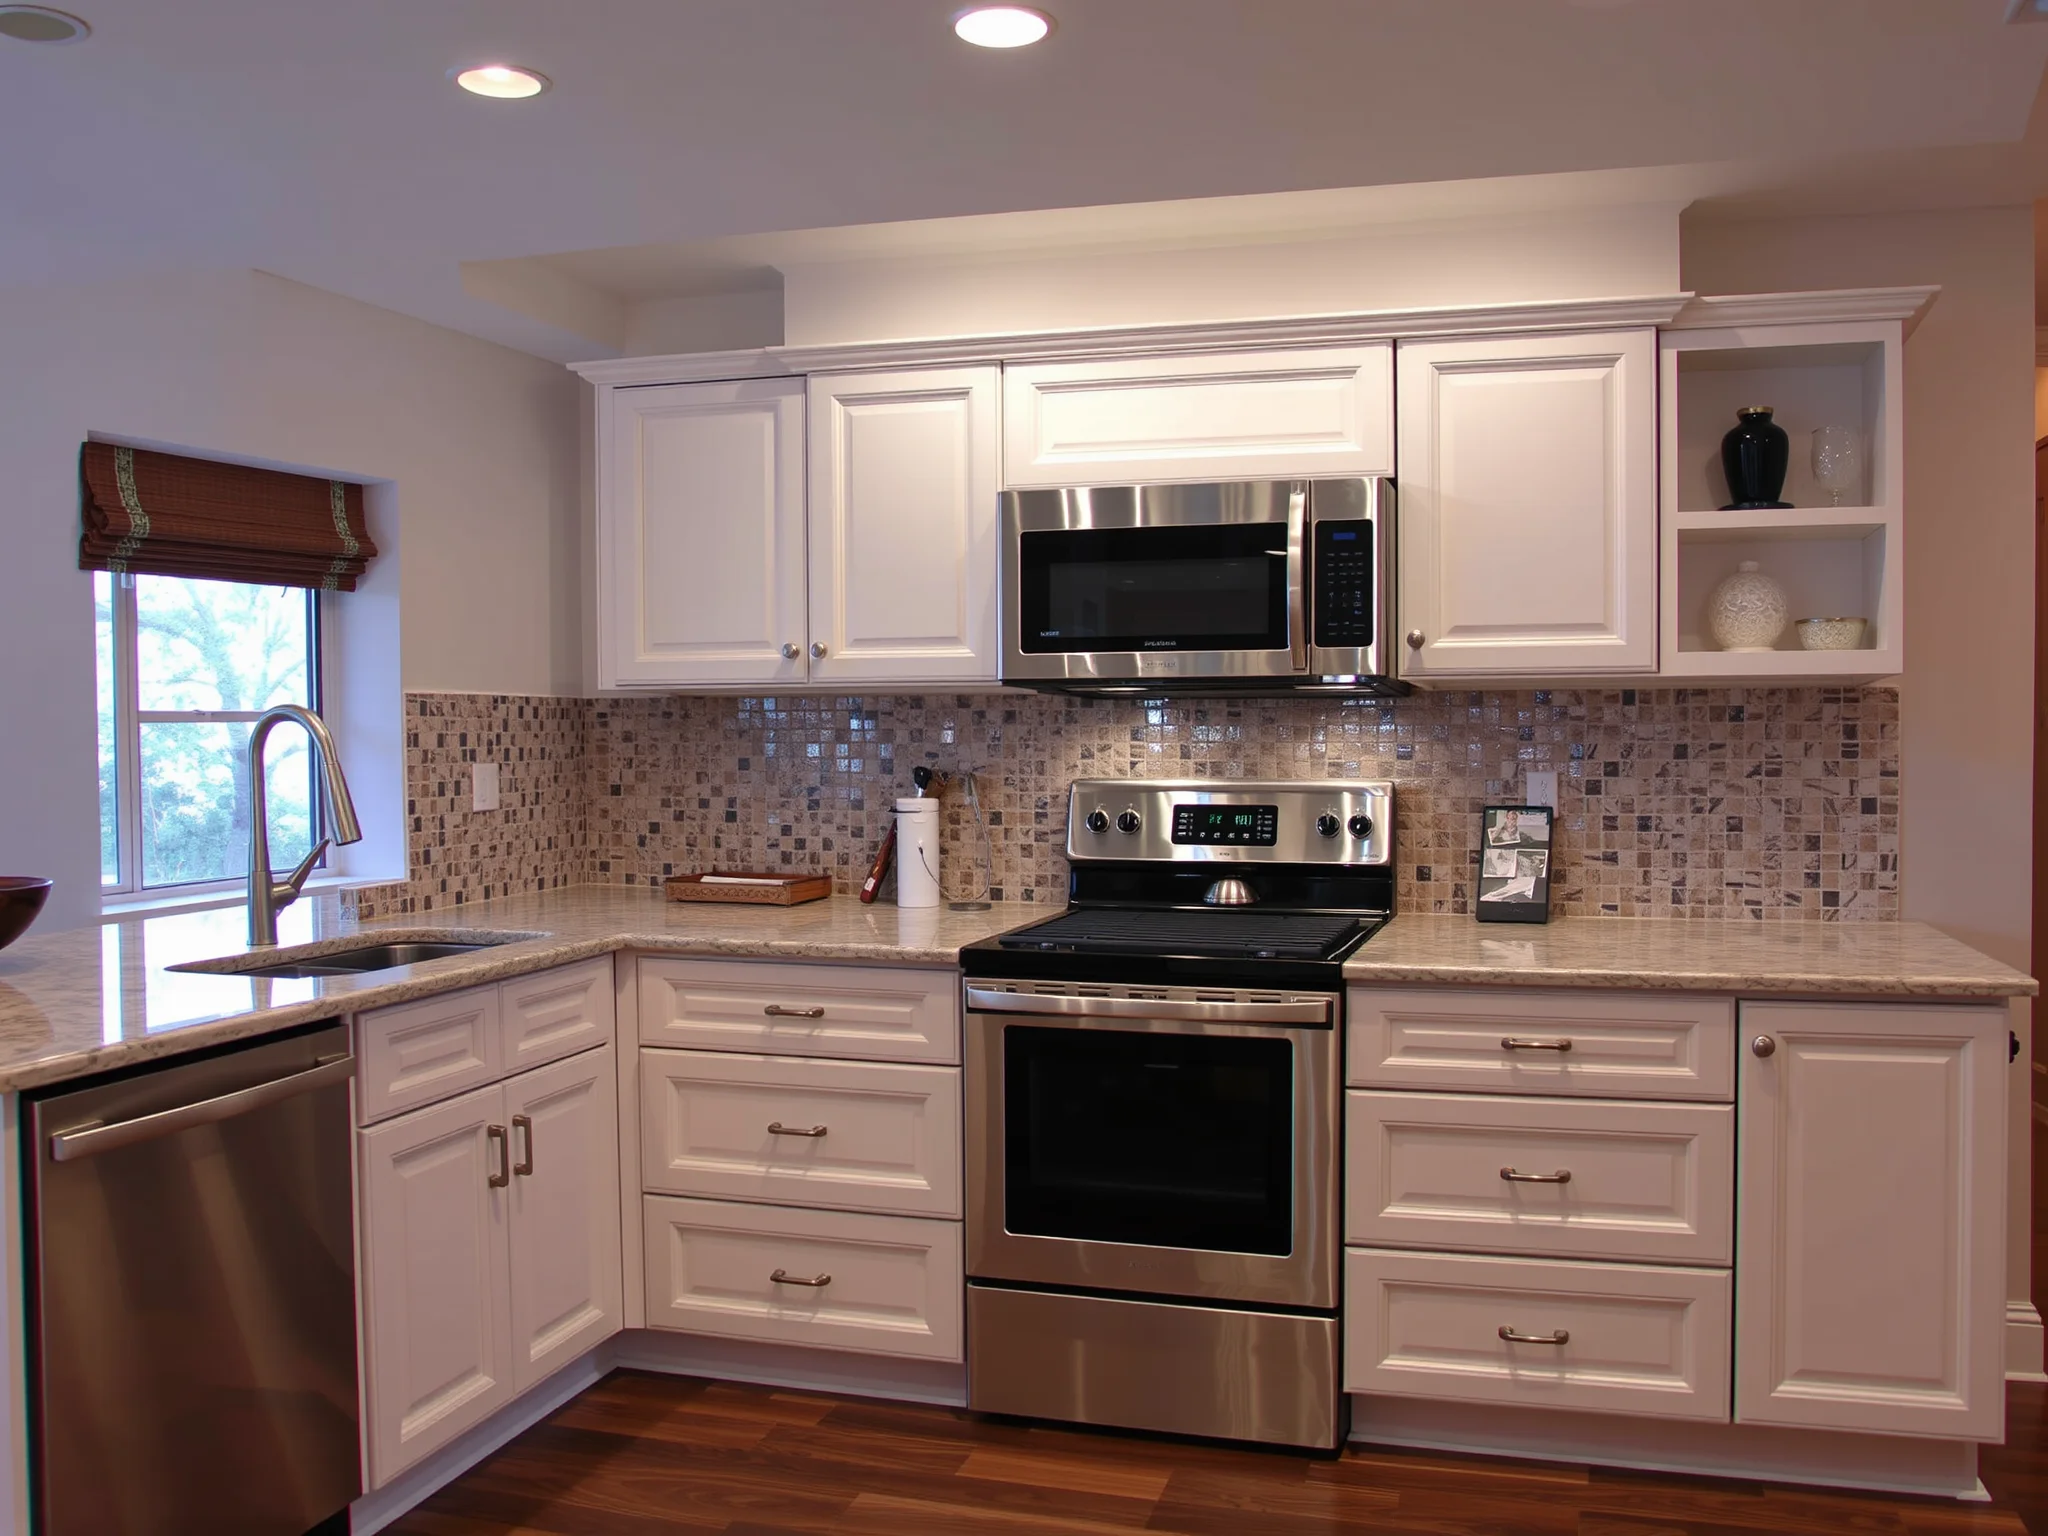
Are you looking to elevate your kitchen or bathroom cabinets without embarking on a full remodel? Adding decorative trim is an excellent way to enhance your cabinetry’s aesthetic appeal, bringing a custom, sophisticated look tailored to your style. At Hollywood Cabinet Refinishing, we understand the transformative power of well-placed decorative trim. This comprehensive guide will walk you through the process of learning how to add decorative trim to cabinets, equipping you with practical tips, valuable insights, and expert advice to achieve professional-looking results, even if you're a DIY novice.
What Are Decorative Cabinet Trims and Why Are They Important?
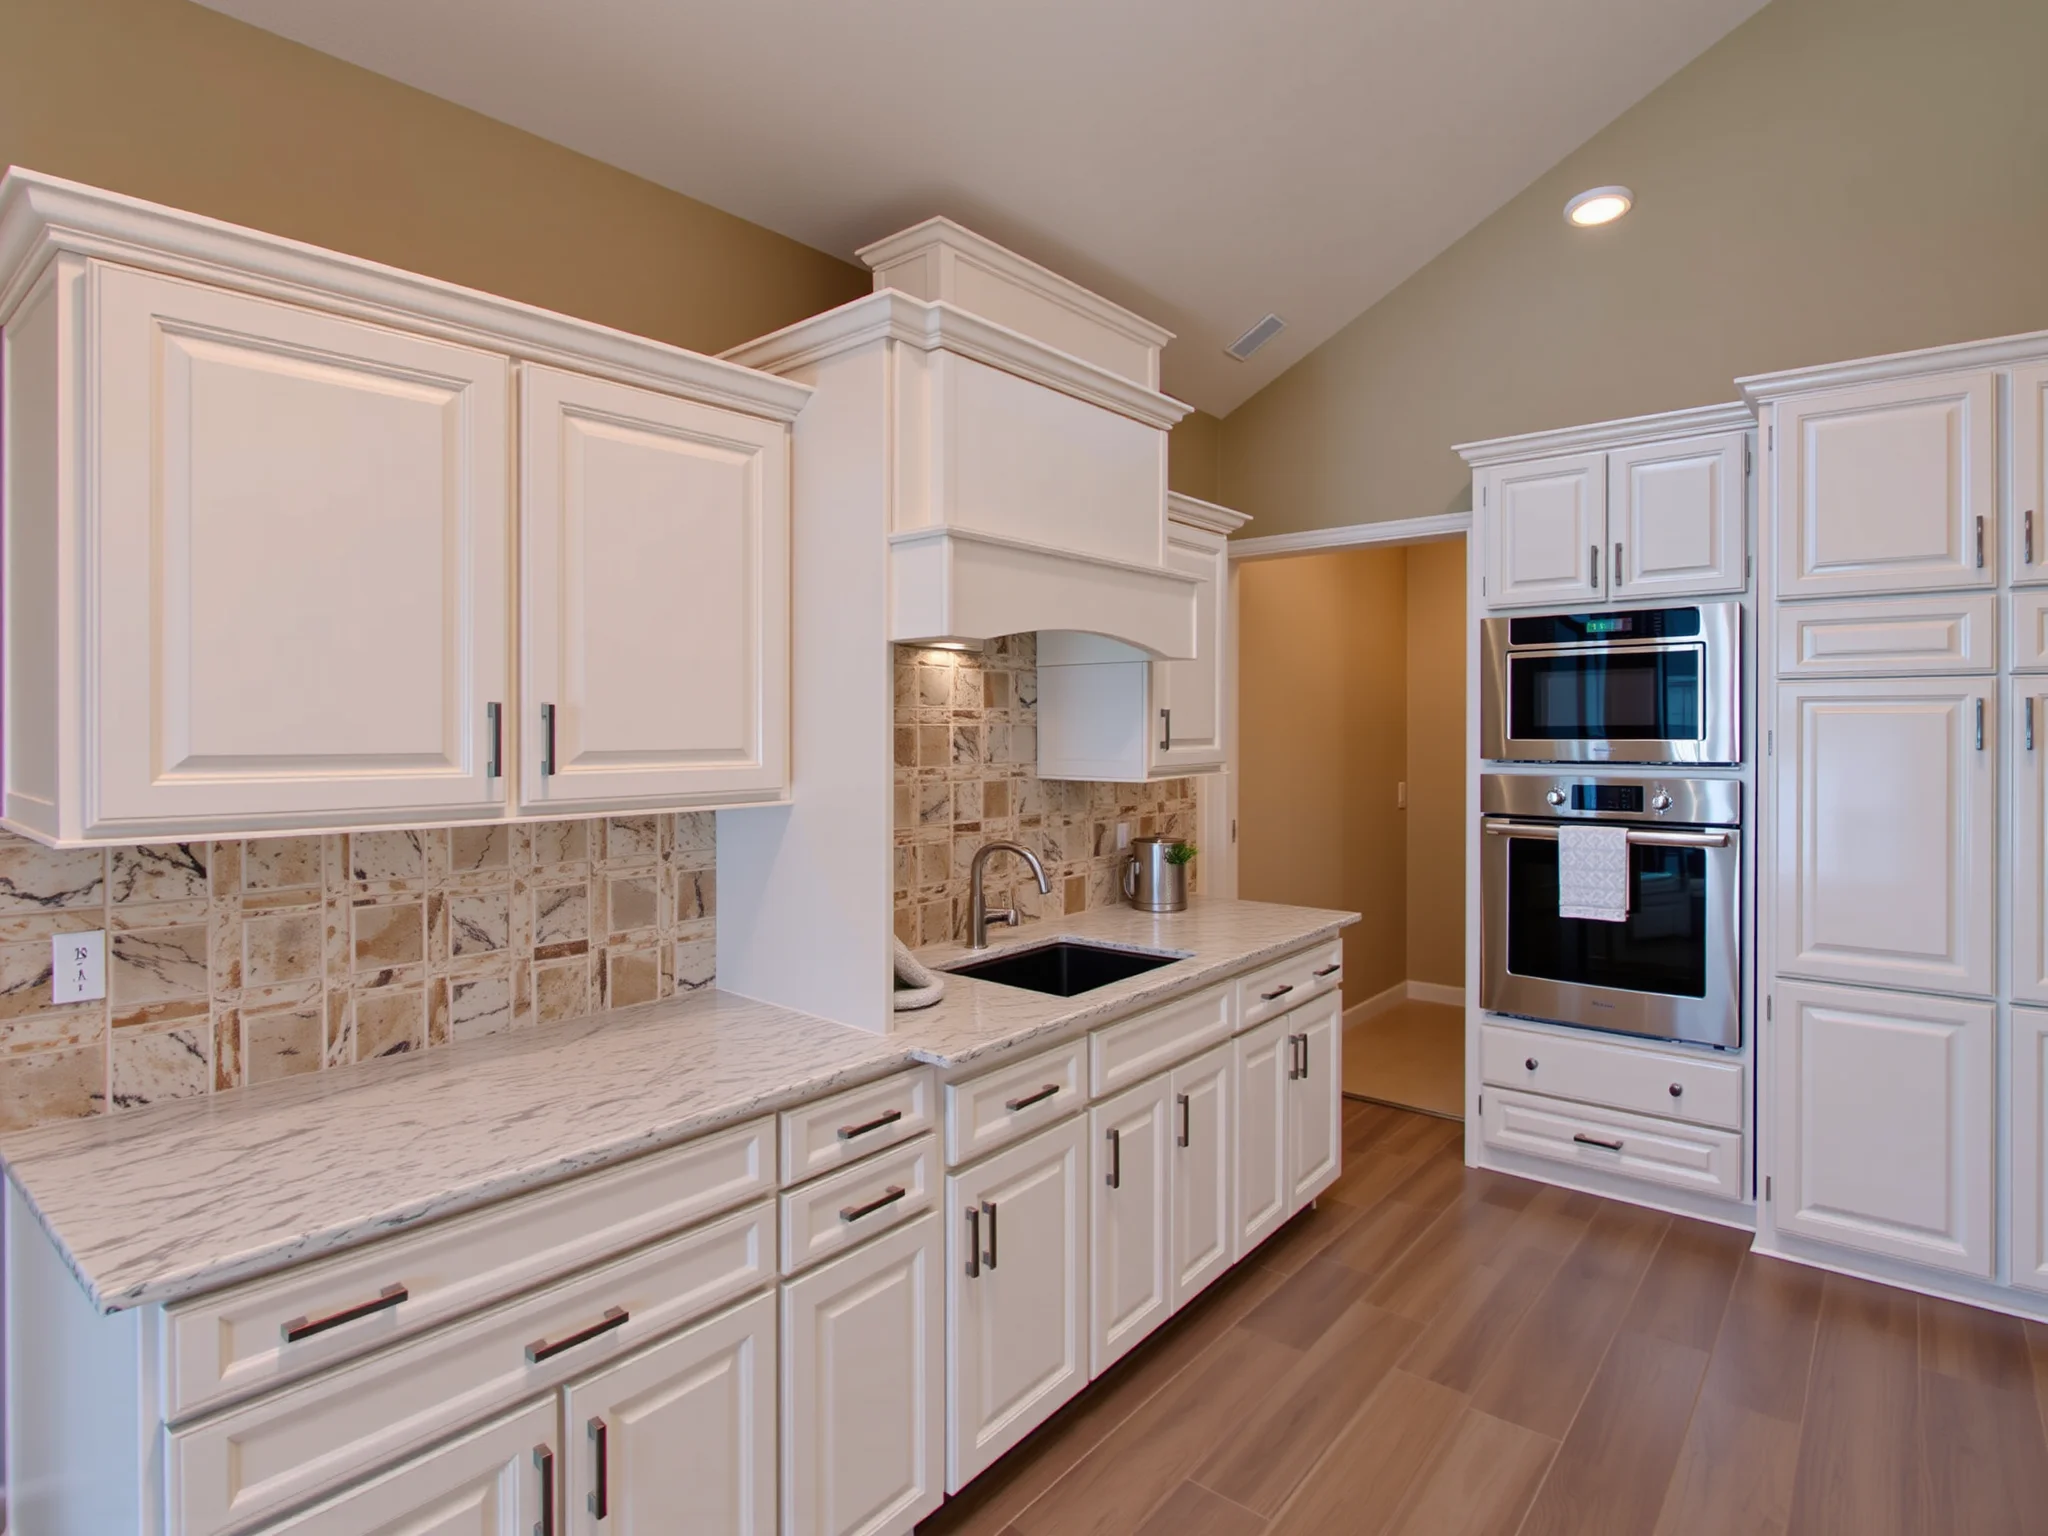
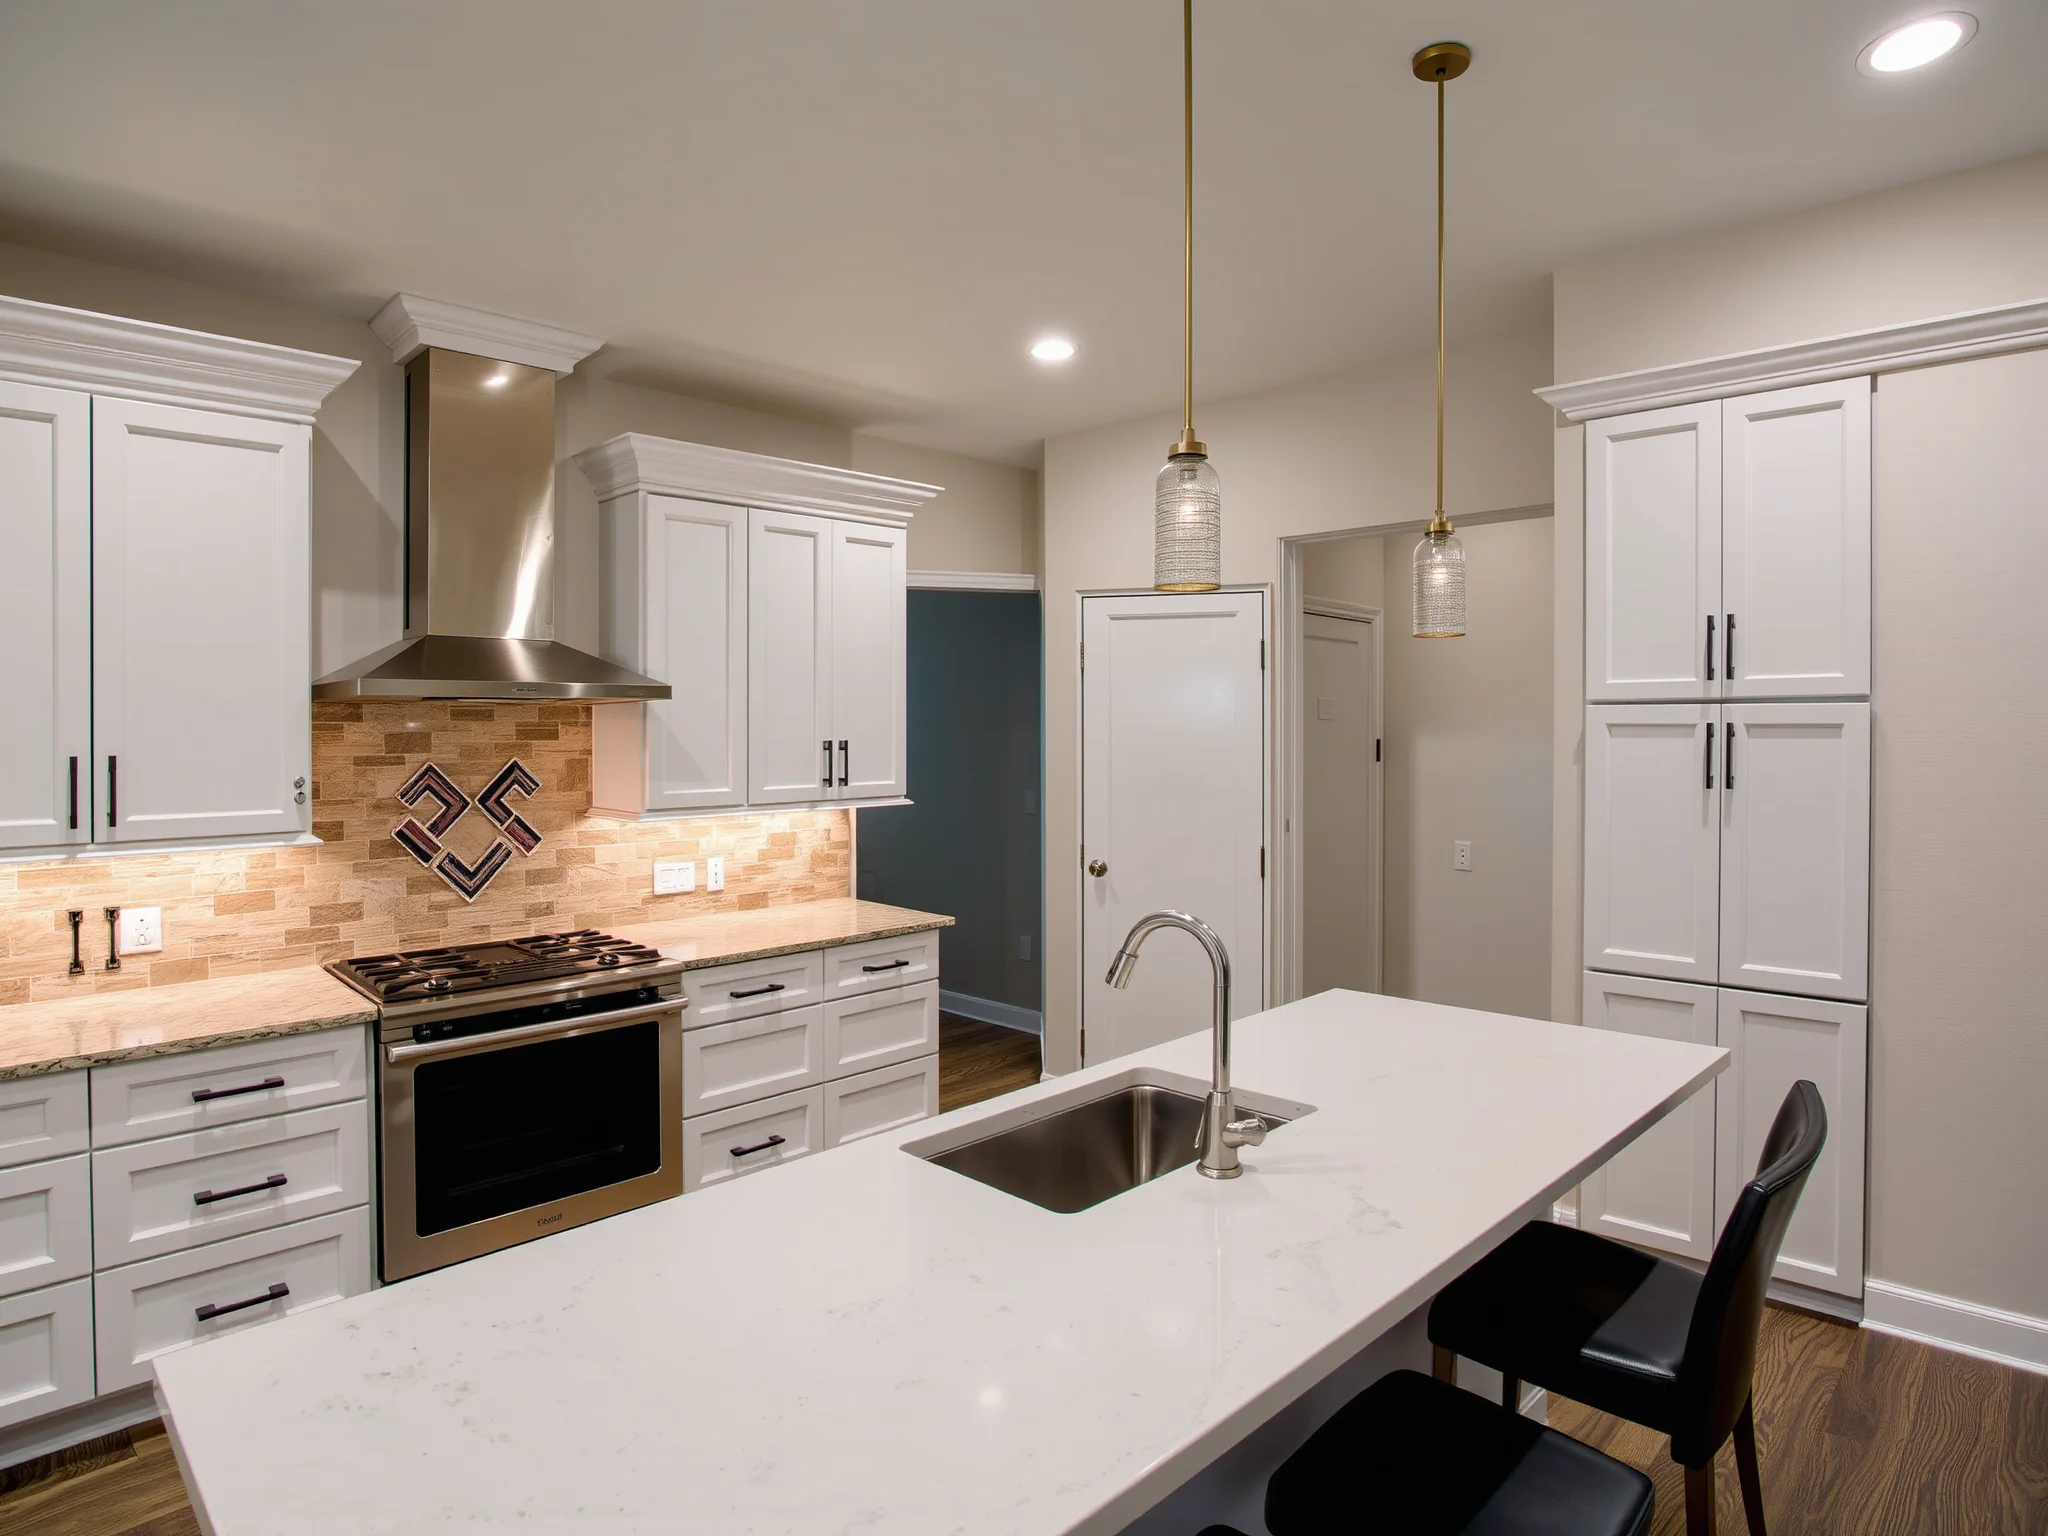
Decorative trims are architectural details that add character, dimension, and visual interest to cabinets. They can range from simple edge moldings to intricate crown moldings, ogee profiles, or custom carvings. These trims not only enhance the style of existing cabinetry but also hide imperfections or gaps, giving your kitchen or bathroom a polished, cohesive appearance.
Choosing the right decorative trim can dramatically influence the overall ambiance of your space. Whether your goal is a modern minimalist vibe or a classic ornate look, understanding the best cabinet brands can help you select trims that complement your cabinets perfectly. Plus, learning how to add decorative trim yourself can save money and increase your home’s value.
What Tools and Materials Do I Need to Add Decorative Trim to Cabinets?
Before diving into the project, gather these essential supplies:
- Measuring tape and square
- High-quality wood trim or moulding (choose style and profile based on your design)
- Circular saw or miter saw
- Paint or stain (optional, for finishing the trim)
- Wood glue
- Nails or finishing nails (preferably finishing or brad nails)
- Hammer or nail gun
- Sandpaper or sanding block
- Clamps (to hold the trim securely while attaching)
- Painter’s caulk (for smoothing gaps)
- Primer and paint or stain (if you plan to customize the finish)
How Do I Prepare My Cabinets for Adding Decorative Trim?
Proper preparation ensures a smooth installation process and a professional result. Follow these preliminary steps:
- Clean the Cabinet Surface: Remove grease, dust, and residues using mild soap and water. A clean surface guarantees better adhesion and adhesion of paint or stain later.
- Measure Carefully: Determine where you want to add trim and measure precisely. Mark your layout with a pencil for guidance.
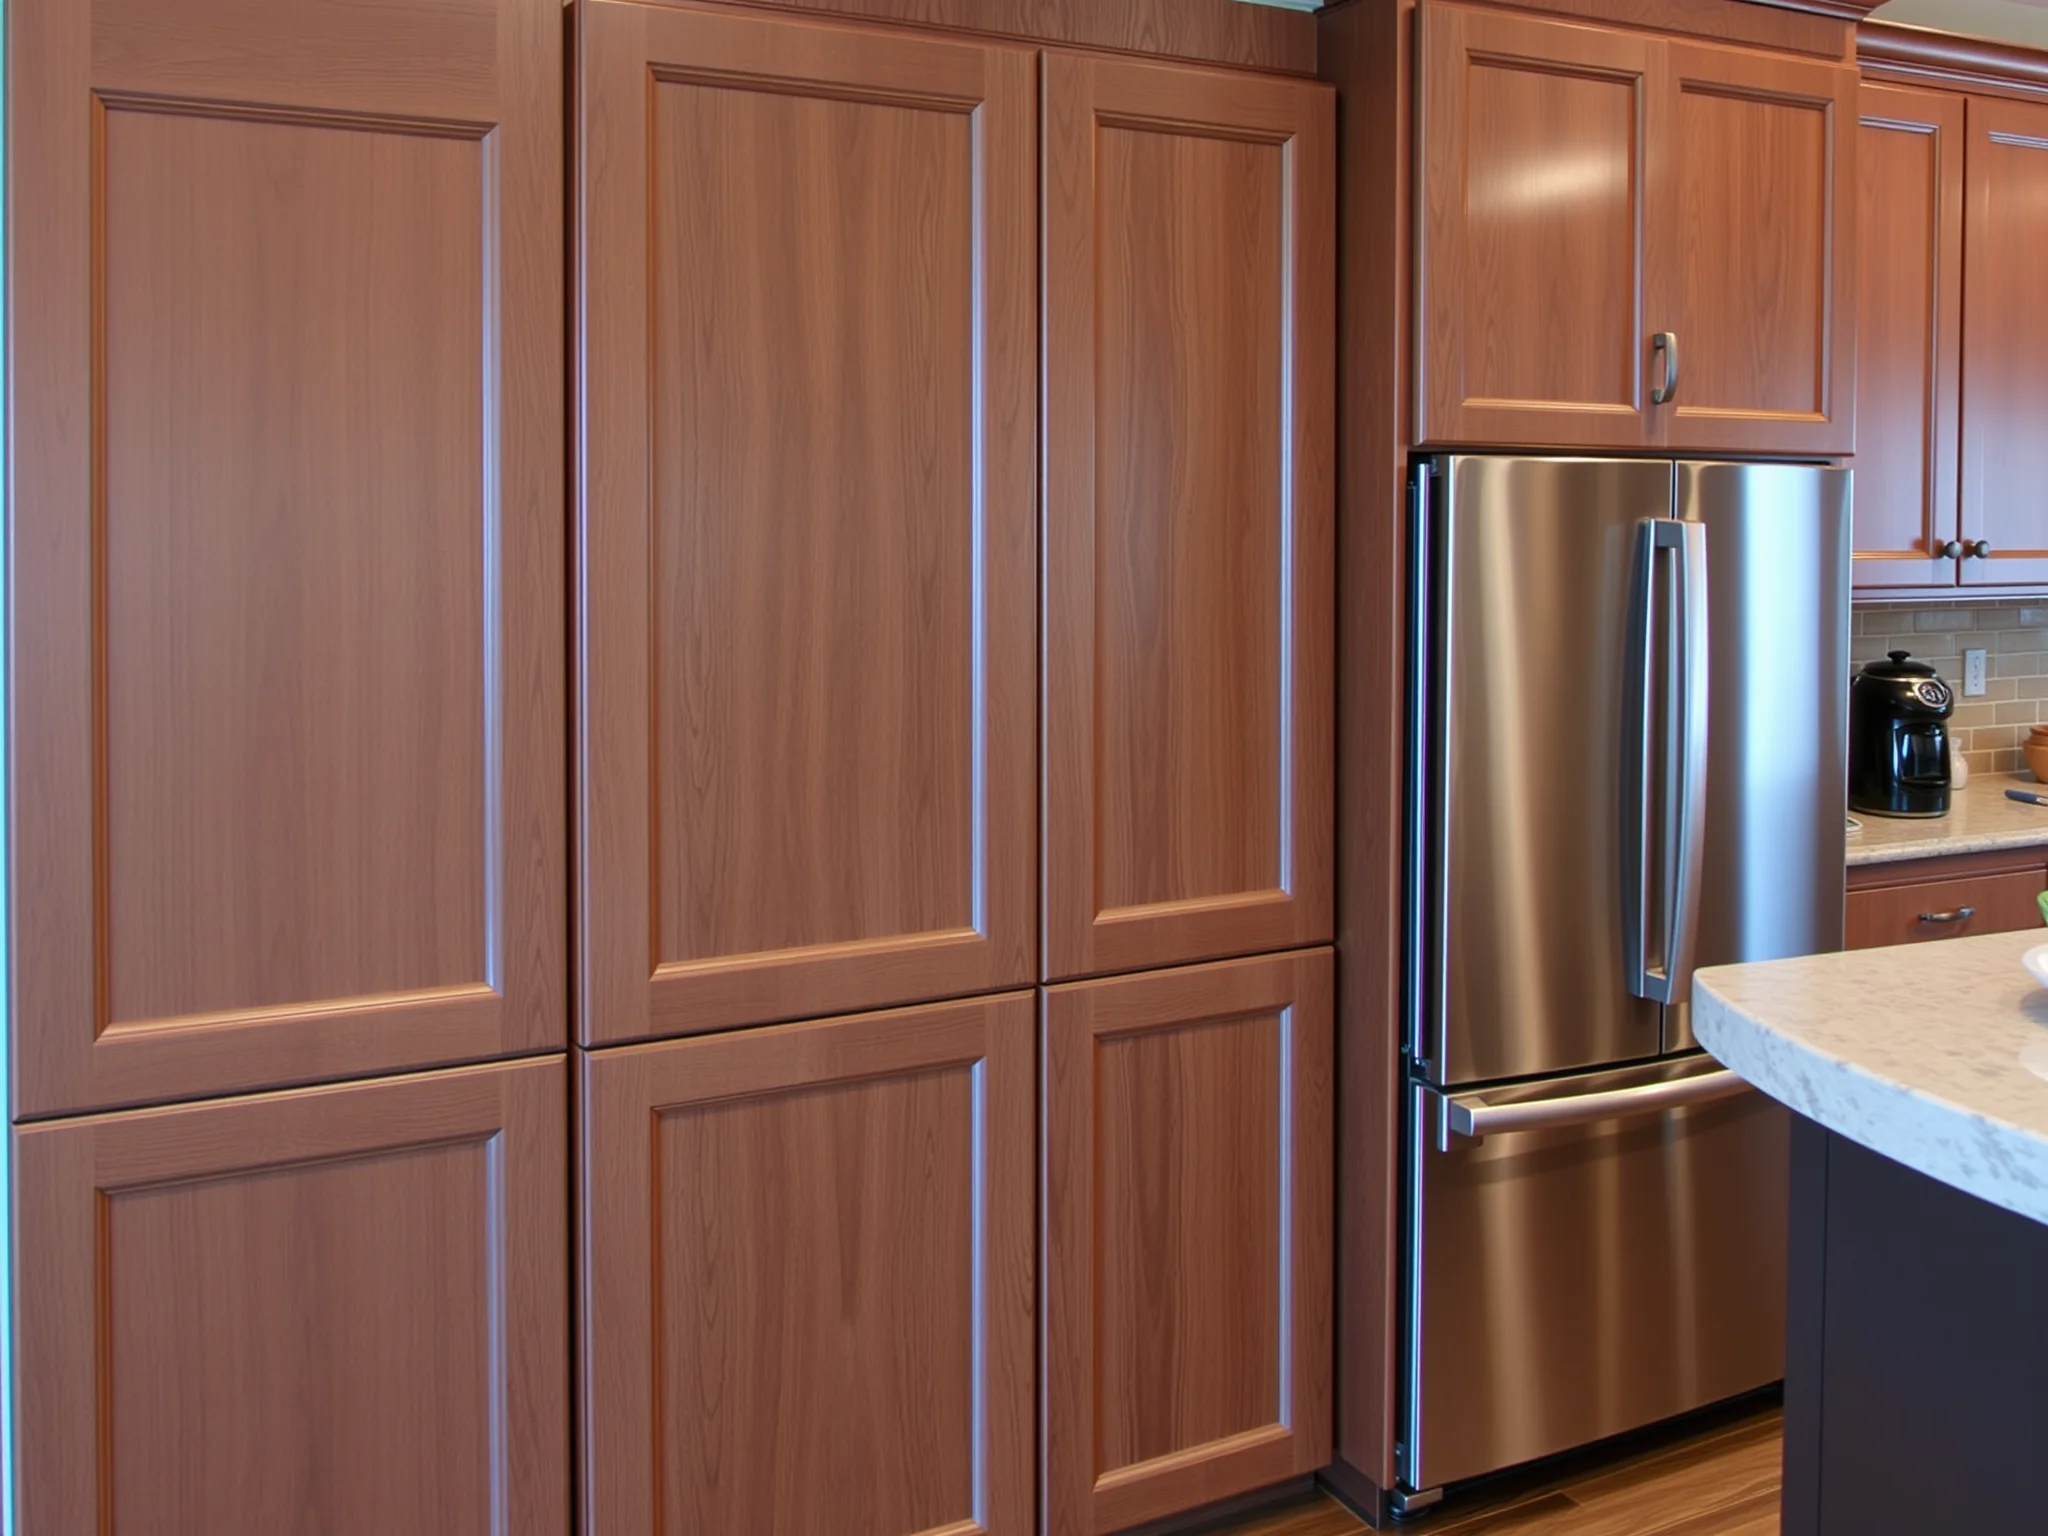
- Select the Right Trim Style: Choose a profile that complements your cabinetry and overall interior design. Consider styles like crown molding, simple edge banding, or ornate appliqués.
- Cut the Trim Accurately: Use a miter saw to cut trim pieces at appropriate angles, especially for corners or edges. Dry fit pieces before attaching to confirm measurements.
What Is the Best Method to Attach Decorative Trim to Cabinets?
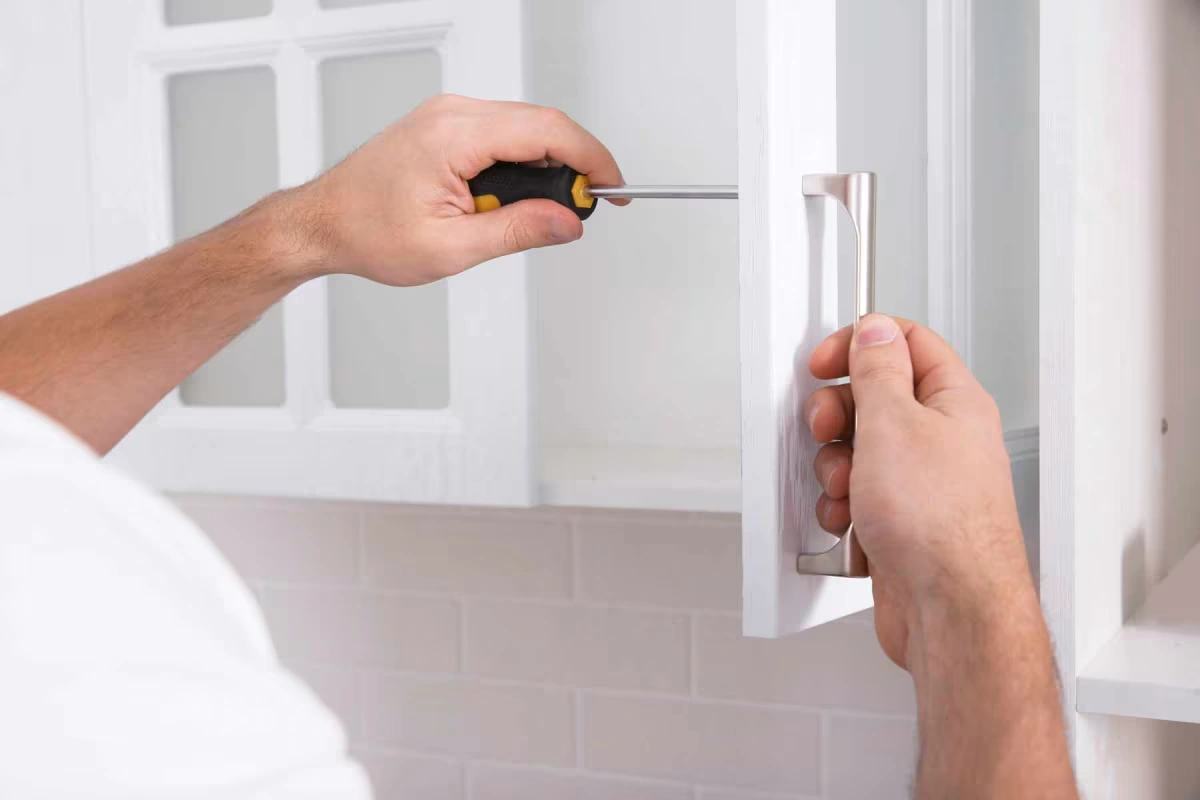
Attaching trim securely and accurately is vital for a refined look. Follow these steps:
Start by measuring each section of your cabinets carefully. Use a tape measure and a square to mark cut lines on your trim pieces. For corners or joints, miter the cuts at 45 degrees to create seamless joints. Dry fit each piece to ensure perfect fit before nailing or gluing.
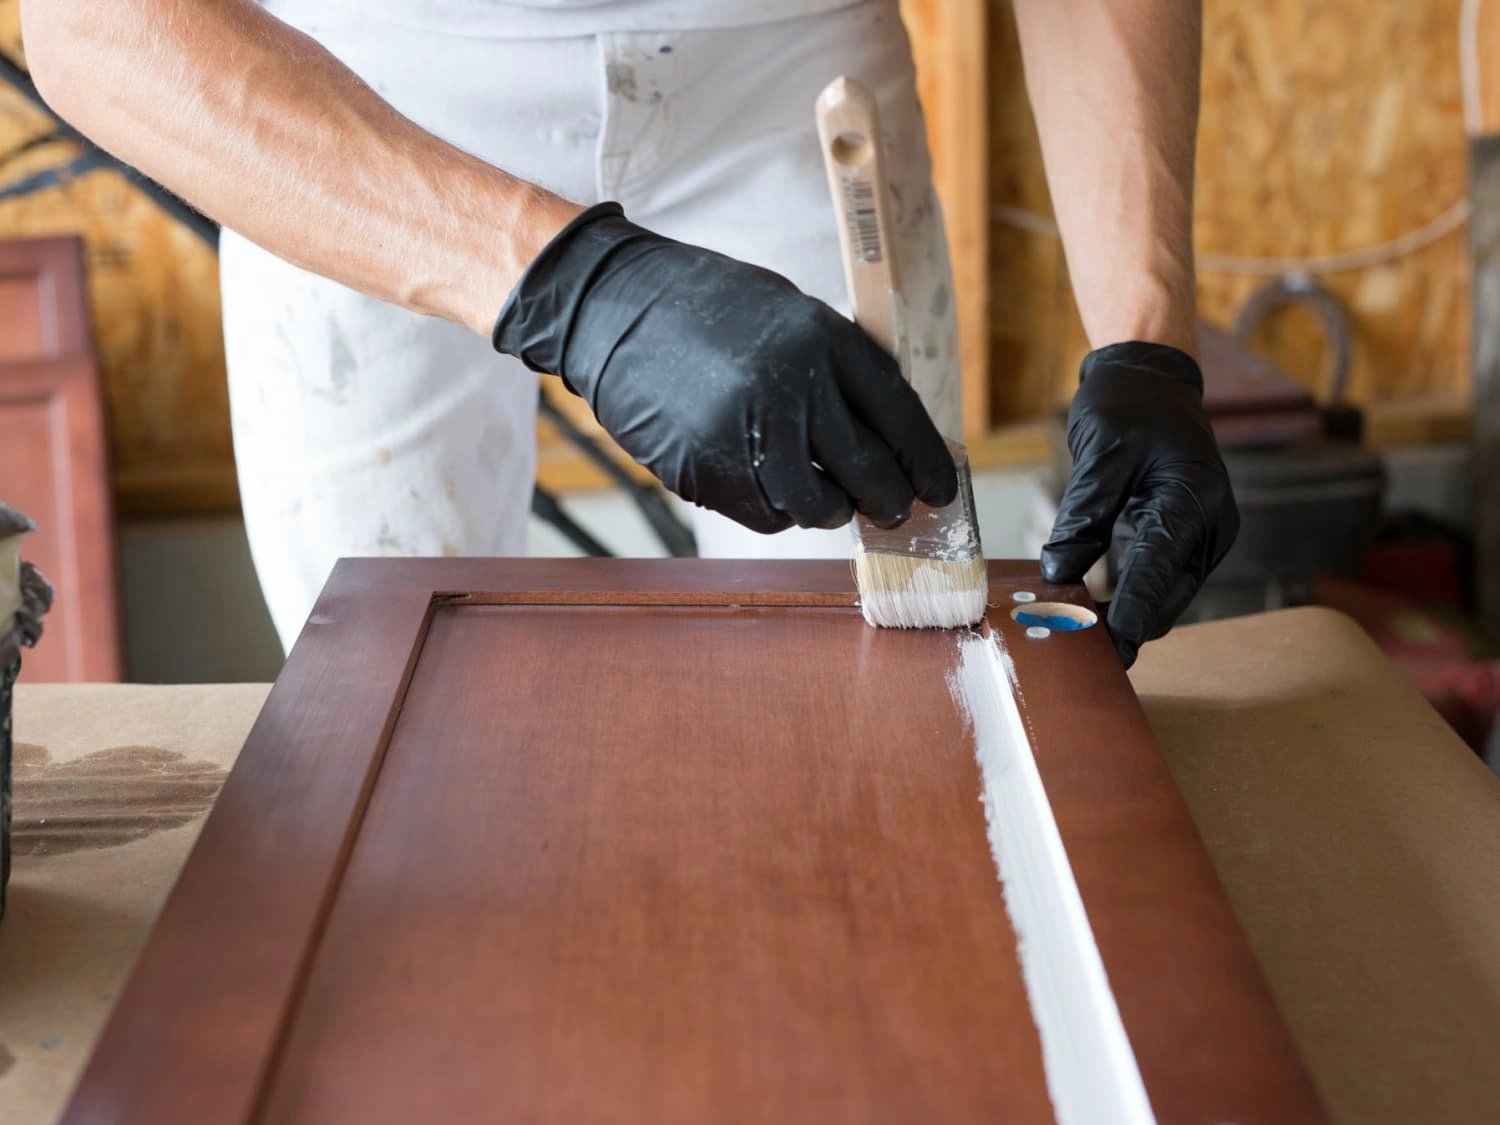
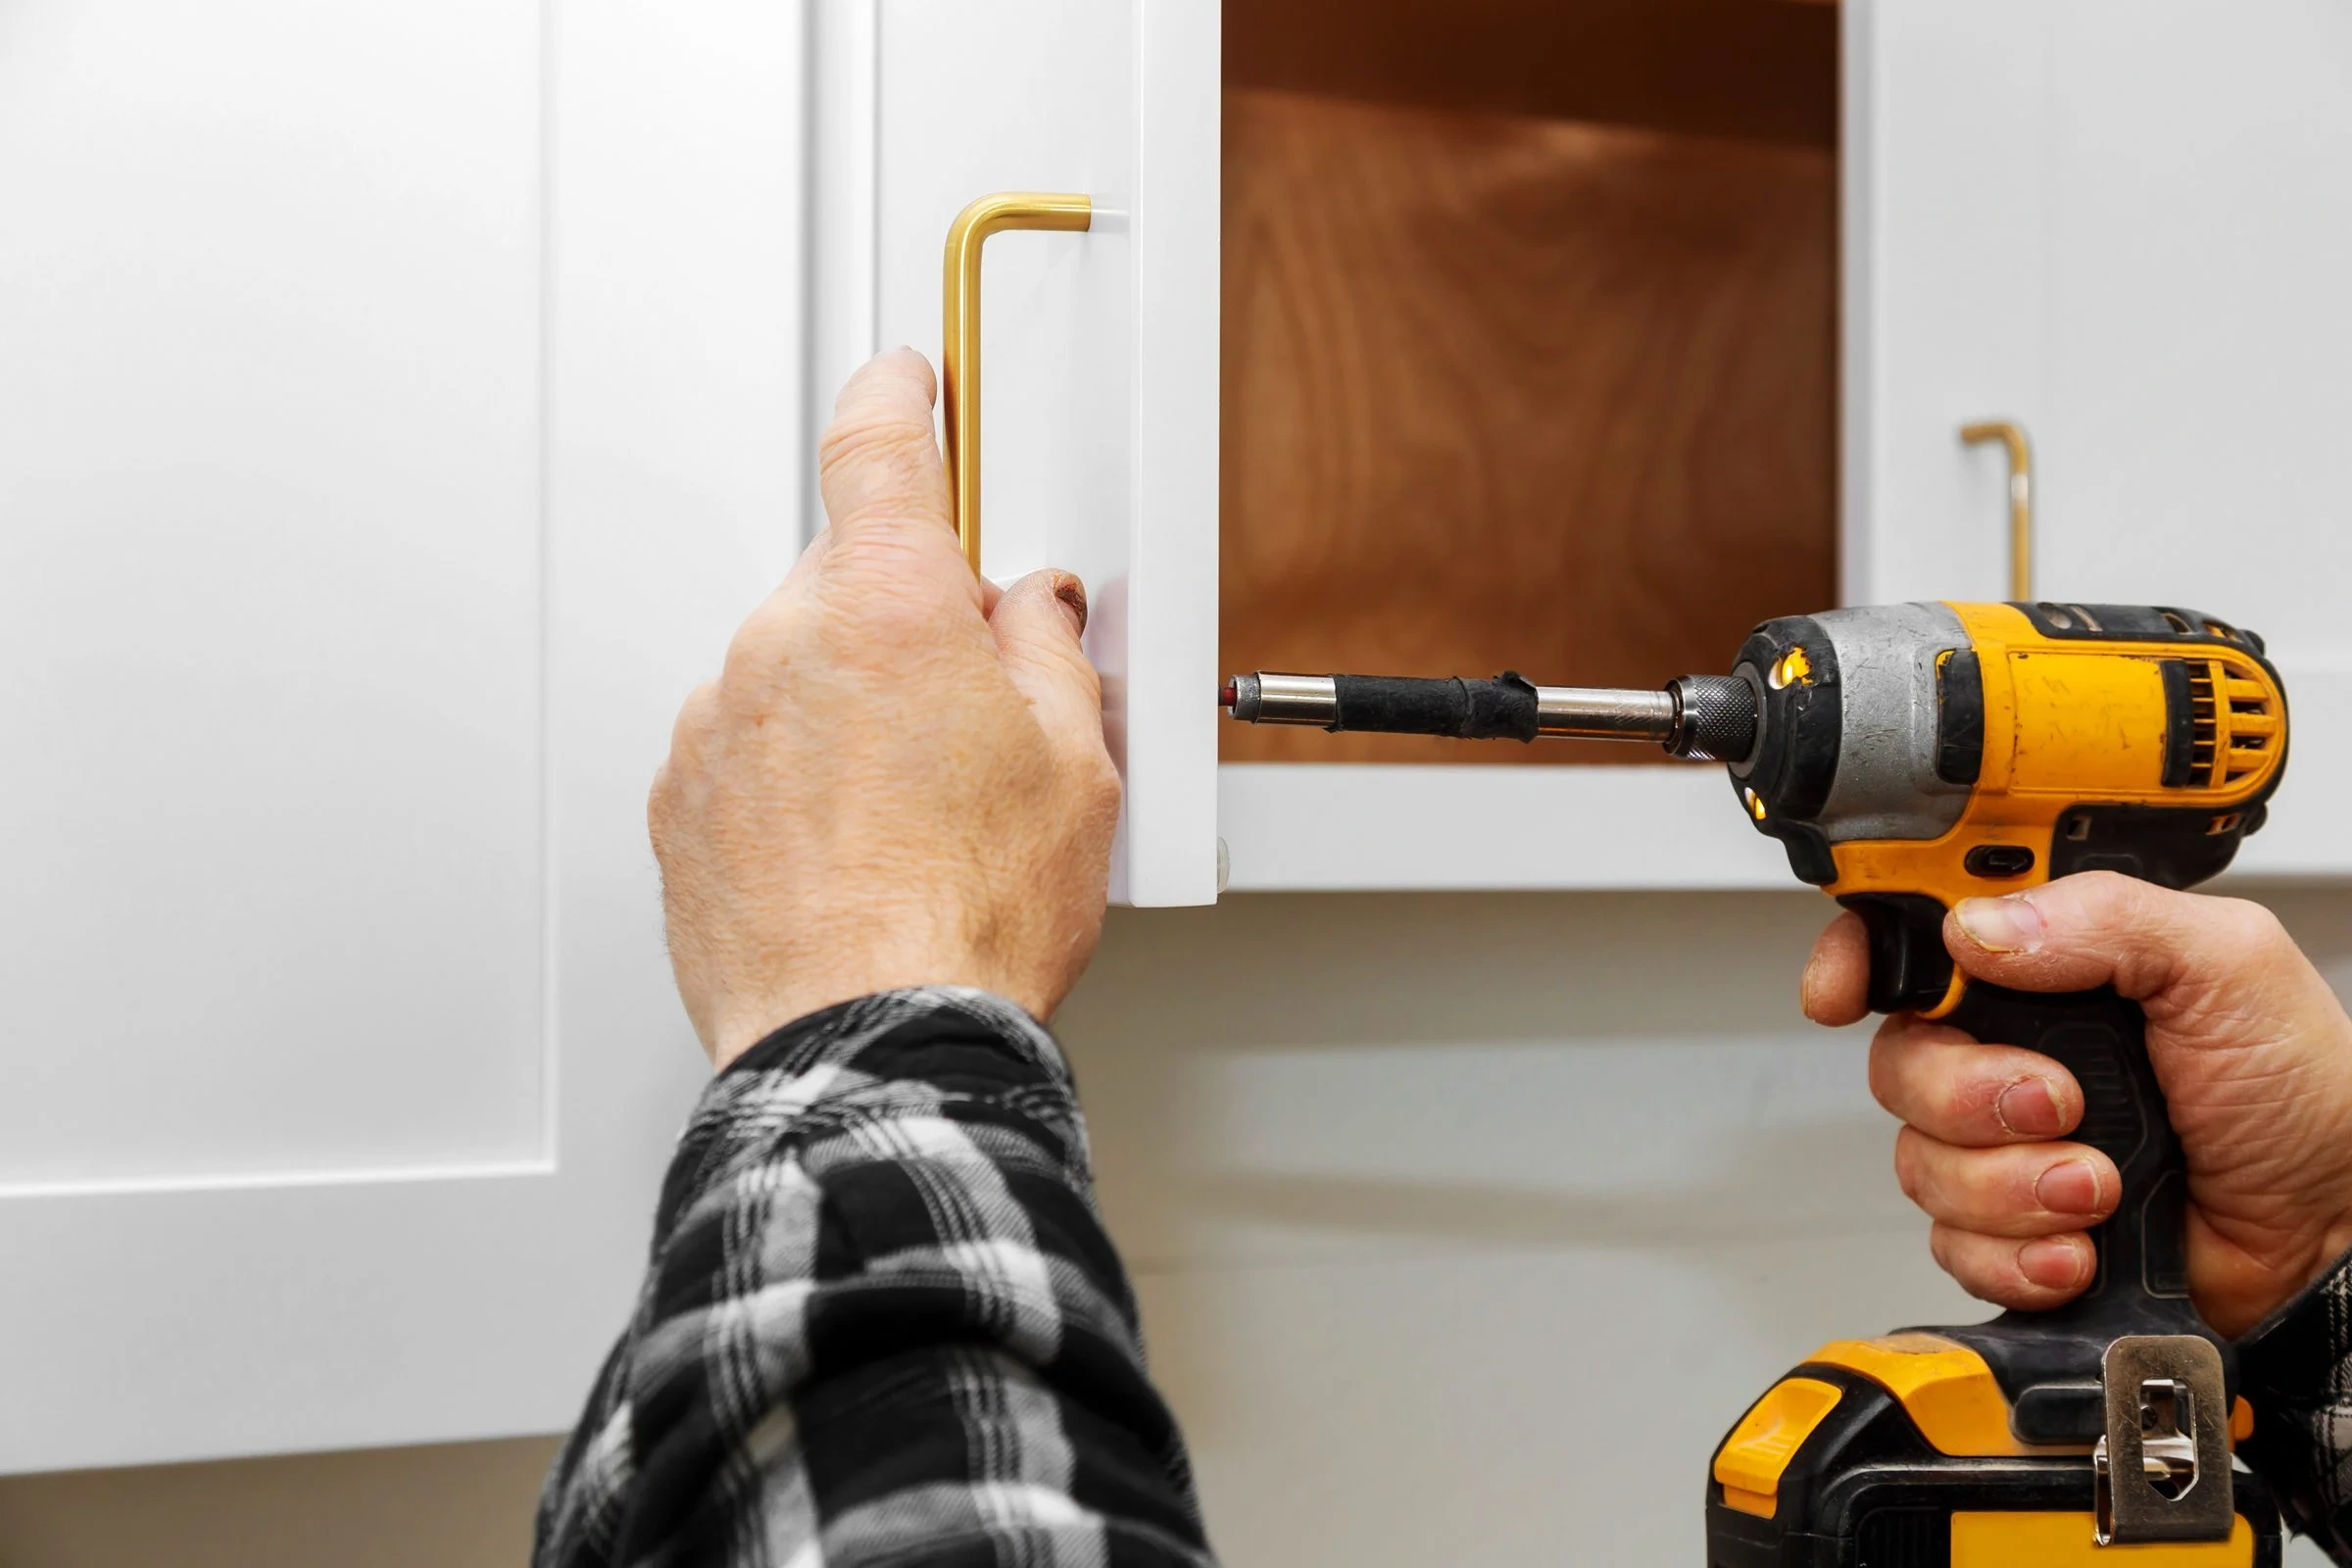
For a sturdy and neat finish, use a nail gun or a hammer with finishing nails to secure the trim. Apply wood glue on the back of each piece before attaching it to provide extra adhesion and stability. Clamping the pieces during glue drying can help maintain alignment. For less visible areas or fine details, use finishing nails, then countersink and fill the nail holes with wood filler.
How Can I Achieve a Seamless and Professional Look?
A smooth finish is the hallmark of expert craftsmanship. Consider these tips:
- Use painter's caulk to fill gaps or cracks at joints or along edges, then smooth with a finger or caulking tool.
- Sand rough edges and nail holes after the adhesive and filler have dried.
- Apply primer if painting, or stain and seal if finishing natural wood. Multiple coats may be necessary for even color and durability.
- Maintain consistent spacing and height for a unified aesthetic across all cabinet sections.
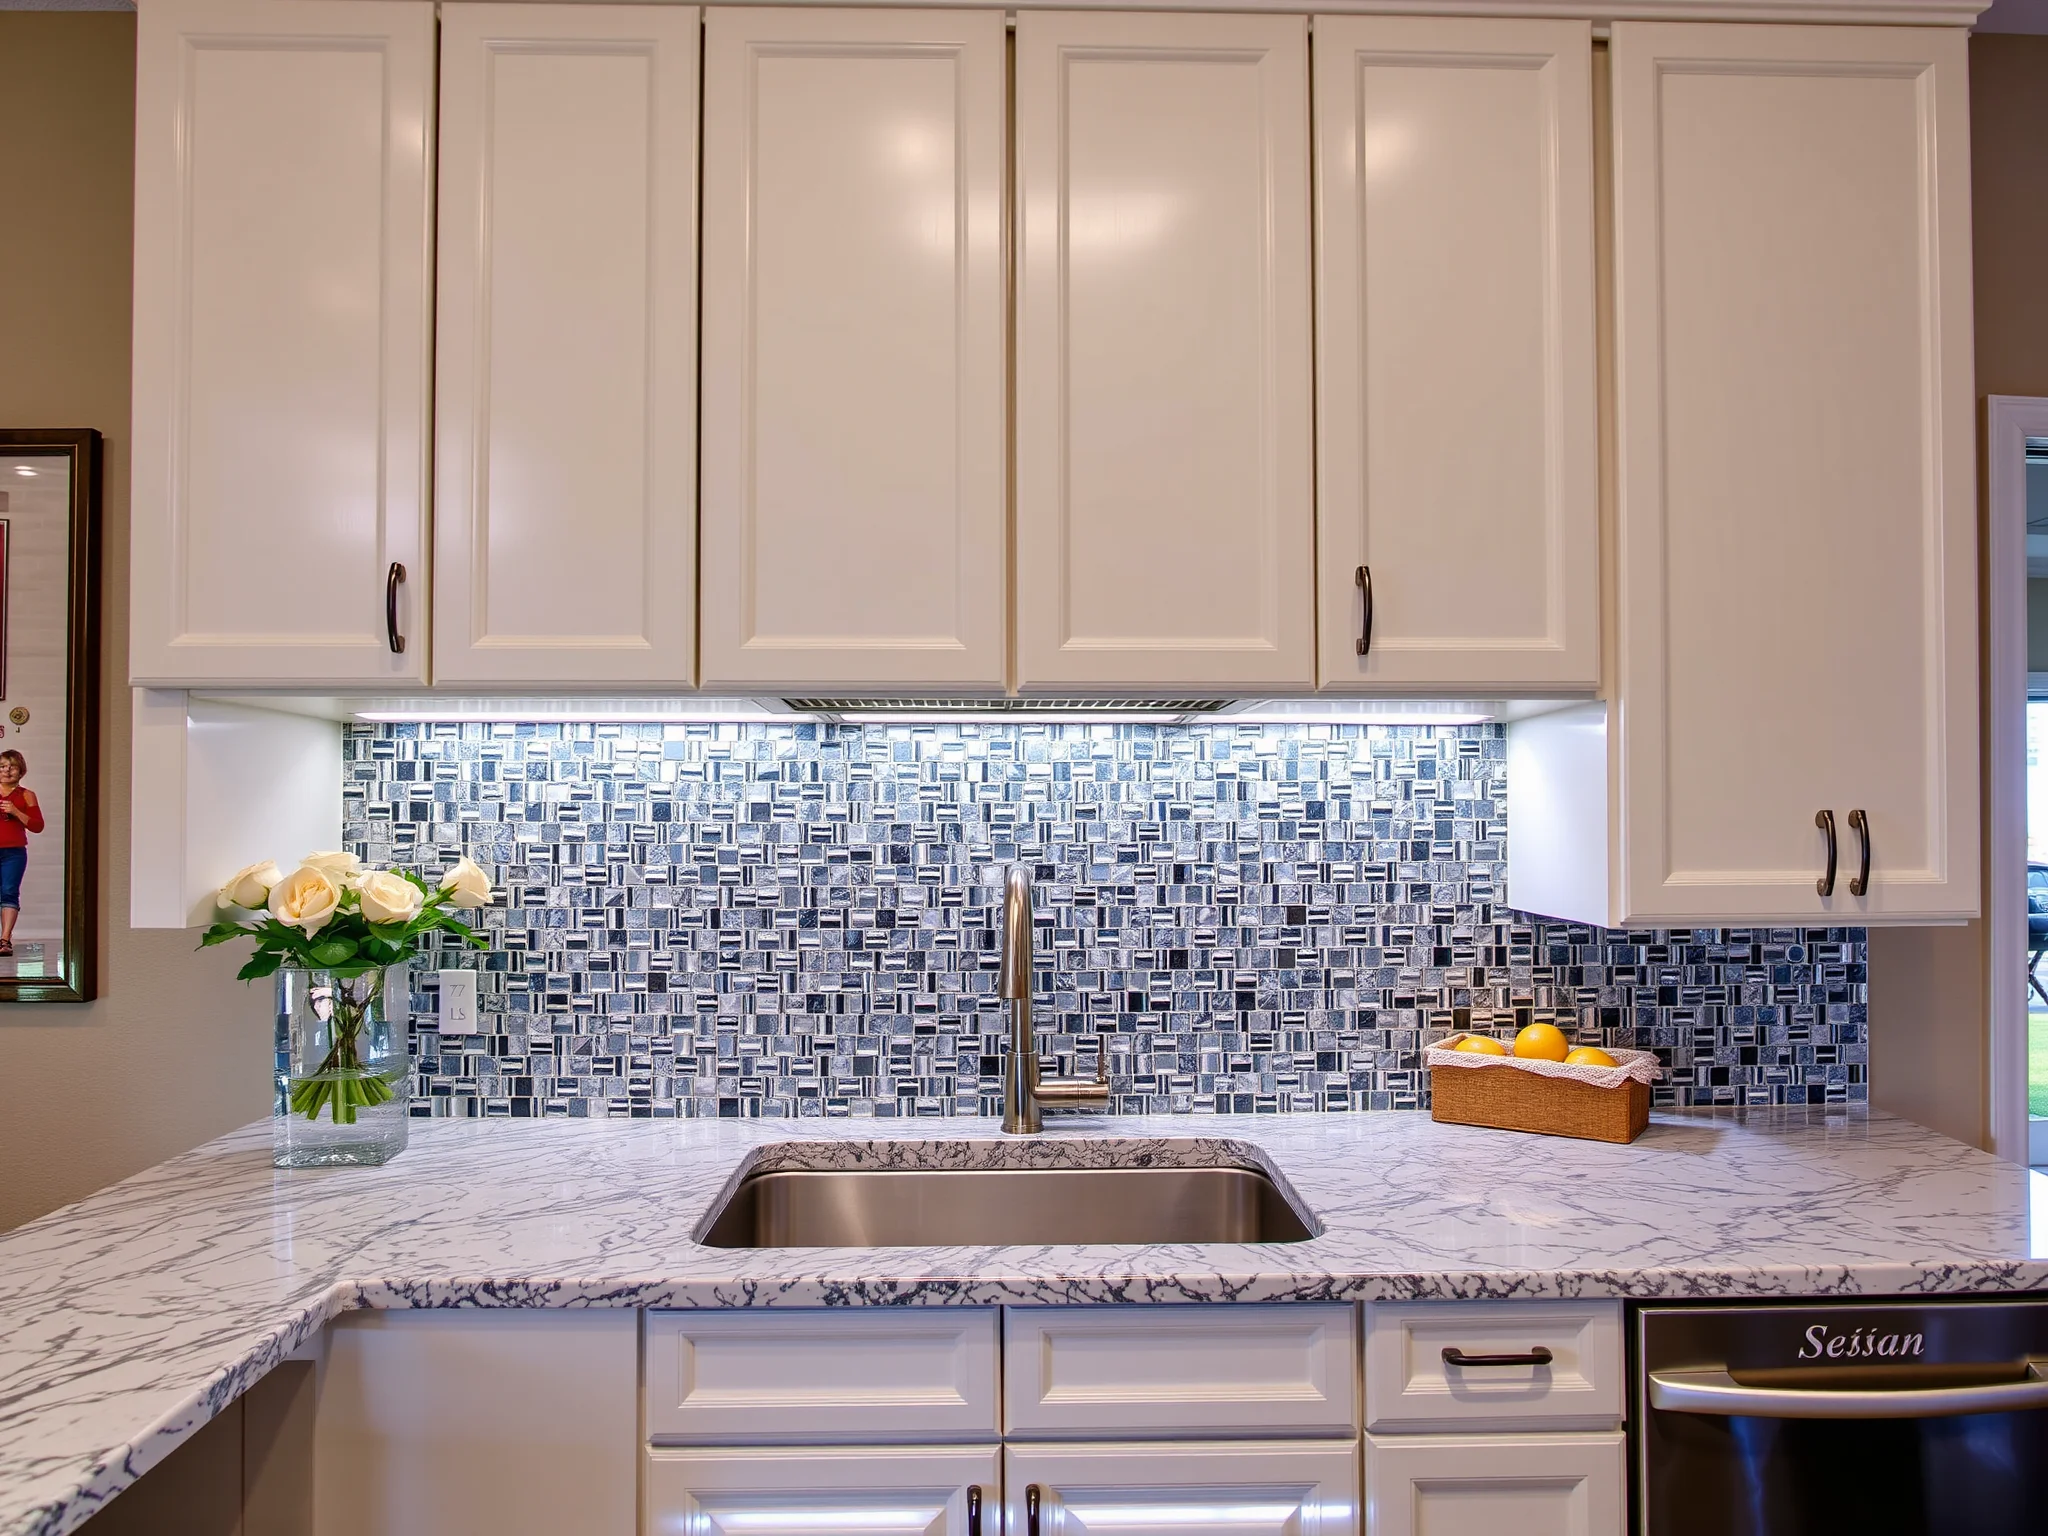
Can I Customize the Look of My Cabinets with Different Trim Styles?
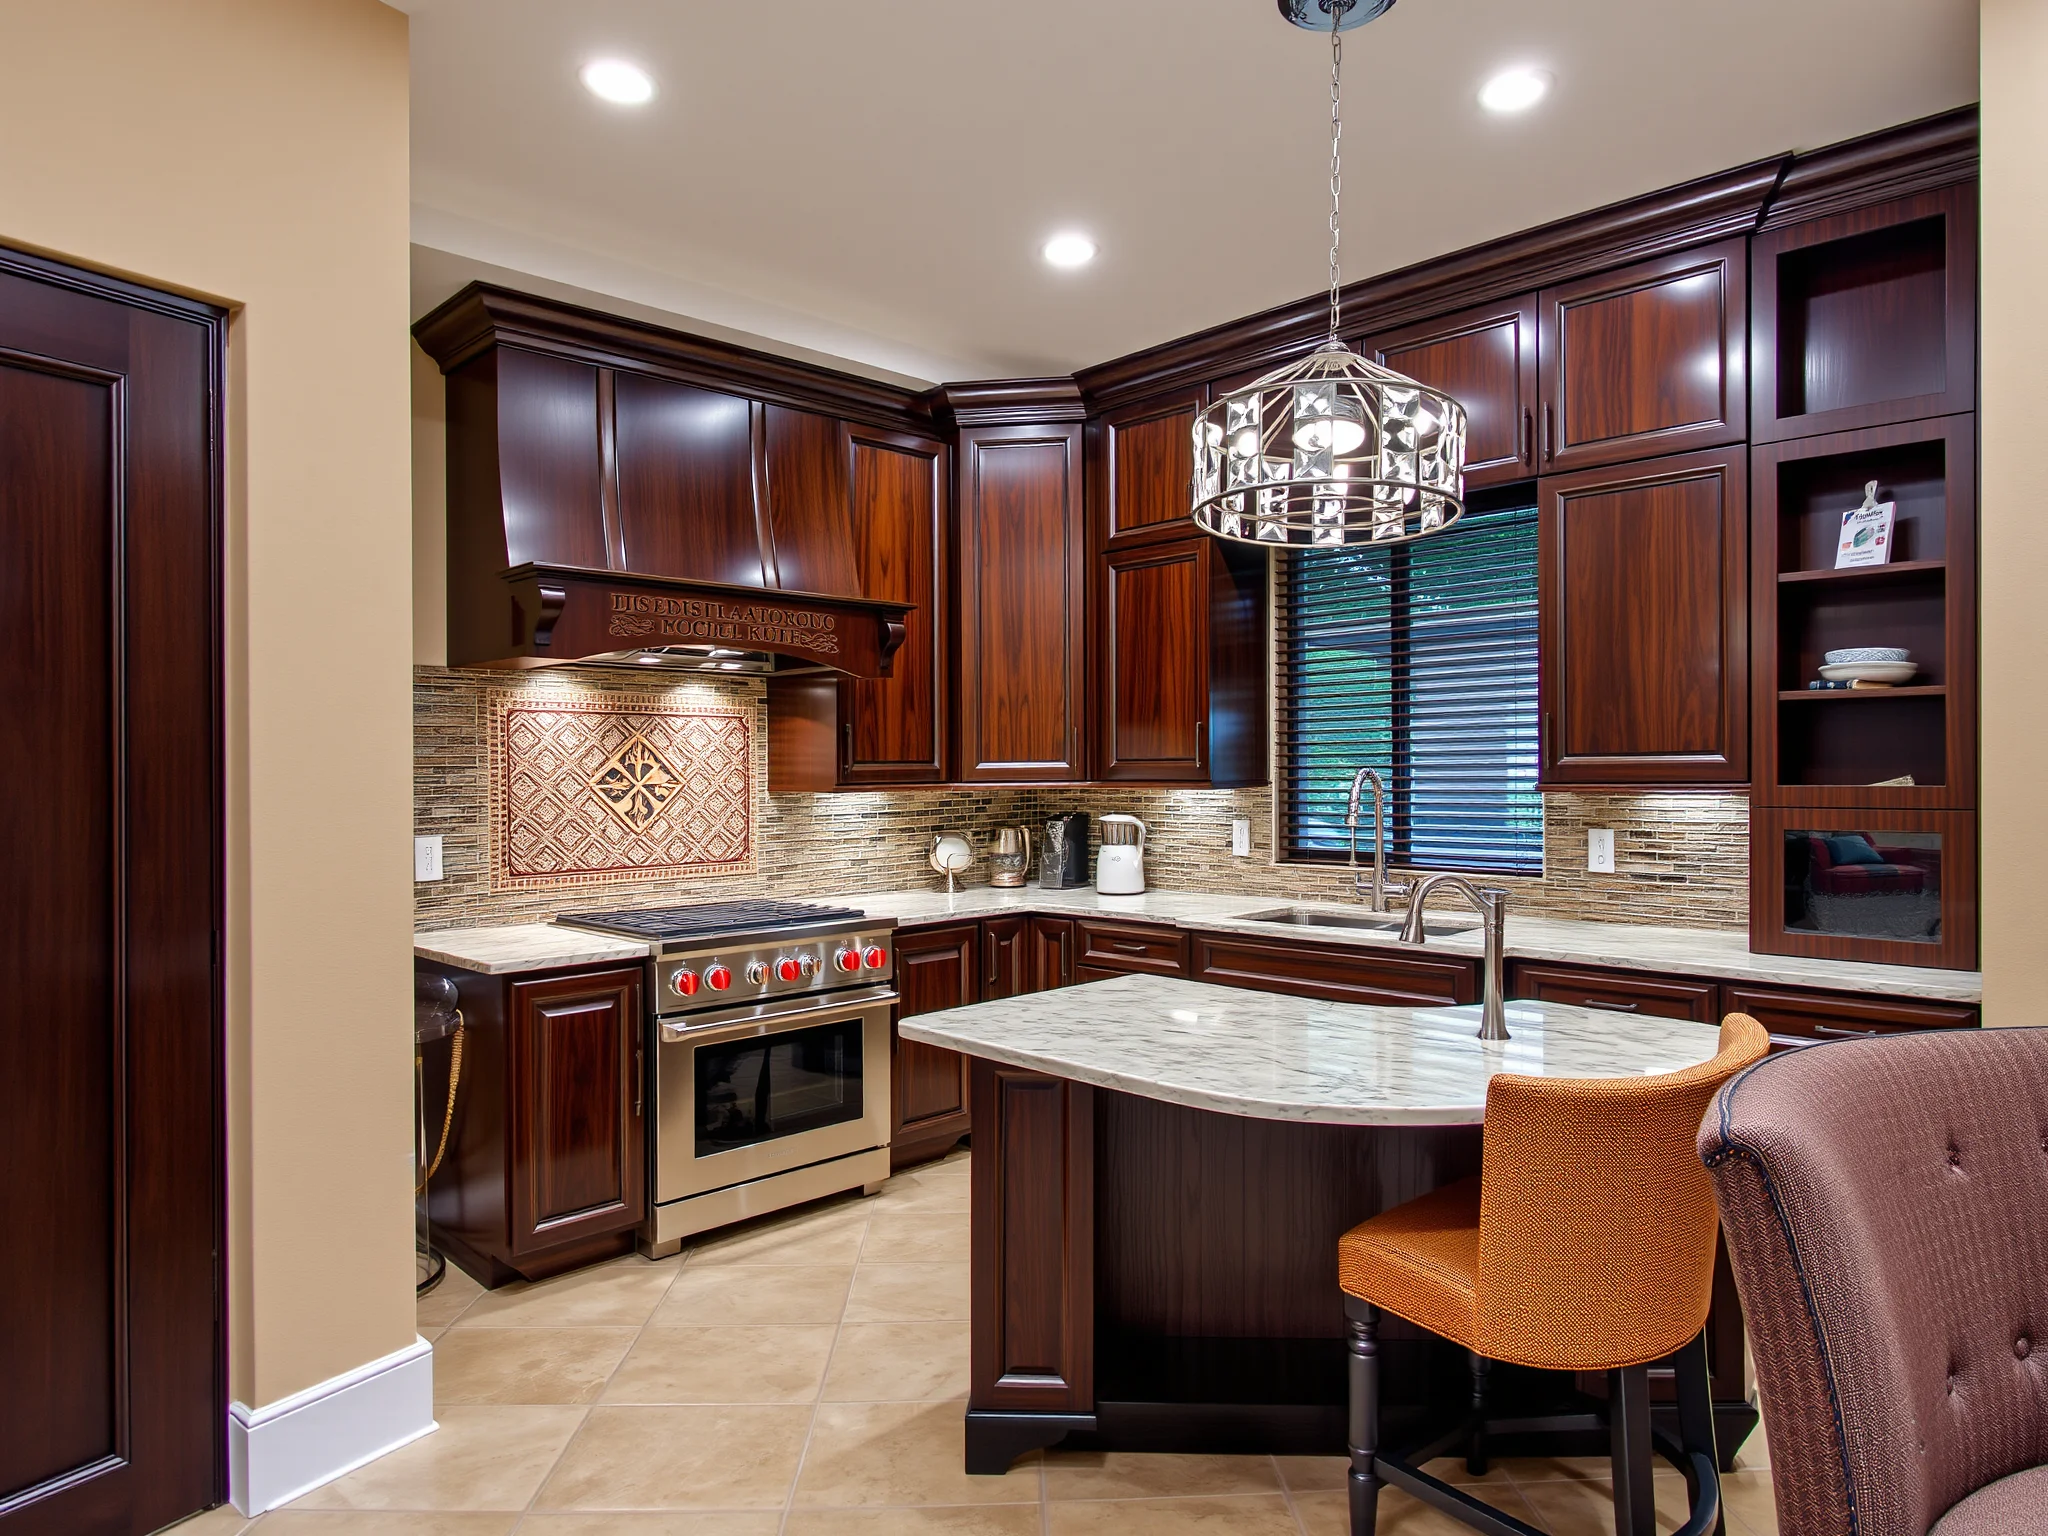
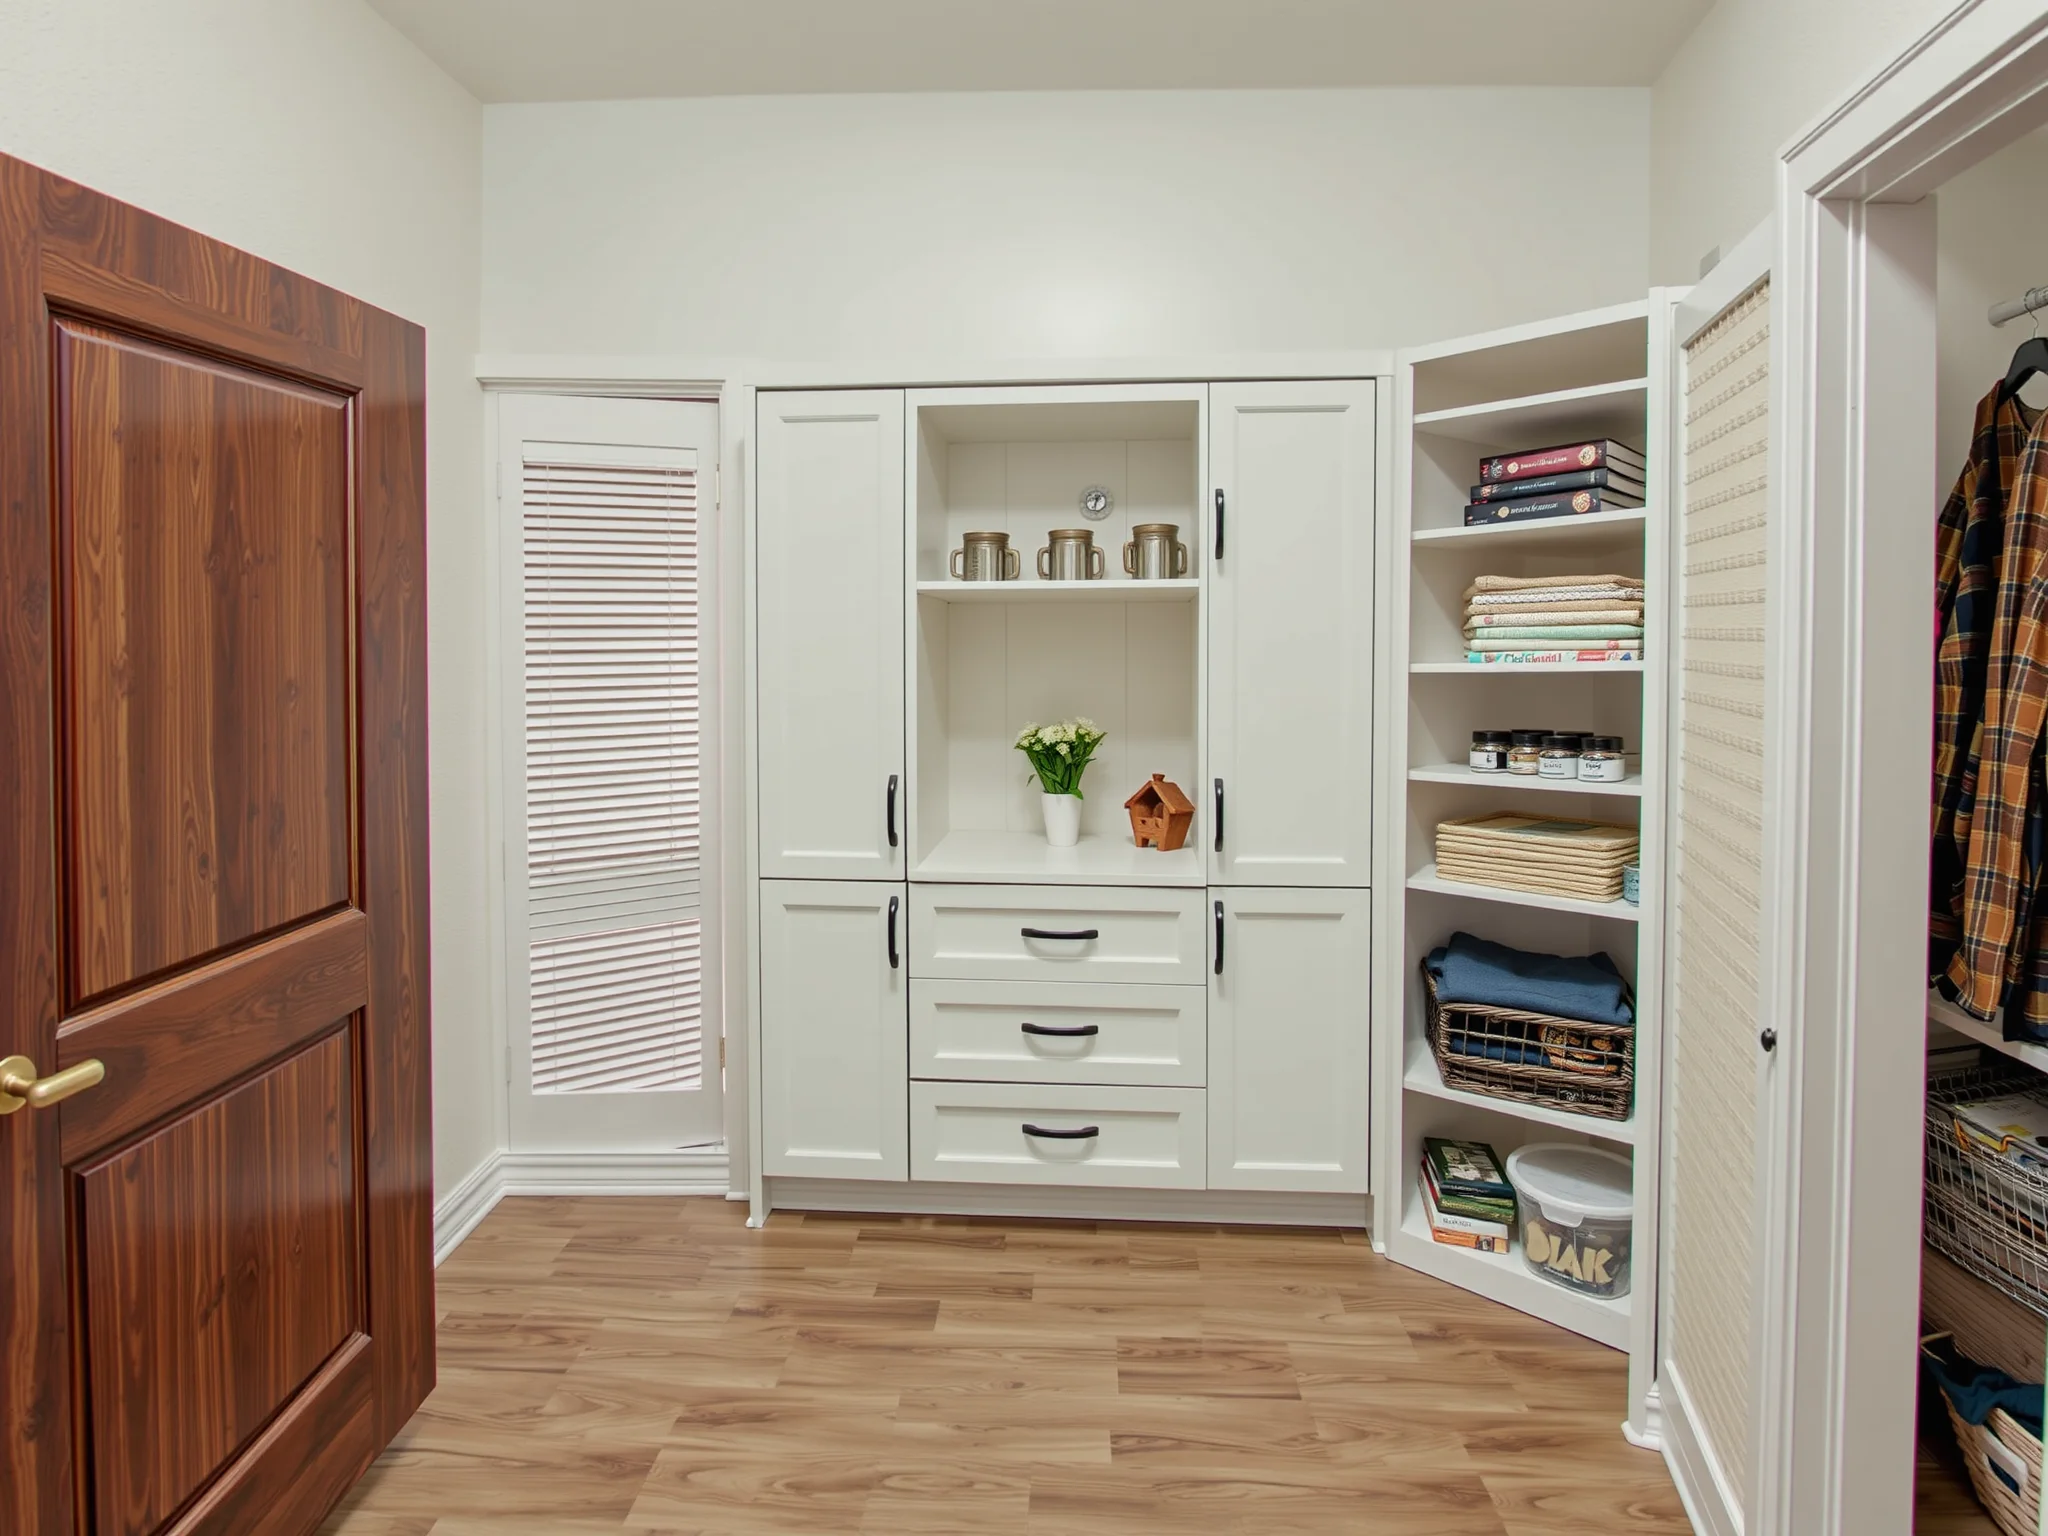
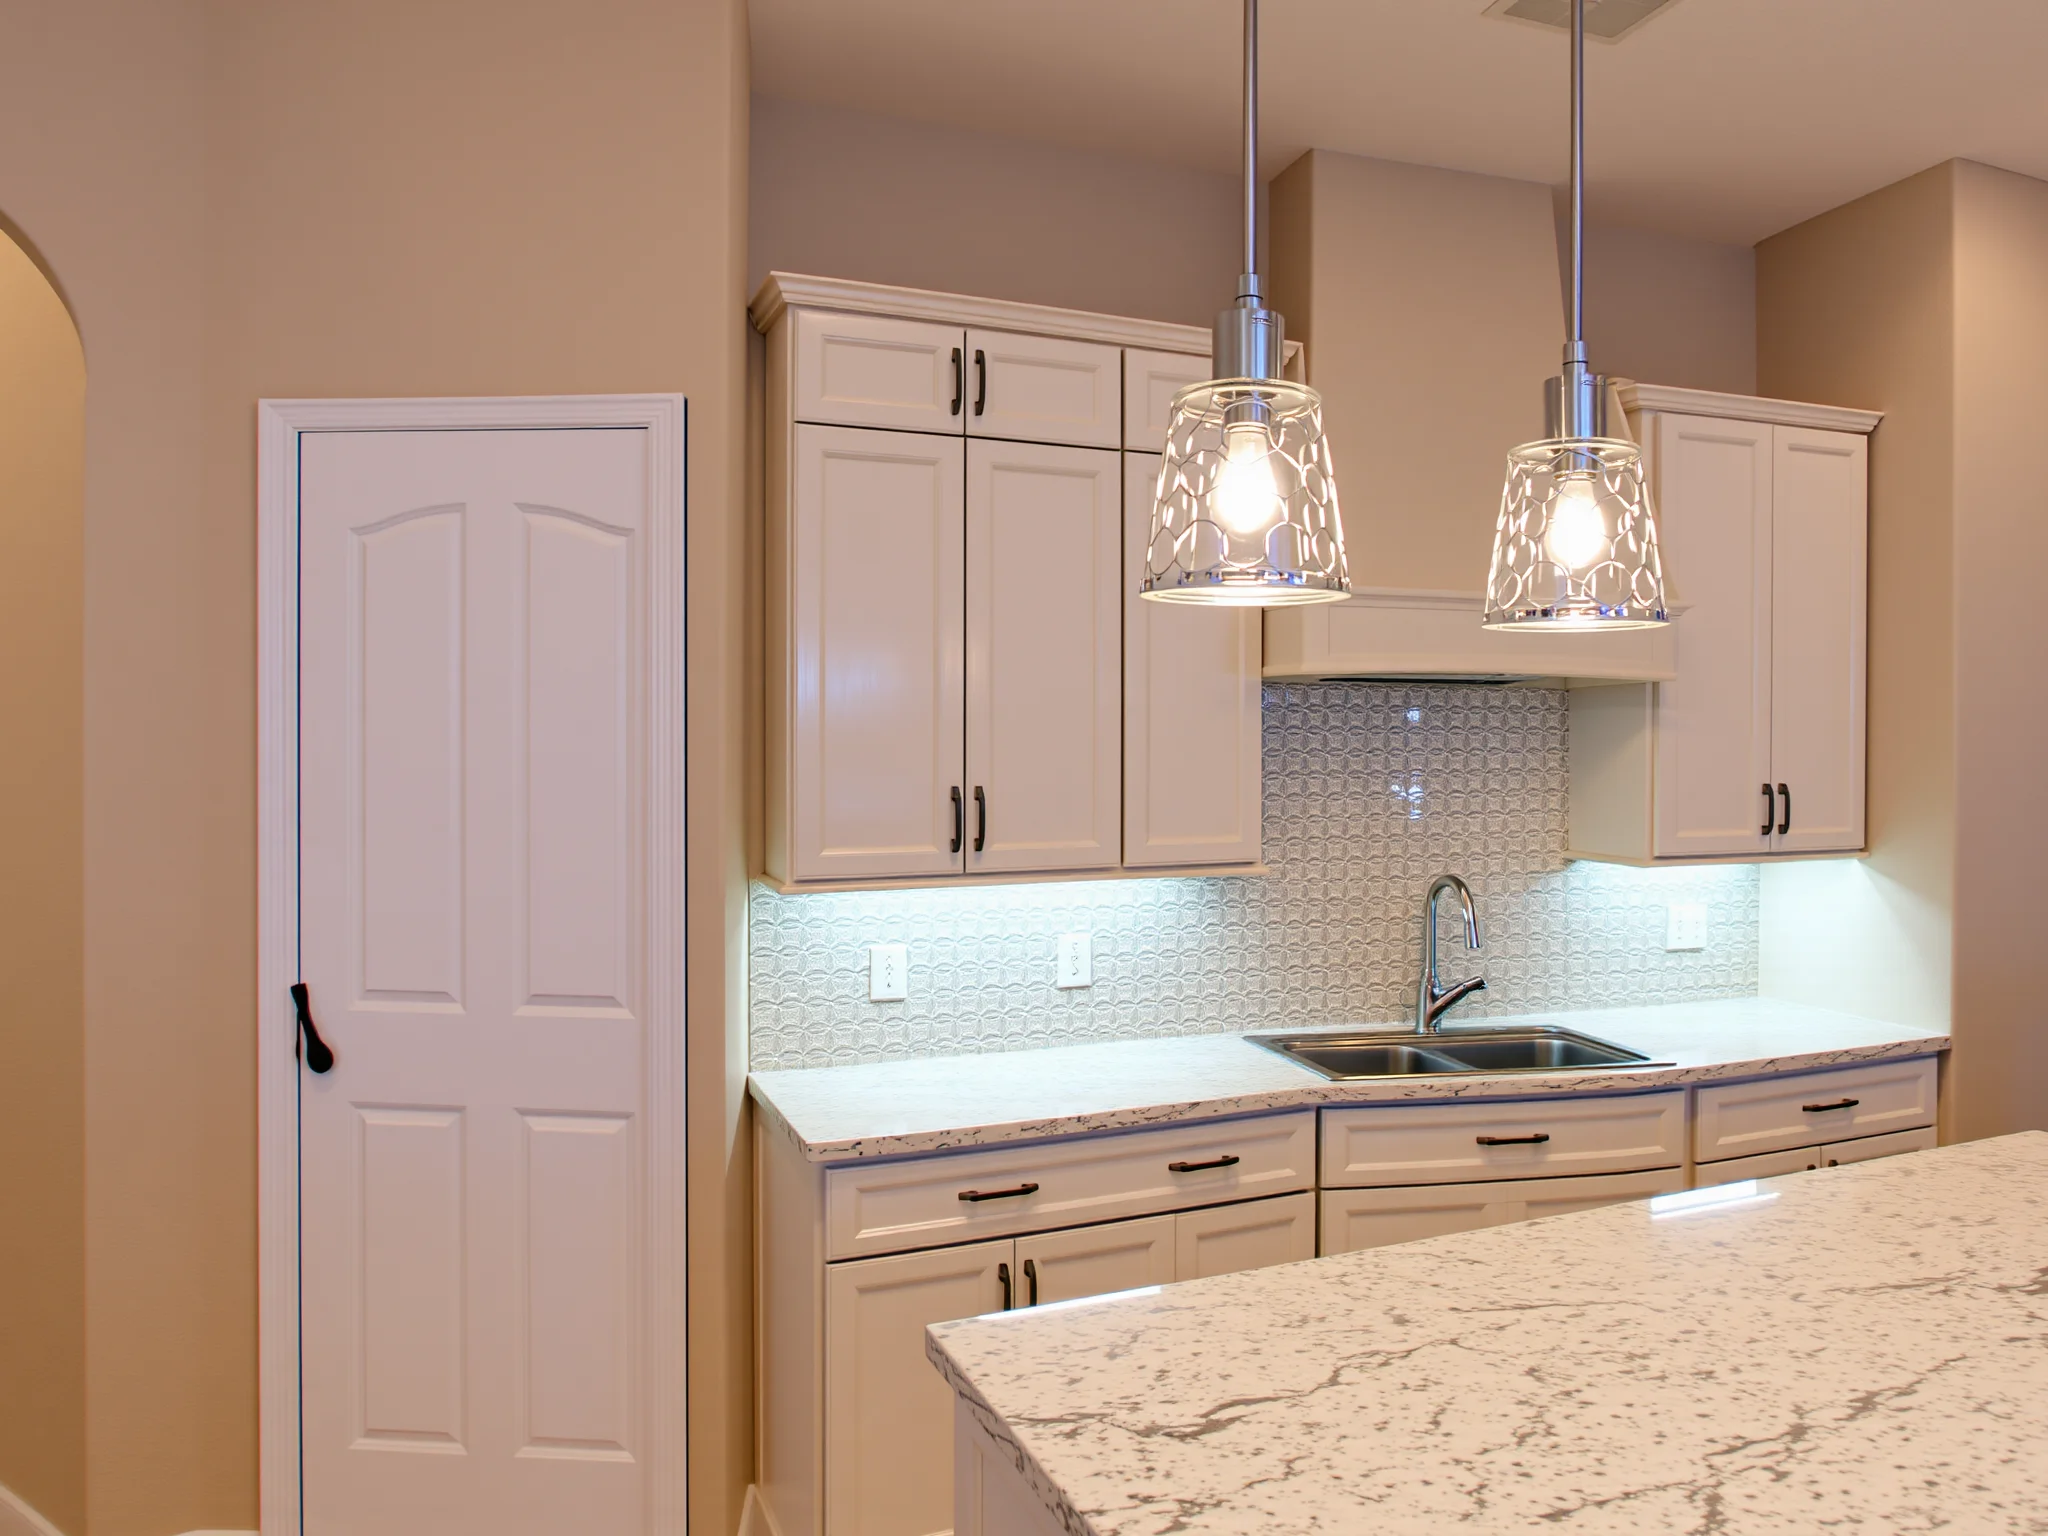
Absolutely. Combining various trim profiles can create layered, distinctive designs tailored to your taste. For example, crown molding at the top combined with decorative edge banding along the cabinet doors can produce a high-end, bespoke appearance. Before committing, review online galleries or visit local home improvement stores to see different styles in person. Remember, the key to a balanced design lies in proportion and harmony.
What Are Common Mistakes to Avoid When Adding Decorative Trim?
- Incorrect measurements leading to gaps or misaligned joints.
- Choosing the wrong type of trim for your cabinet style or budget.
- Skipping the dry fit step — always ensure pieces fit perfectly before attaching.
- Using excessive nails or glue that can result in a messy finish.
- Neglecting proper sanding or finishing, which can make imperfections stand out.
How Can Hollywood Cabinet Refinishing Help with Cabinet Enhancement Projects?
If you’re considering a comprehensive upgrade rather than a simple trim add-on, professional services can make a significant difference. From cabinet refacing to refinishing, experts can provide guidance on integrating decorative trim into your overall design. For inspiration or to explore further options, visit our post on professional cabinet refacing.
What Should I Know About Maintaining My Newly Decorated Cabinets?
Proper maintenance preserves the beauty and function of your cabinets. Regularly clean with gentle, non-abrasive cleaners. Avoid harsh chemicals that can damage finishes. Touch-up minor scratches or chip areas promptly. For ongoing style updates, consider repainting or re-staining the trim as needed to keep your cabinets looking fresh.
FAQs About How to Add Decorative Trim to Cabinets
While many homeowners successfully add decorative trim on their own, hiring professionals ensures precision and a flawless finish, especially for complex designs or large projects. To explore custom options, view our post on professional cabinet refacing.
The duration depends on the size of your project, the complexity of the trim, and your skill level. A small kitchen or bathroom might take a weekend, while larger projects could extend over several days.
Yes. Adding trim can give aging cabinets a fresh, updated look. For particularly worn or damaged surfaces, consider refinishing or sanding beforehand to ensure the best adhesion and appearance.
Sleek, simple profiles like flat or quarter-round moulding work well for modern aesthetics, while subtle crown molding can add elegance without overwhelming minimalist designs.
Conclusion
Adding decorative trim to your cabinets is an accessible and effective way to personalize your home, enhance its style, and boost its value. By understanding the tools, techniques, and design principles involved, you can confidently undertake this upgrade. Remember, careful measurement, precise cutting, and attention to detail are the keys to achieving a professional, polished look. Whether you choose to DIY or consult with experts, Hollywood Cabinet Refinishing is committed to helping homeowners create beautiful, customized cabinetry. Start your project today and enjoy a stunning transformation that reflects your unique taste and style!


:max_bytes(150000):strip_icc()/TAL-the-star-frisco-texas-FRISCOTX0223-5fb5e2ddde5a431e8072e46cbc504b63.jpg)


