

How to Add Vertical Dividers to Cabinets: A Step-by-Step Guide
How to Add Vertical Dividers to Cabinets: Taming the Chaos like a Pro!
So, you've looked at your kitchen or bathroom cabinets and thought, "Hmmm, this could use a little more... order." Maybe your utensils are dancing, or your spices are staging a revolt. Whatever the chaos, the solution is simple: add some vertical dividers! But how exactly do you transform a messy cabinet into an organized oasis? Fear not, dear reader—Hollywood Cabinet Refinishing is here with the witty wisdom and practical tips to help you master the art of cabinet organization. Ready to conquer the clutter? Let’s dive into the world of vertical dividers and give your cabinets the makeover they deserve!
Why Should You Consider Adding Vertical Dividers to Your Cabinets?
Before we embark on this DIY adventure, let’s understand why vertical dividers are the secret weapon in your organizational arsenal:
- Enhanced Organization: Keeps items upright and easy to find.
- Maximized Space: Efficiently utilizes cabinet width, eliminating wasted gaps.
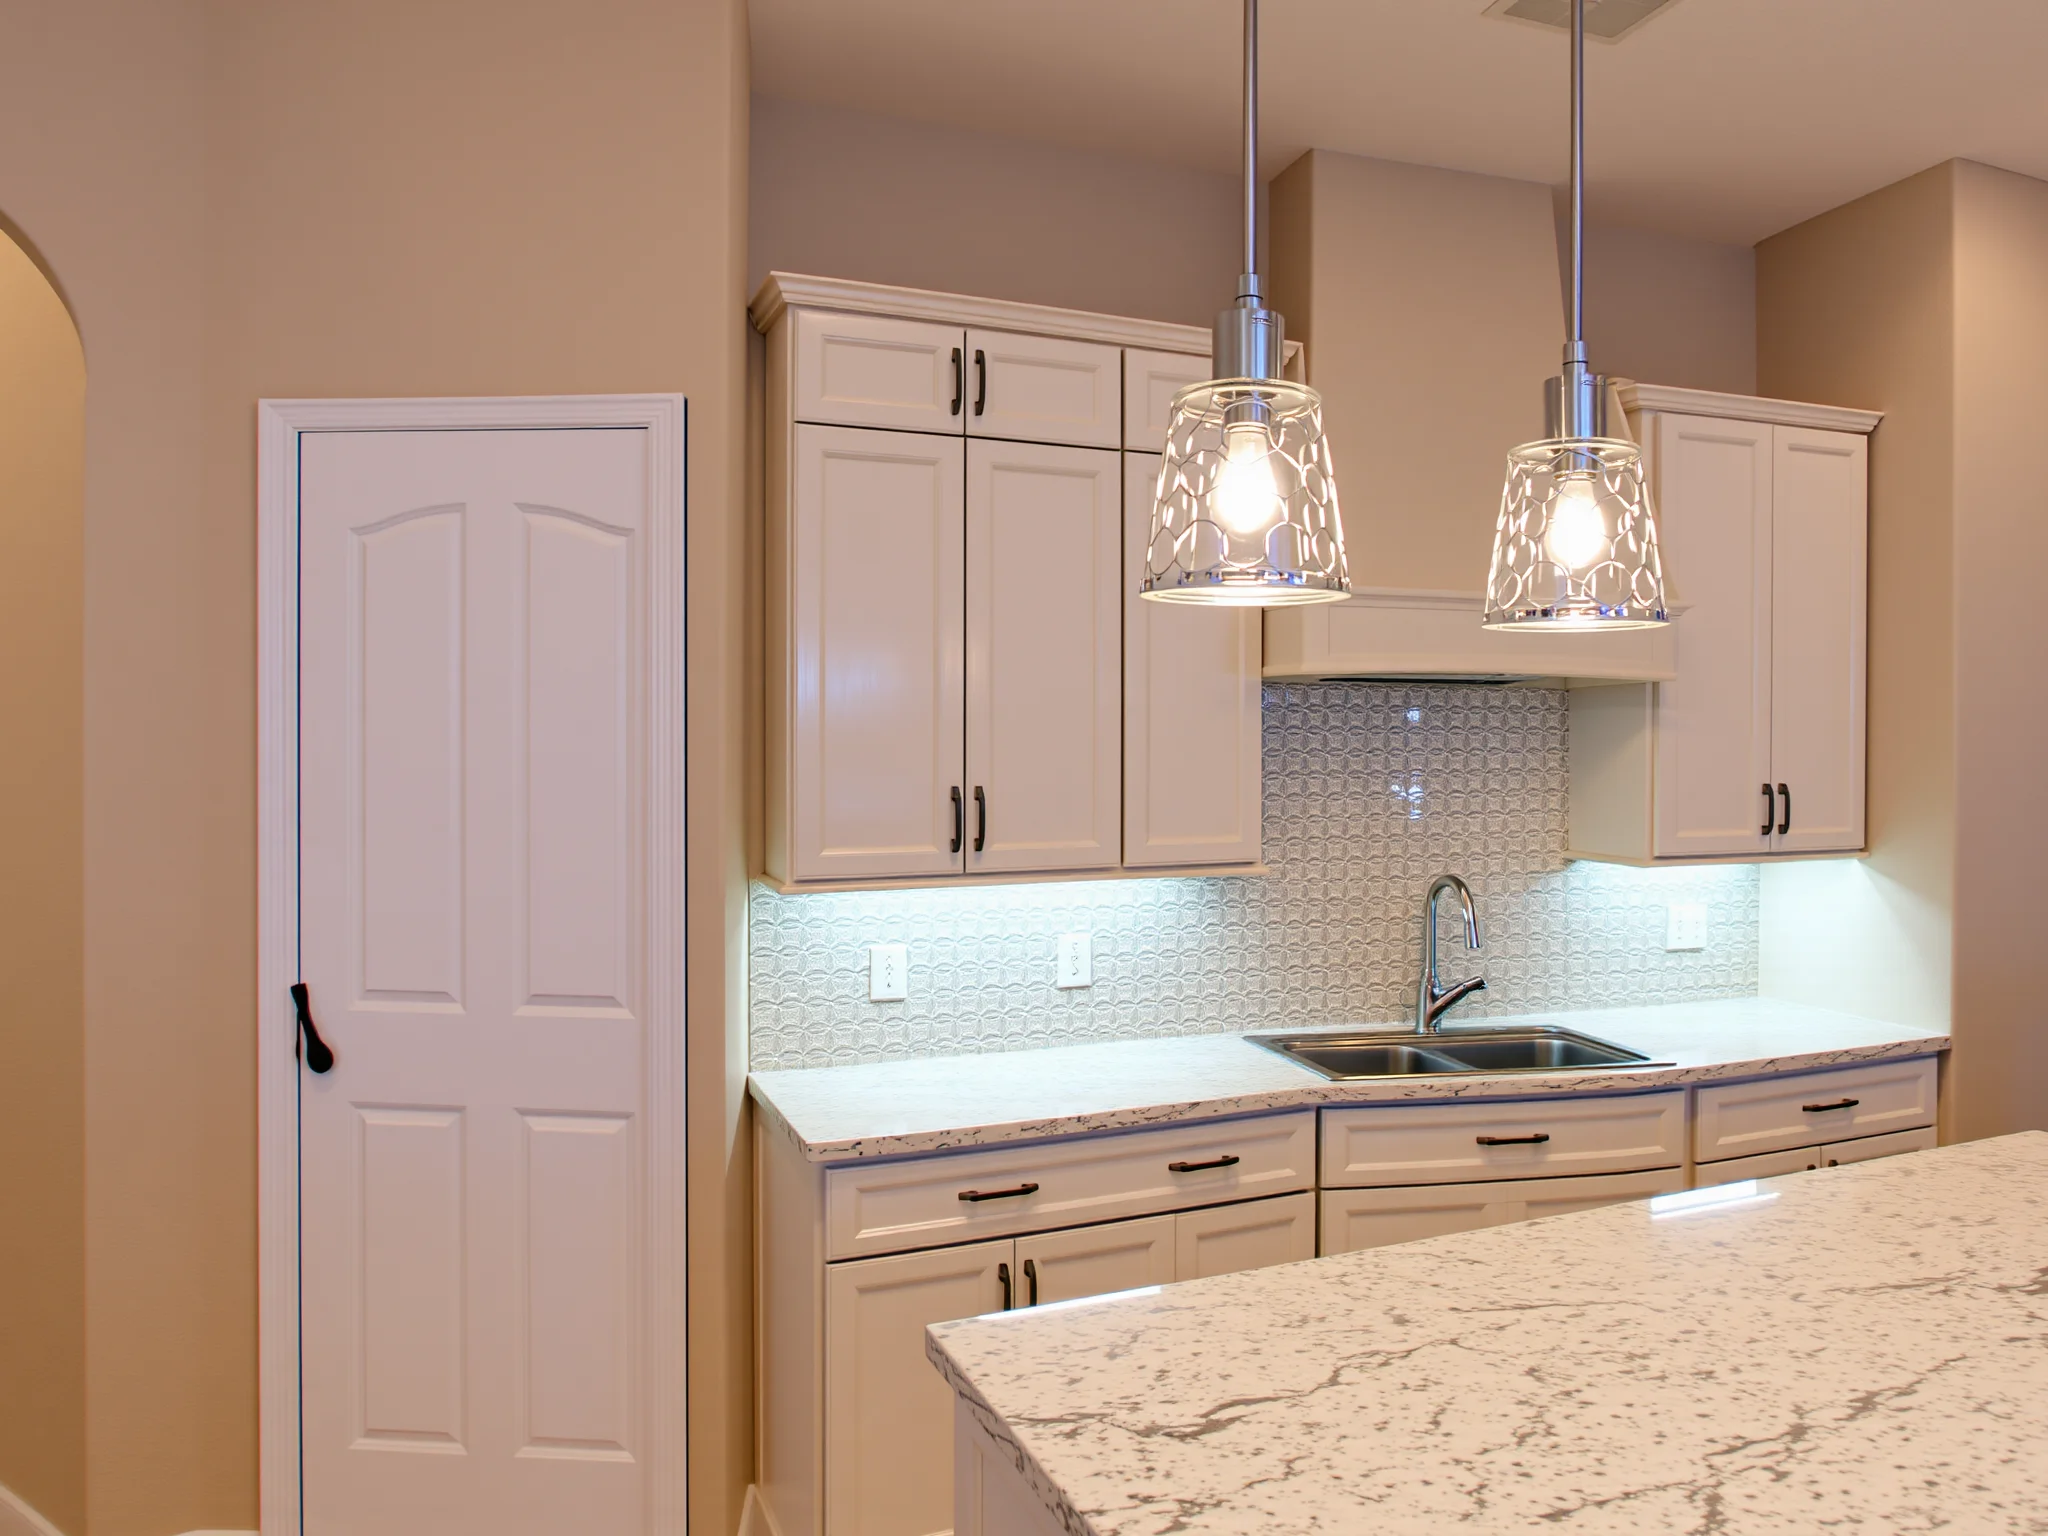
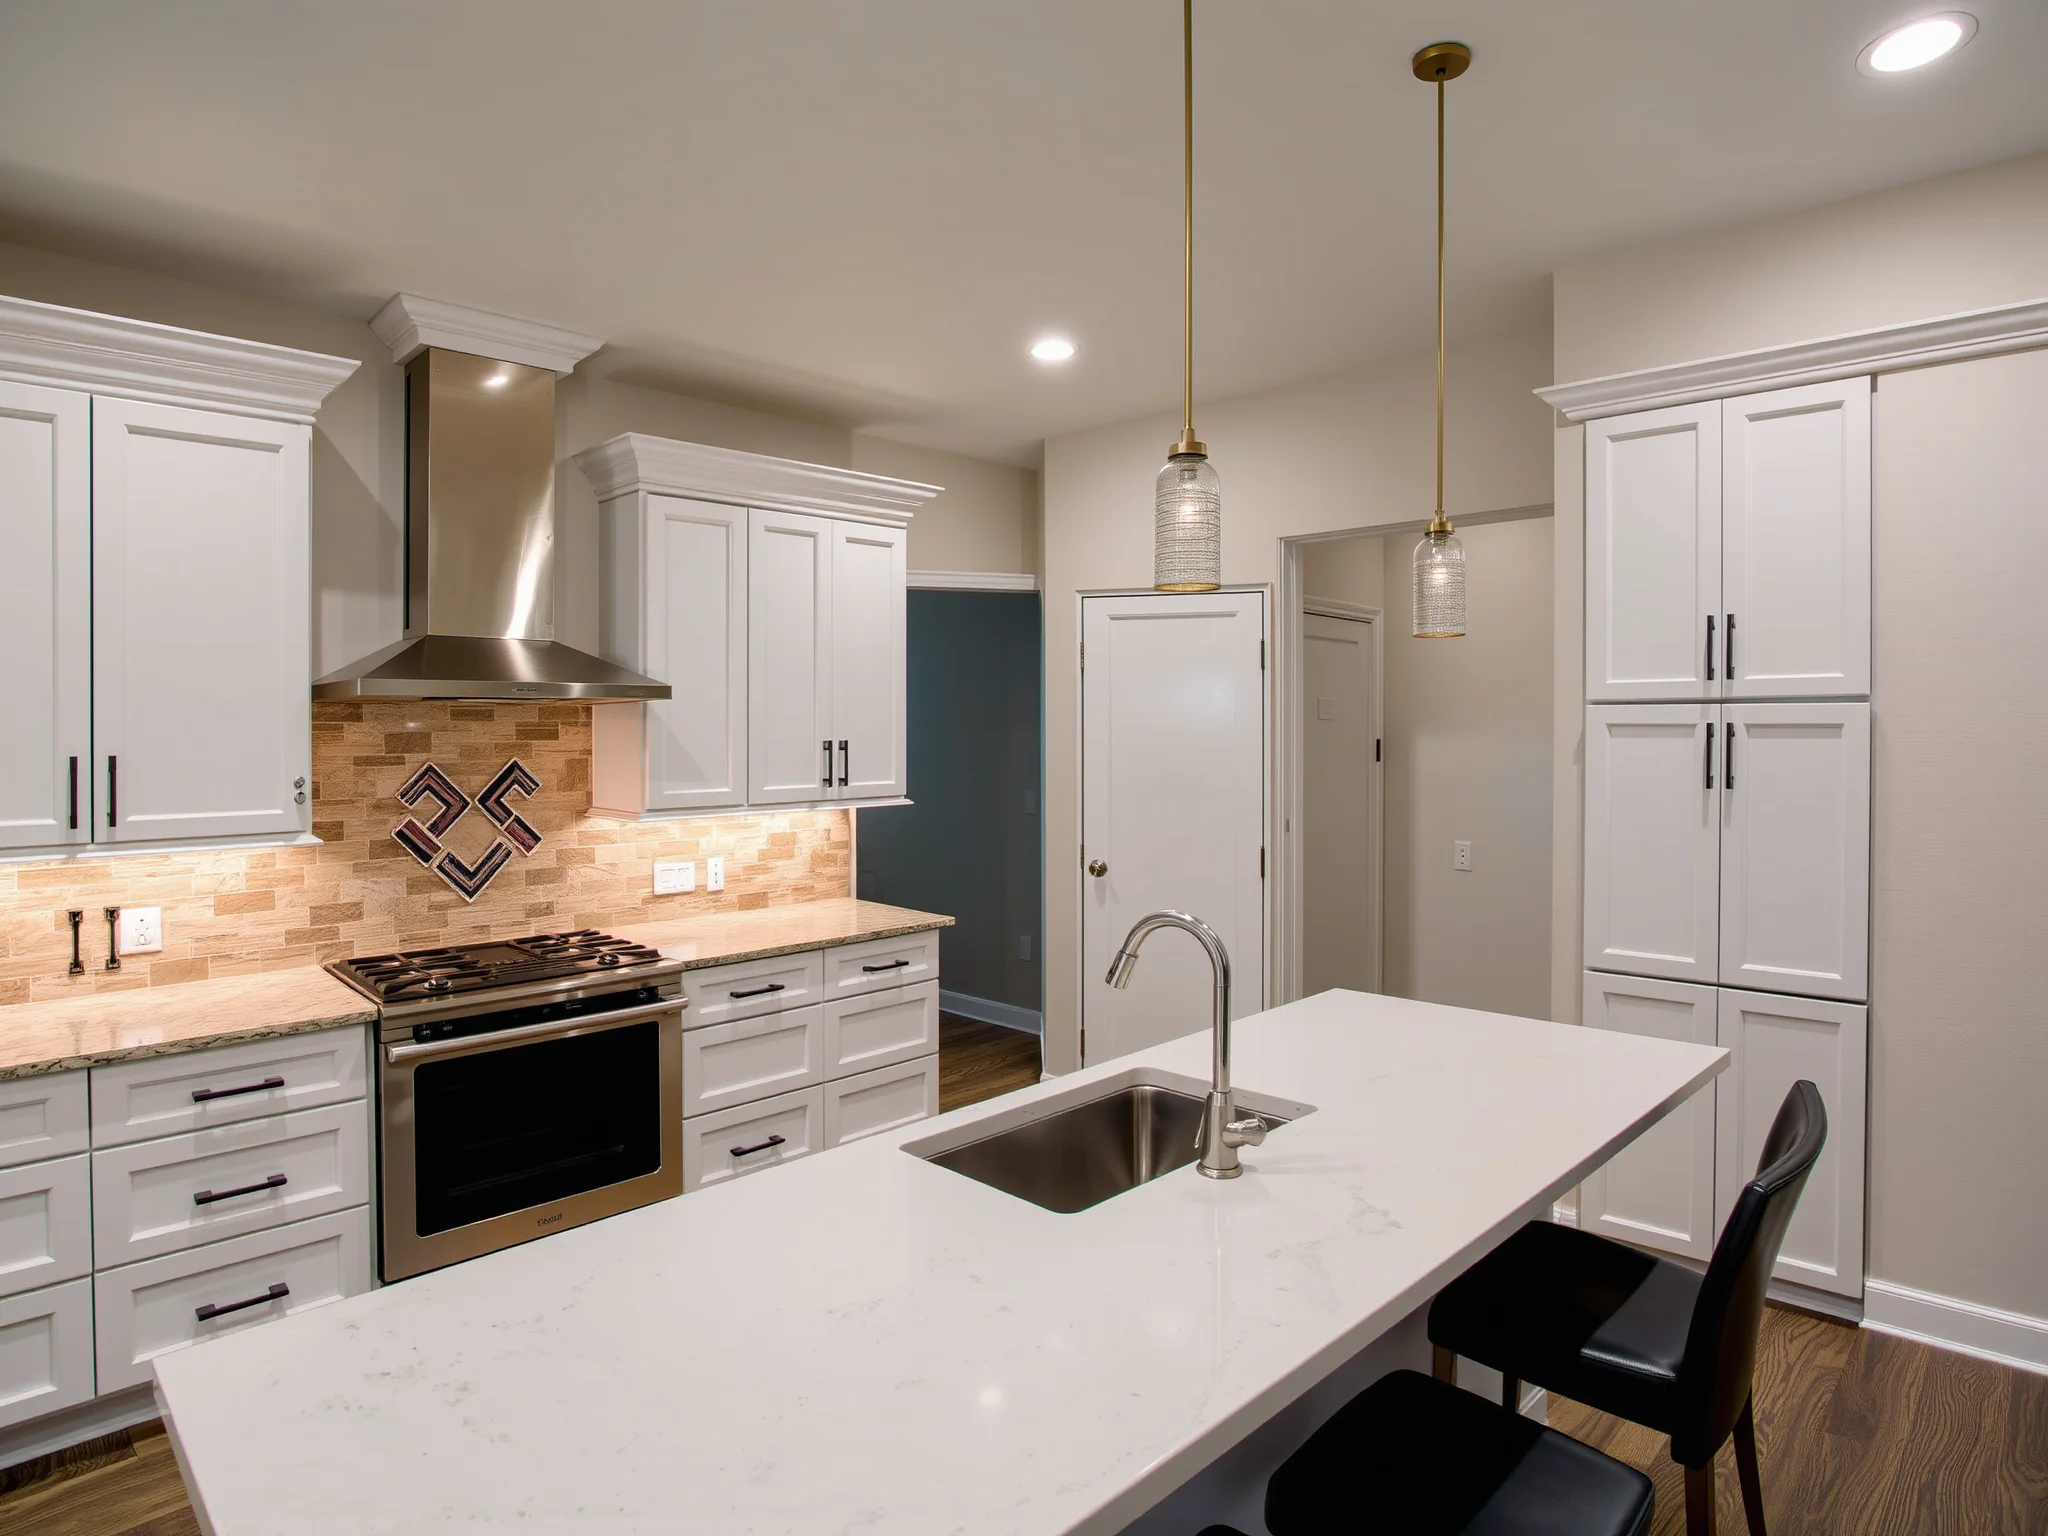
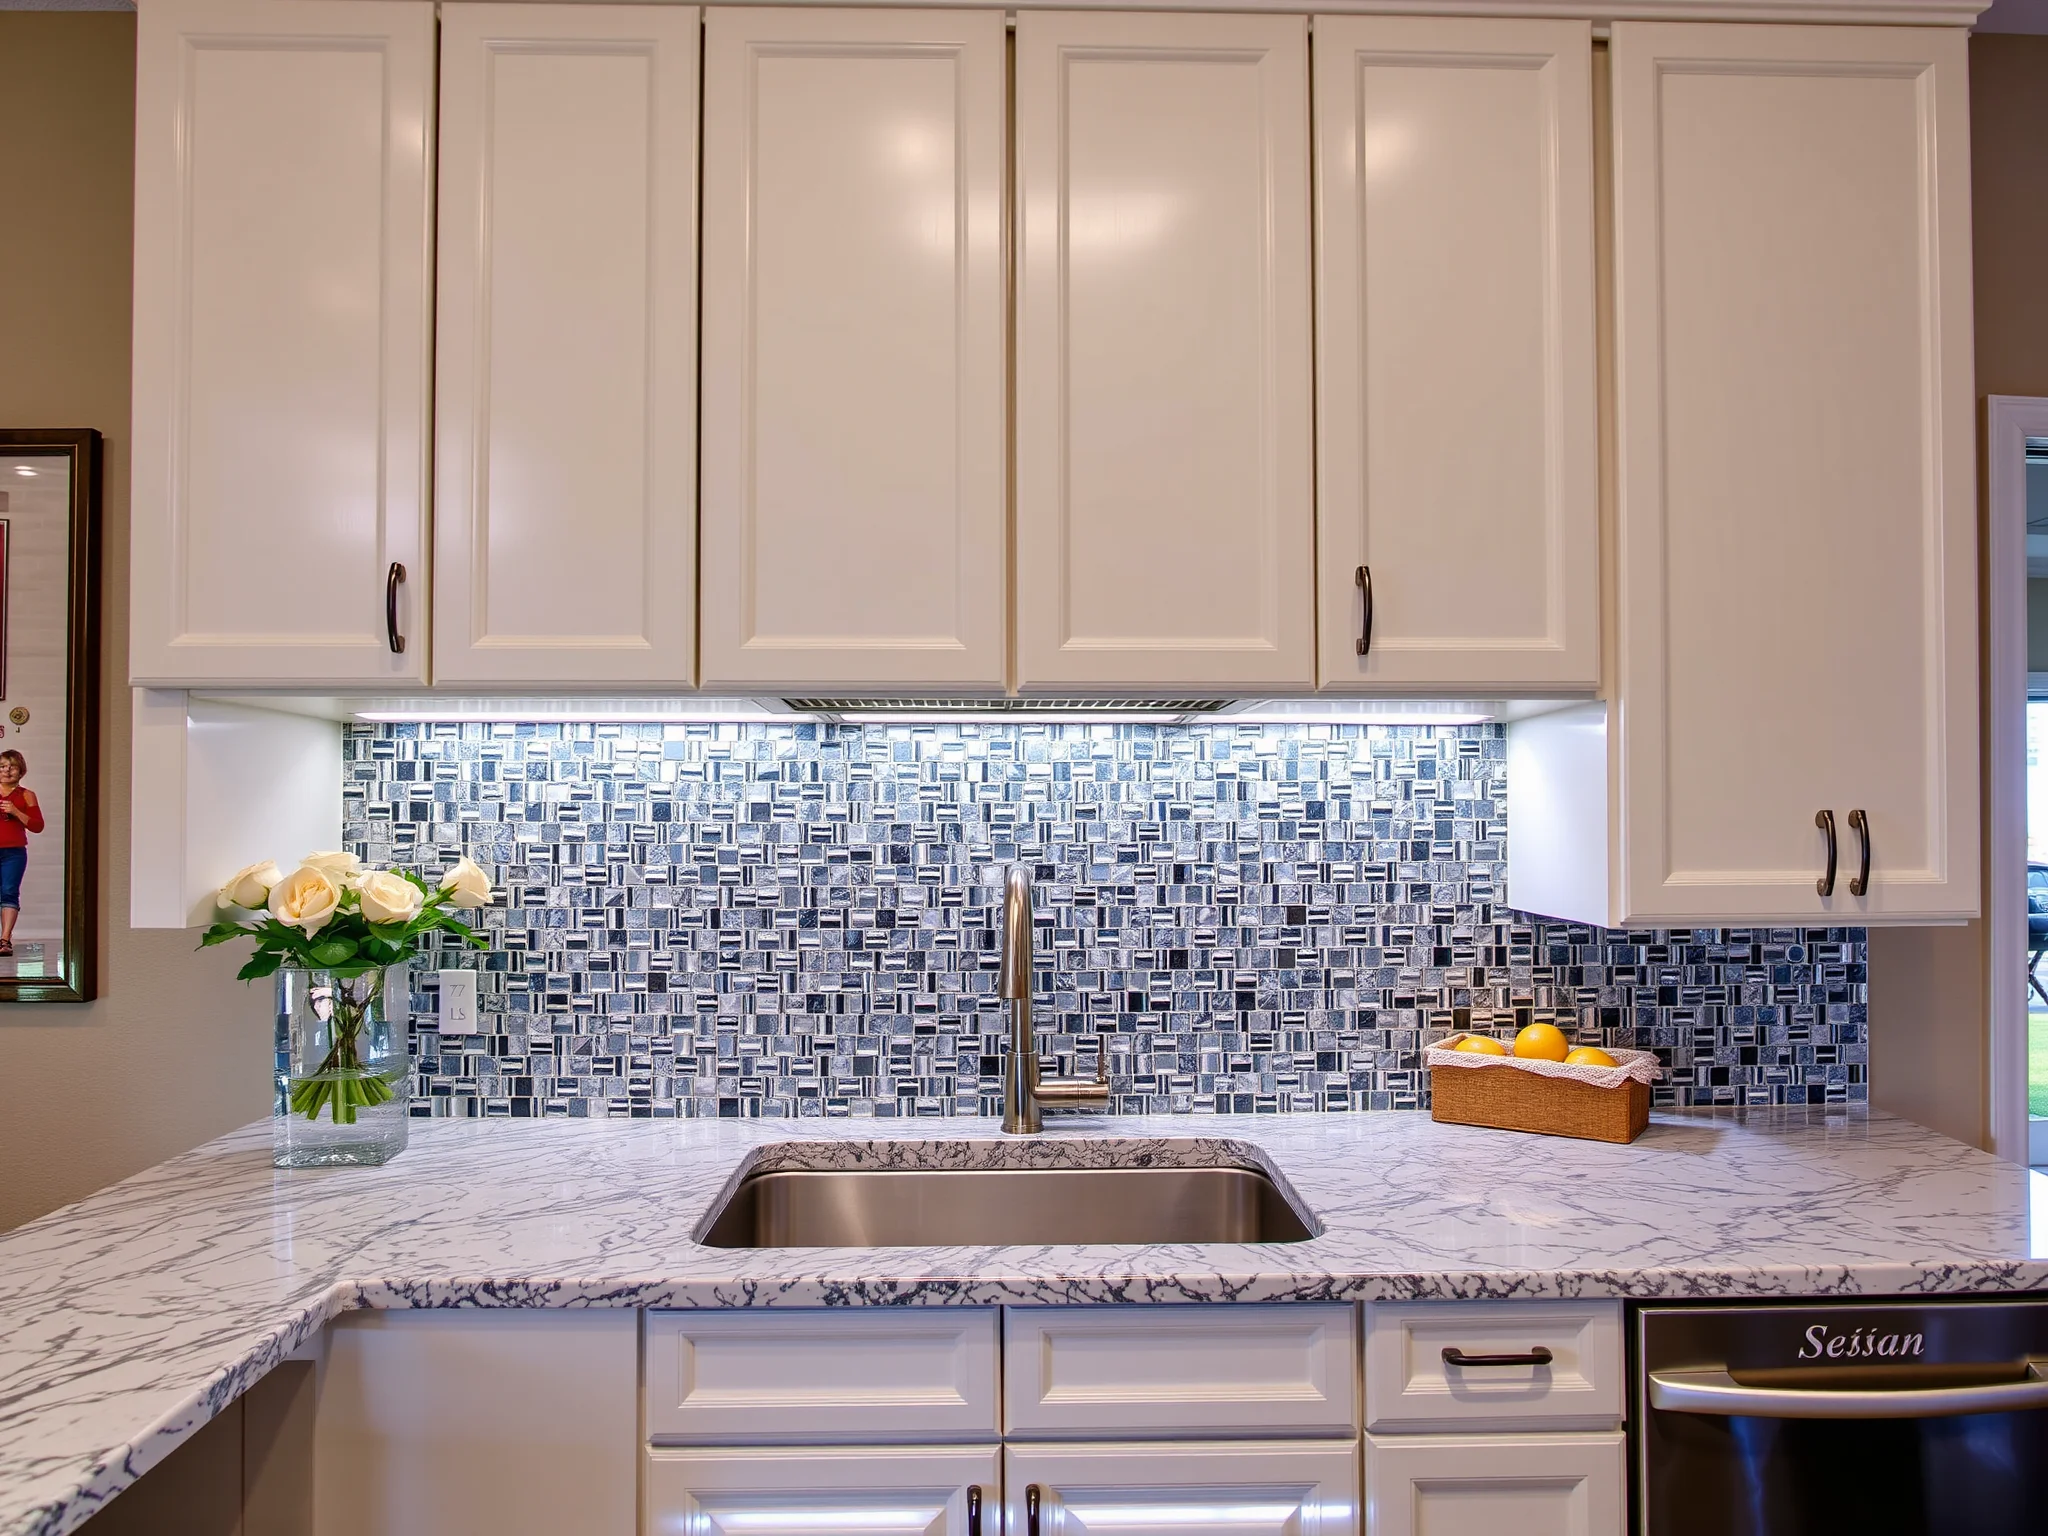
- Visual Appeal: Adds a clean, structured look that elevates your kitchen aesthetics.
- Reduced Clutter: Prevents items from tumbling over or mixing chaos with order.
What Tools and Materials Are Needed for Installing Vertical Dividers?
Absolutely! Gather these essential items for a smooth project:
- Measuring tape and pencil for precise measurements and markings
- Saw (circular saw or hand saw) to cut dividers to size
- Drill and screws for secure fastening
- Level to ensure perfectly vertical dividers
- Wood glue for added stability (optional but recommended)
- Premium cabinet wood or sturdy plywood to serve as dividers
- Sandpaper or a sanding block for smooth edges
- Clamps to hold pieces in place while drying (if using glue)
How Do You Measure and Plan for Installing Vertical Dividers?
The secret to success lies in meticulous measurement. Follow these steps:
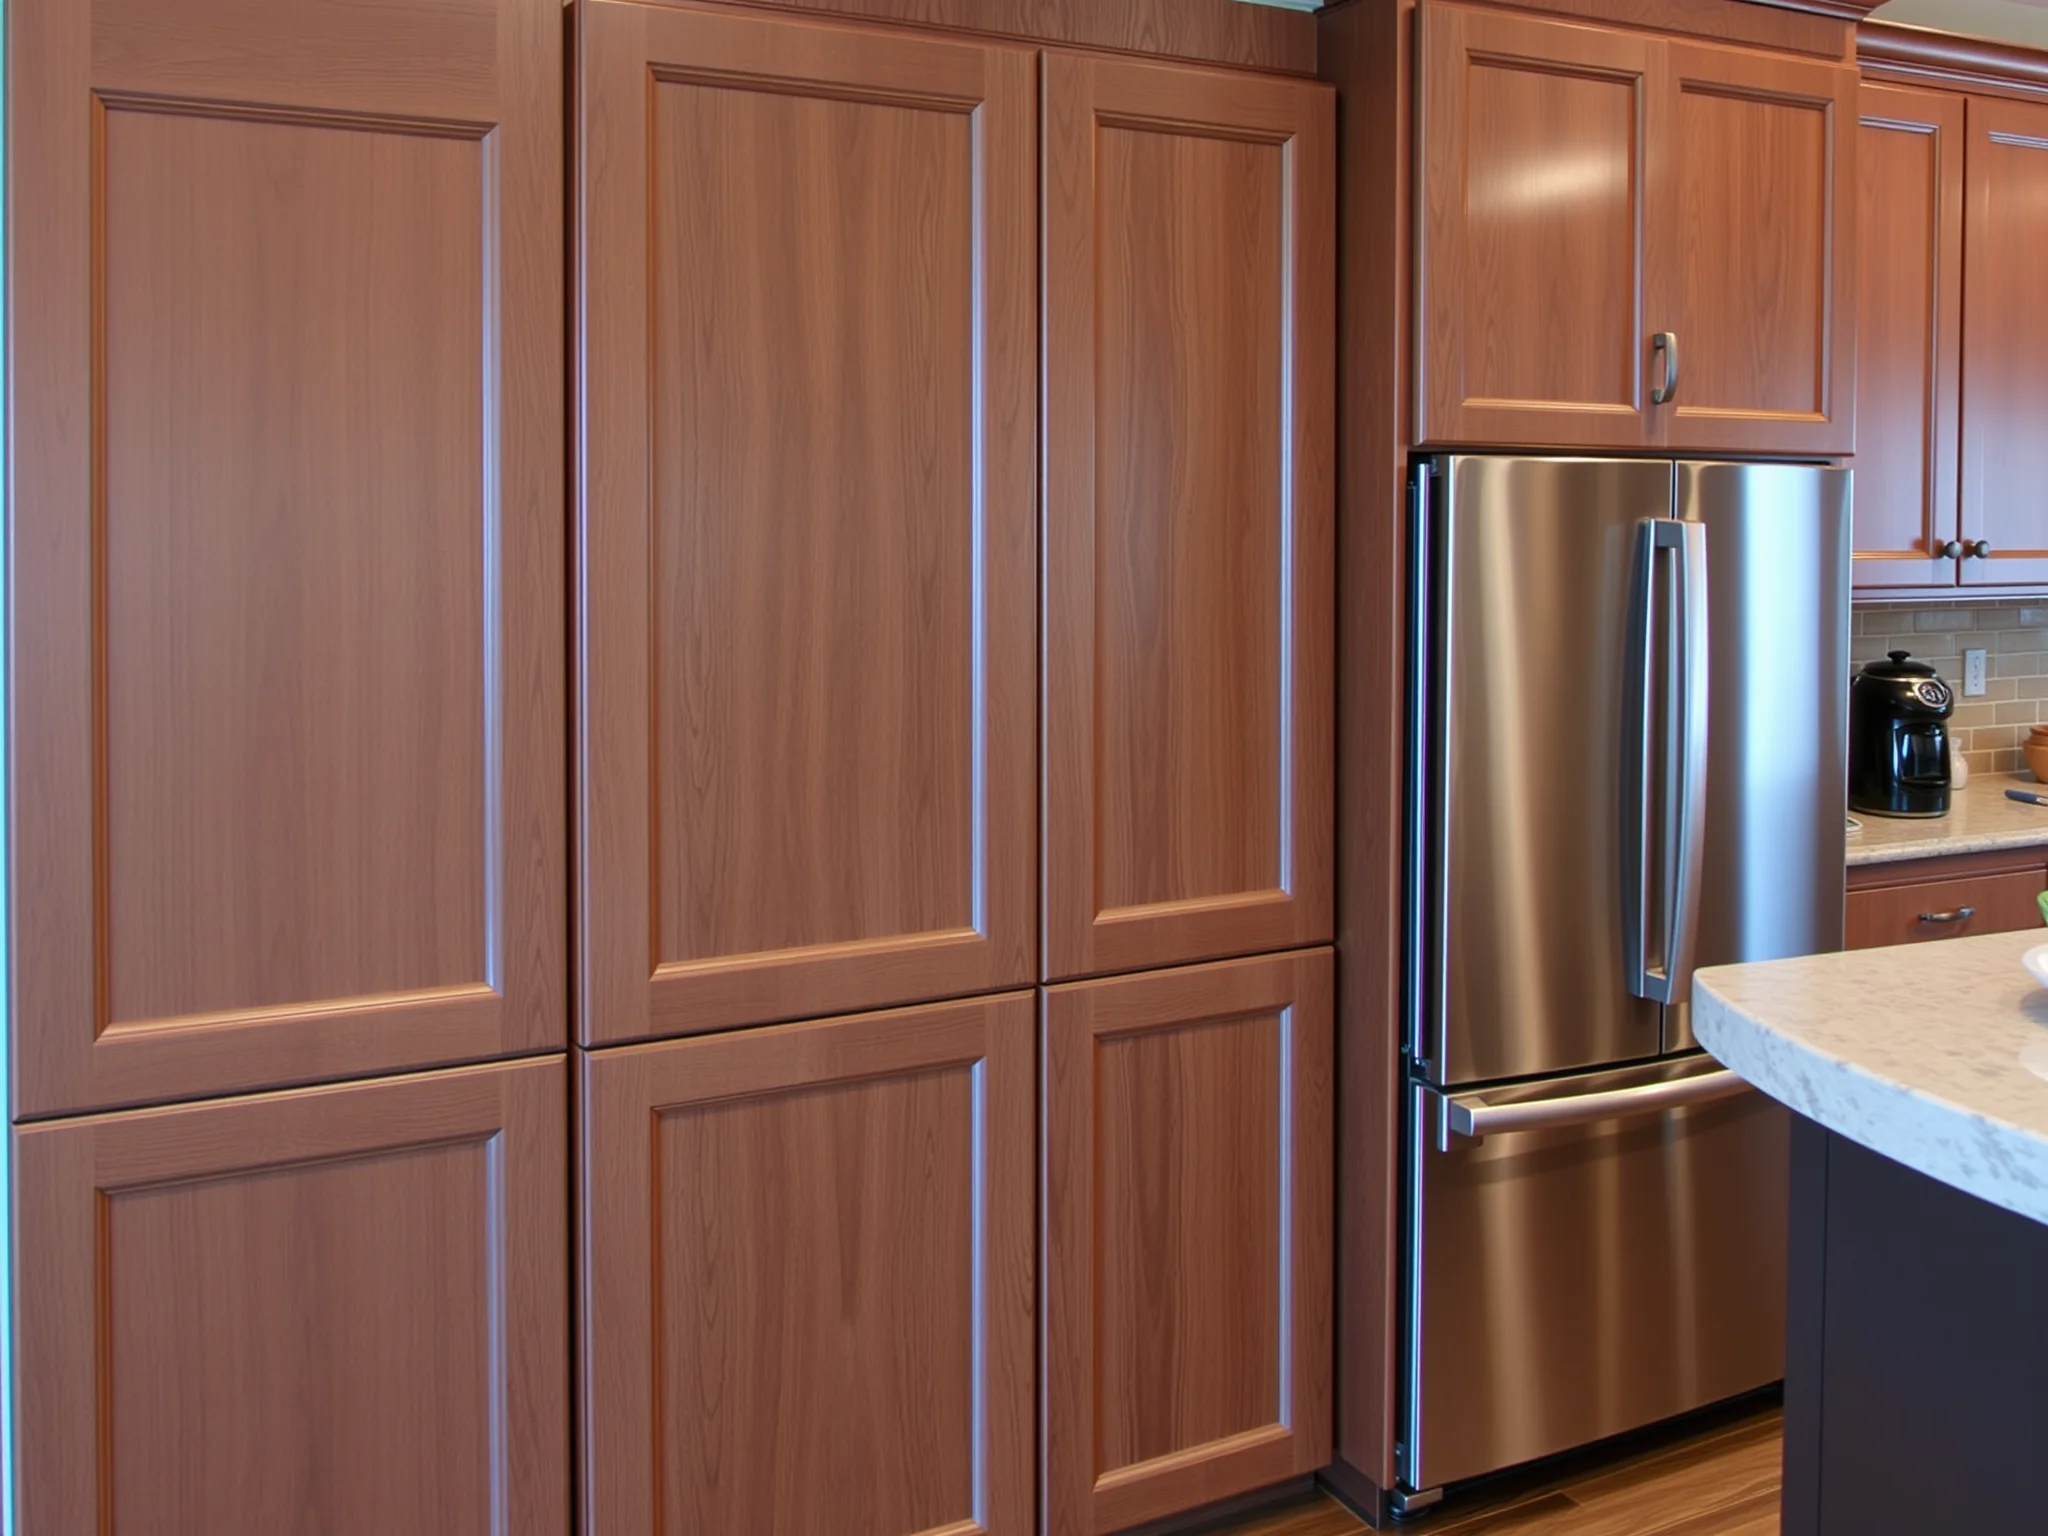
- Assess Your Space: Open your cabinet doors and take note of the width and height of each section where you want dividers.
- Decide on Divider Placement: Determine whether you want a divider for every shelf or just for specific sections—think about your storage needs.
- Measure Precisely: Use your measuring tape to record the exact width of each compartment. Remember, accuracy is key—double-check your measurements!
- Create a Layout Diagram: Sketch your cabinet layout, marking where each vertical divider will sit—this will serve as your blueprint.
What Are the Step-by-Step Instructions for Installing Vertical Dividers?
Follow these straightforward steps to introduce order into your cabinets:
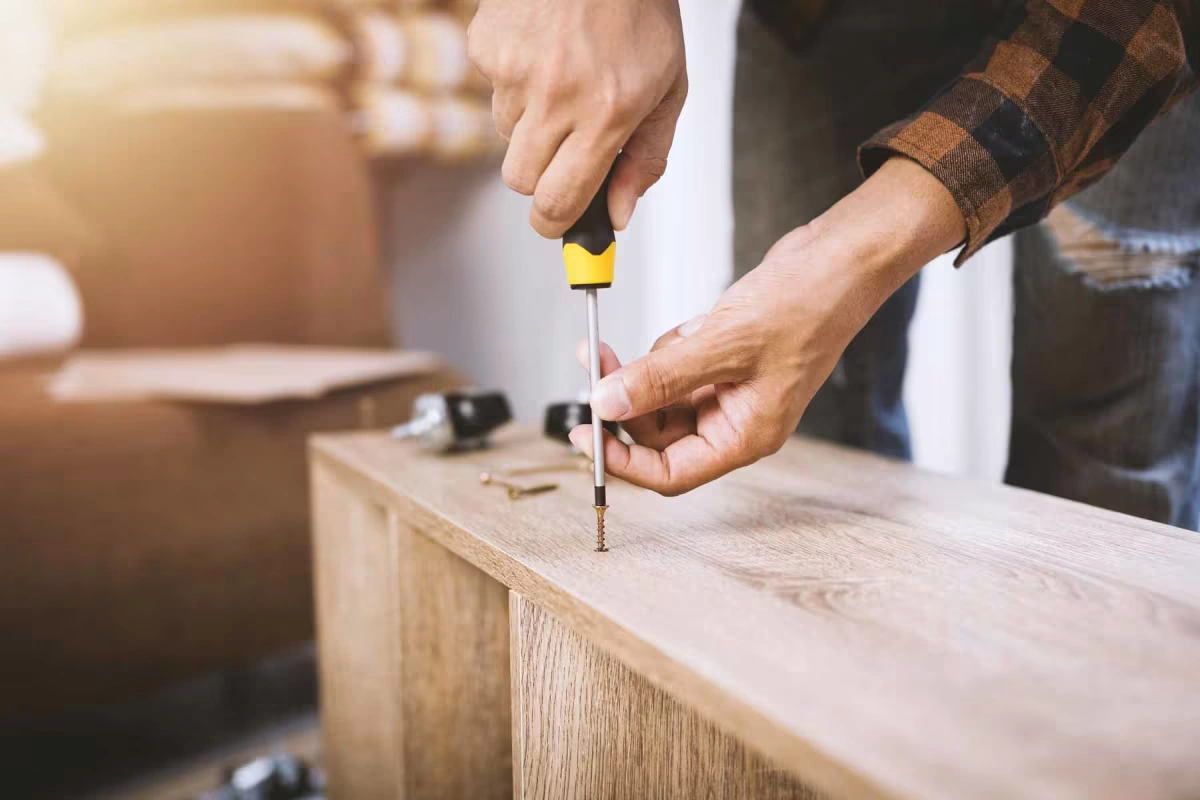
- Cut Your Dividers: Measure and cut your wood or plywood pieces to fit snugly between the sides of your cabinet. Always add a small allowance for ease of fit.
- Sand the Edges: Smooth out the cut edges with sandpaper to prevent splinters and improve aesthetics.
- Position the Divider: Place the divider inside the cabinet at your marked location. Use a level to ensure it's perfectly vertical—you don’t want your items leaning like the Tower of Pisa!
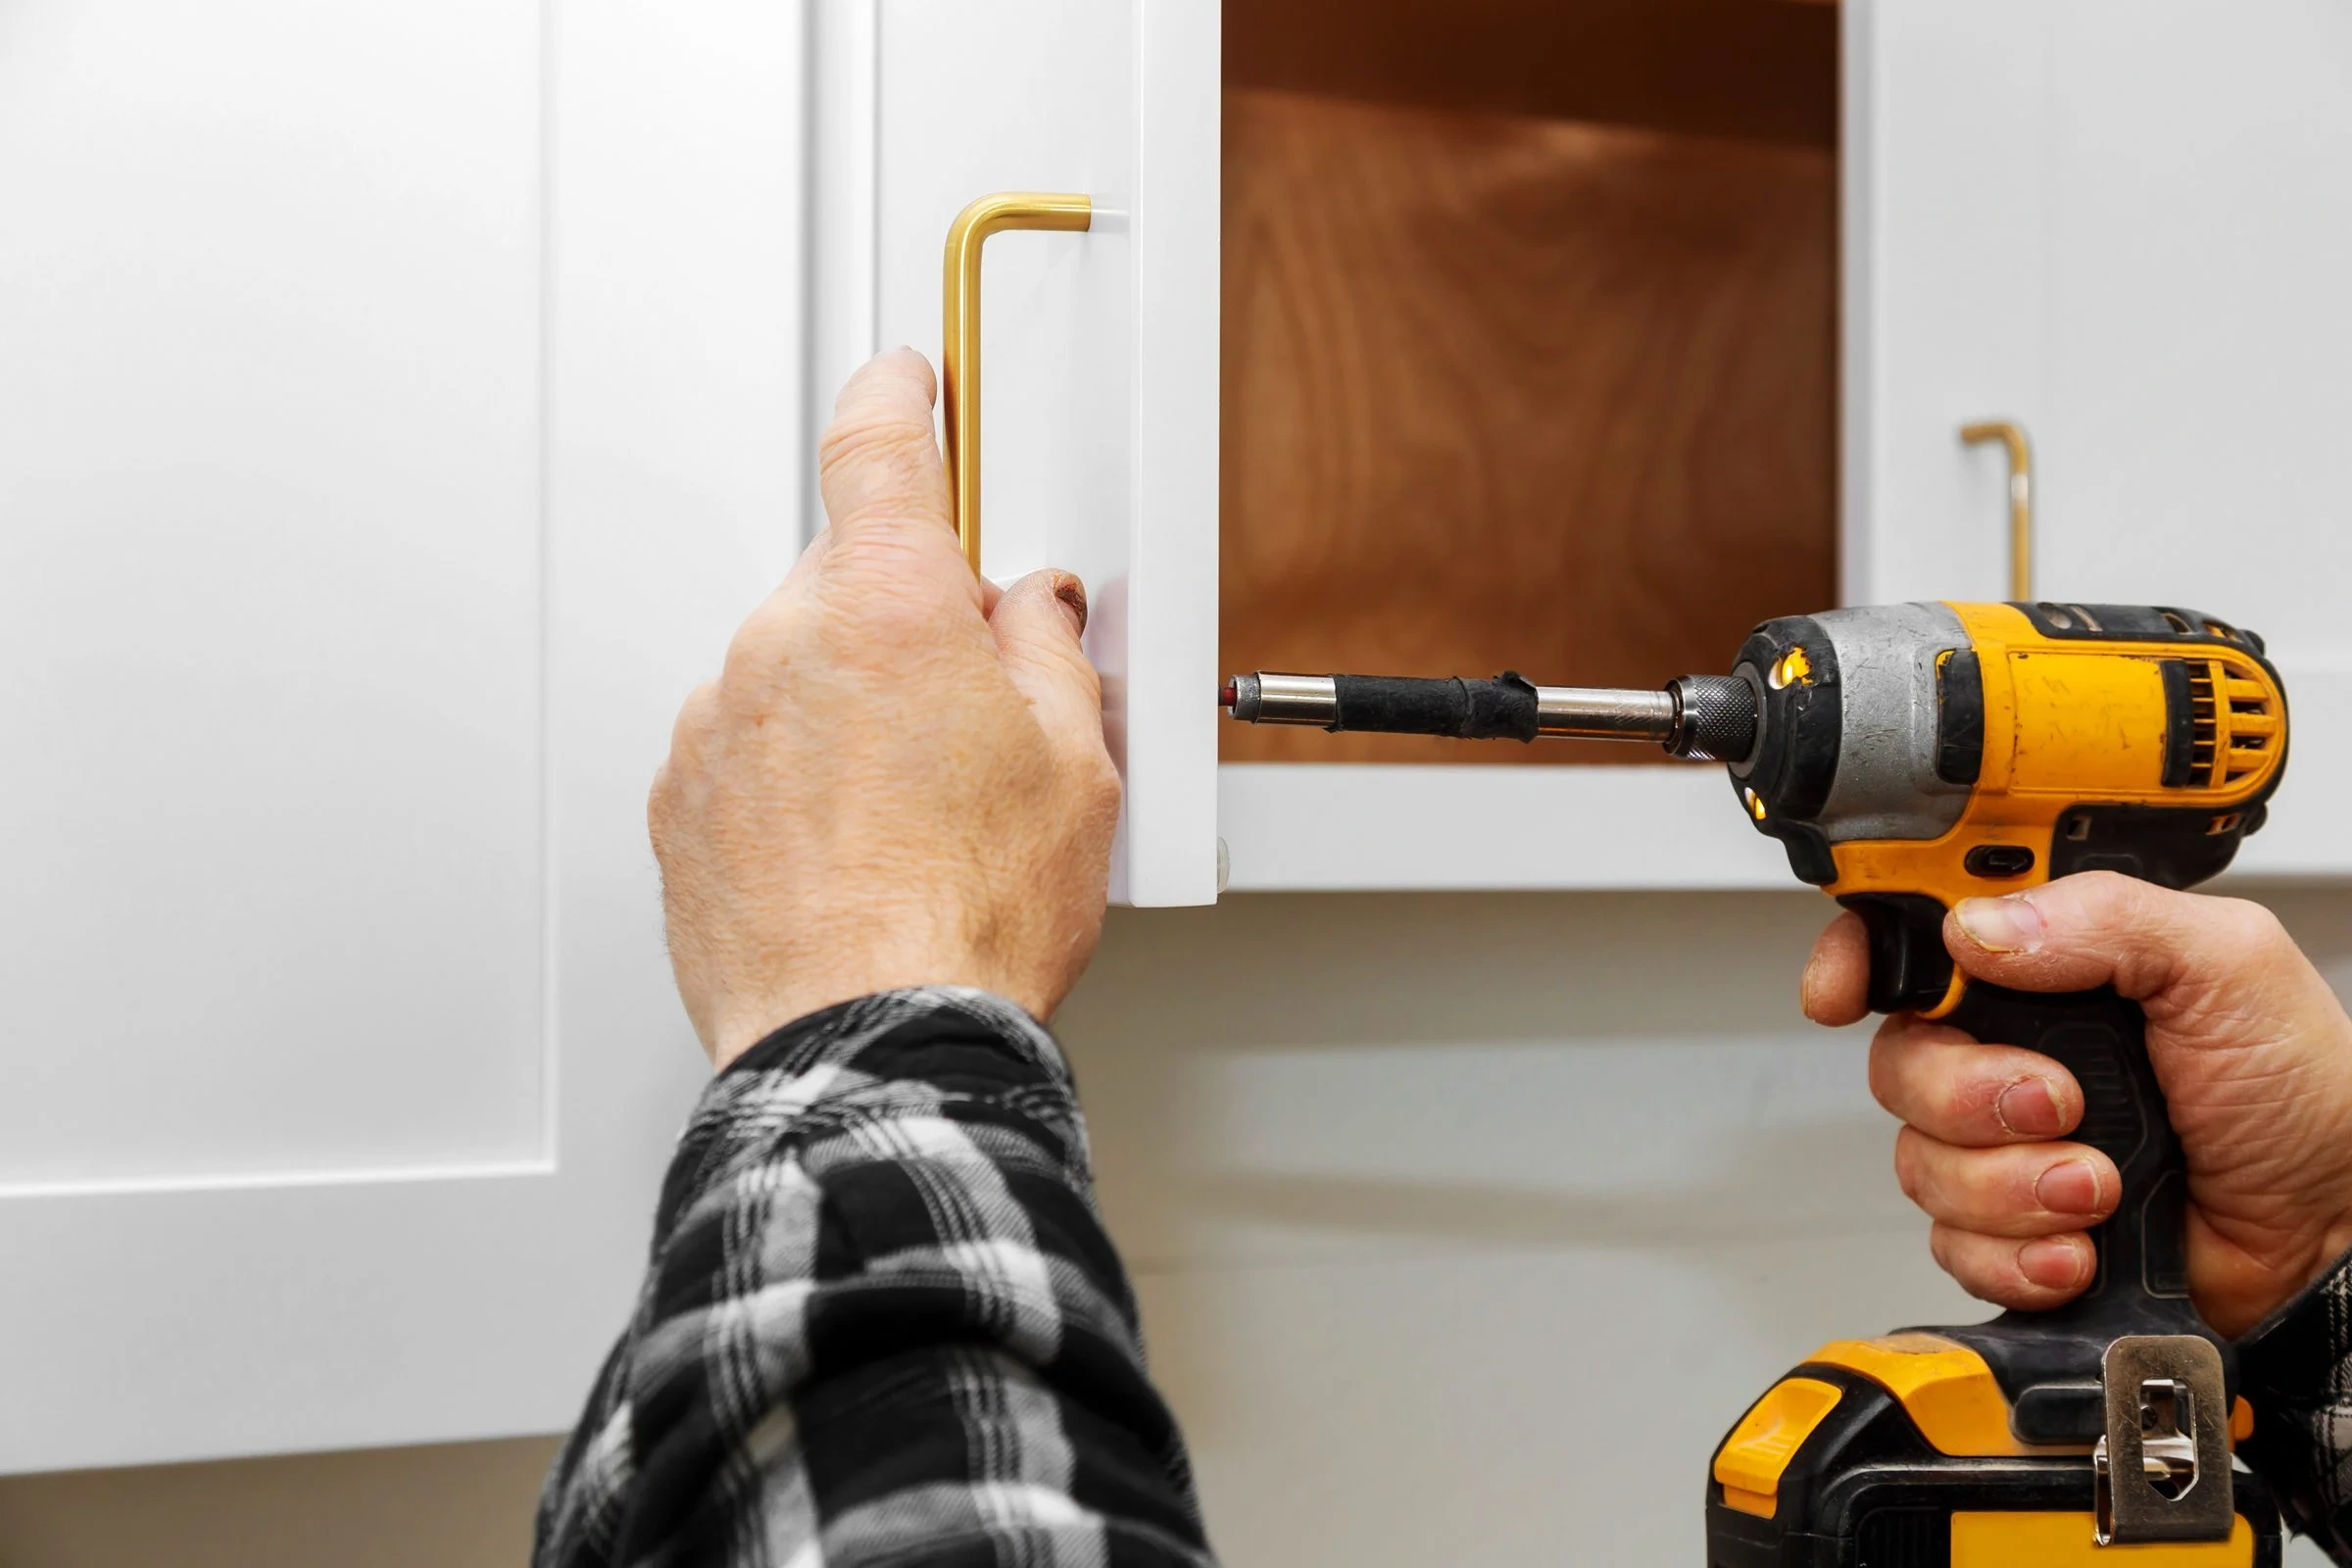
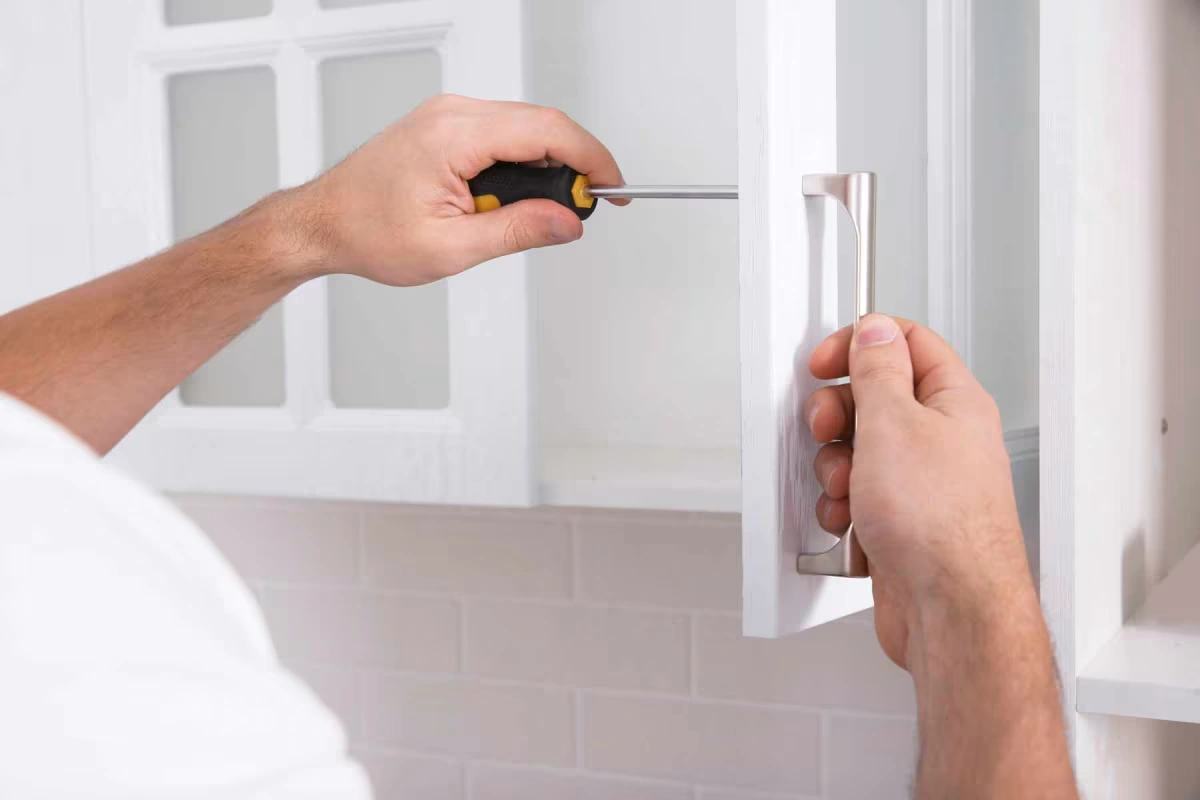
- Secure the Divider: Drill pilot holes through the sides of the cabinet and into the divider. Fix it in place with screws, tightening them until the divider feels solid.
- Optional Glue Application: For added stability, especially if your cabinet is large or holds heavy items, apply wood glue along the edges before screwing in place.
- Finish Up: Wipe away any excess glue, and let everything set. You may want to install shelf supports or additional reinforcements if necessary.
Can I Customize Vertical Dividers for Different Storage Needs?
Absolutely! Think beyond basic wood:
- Adjustable Dividers: Use clips or sliding mechanisms for flexible spacing—perfect for changing storage needs.
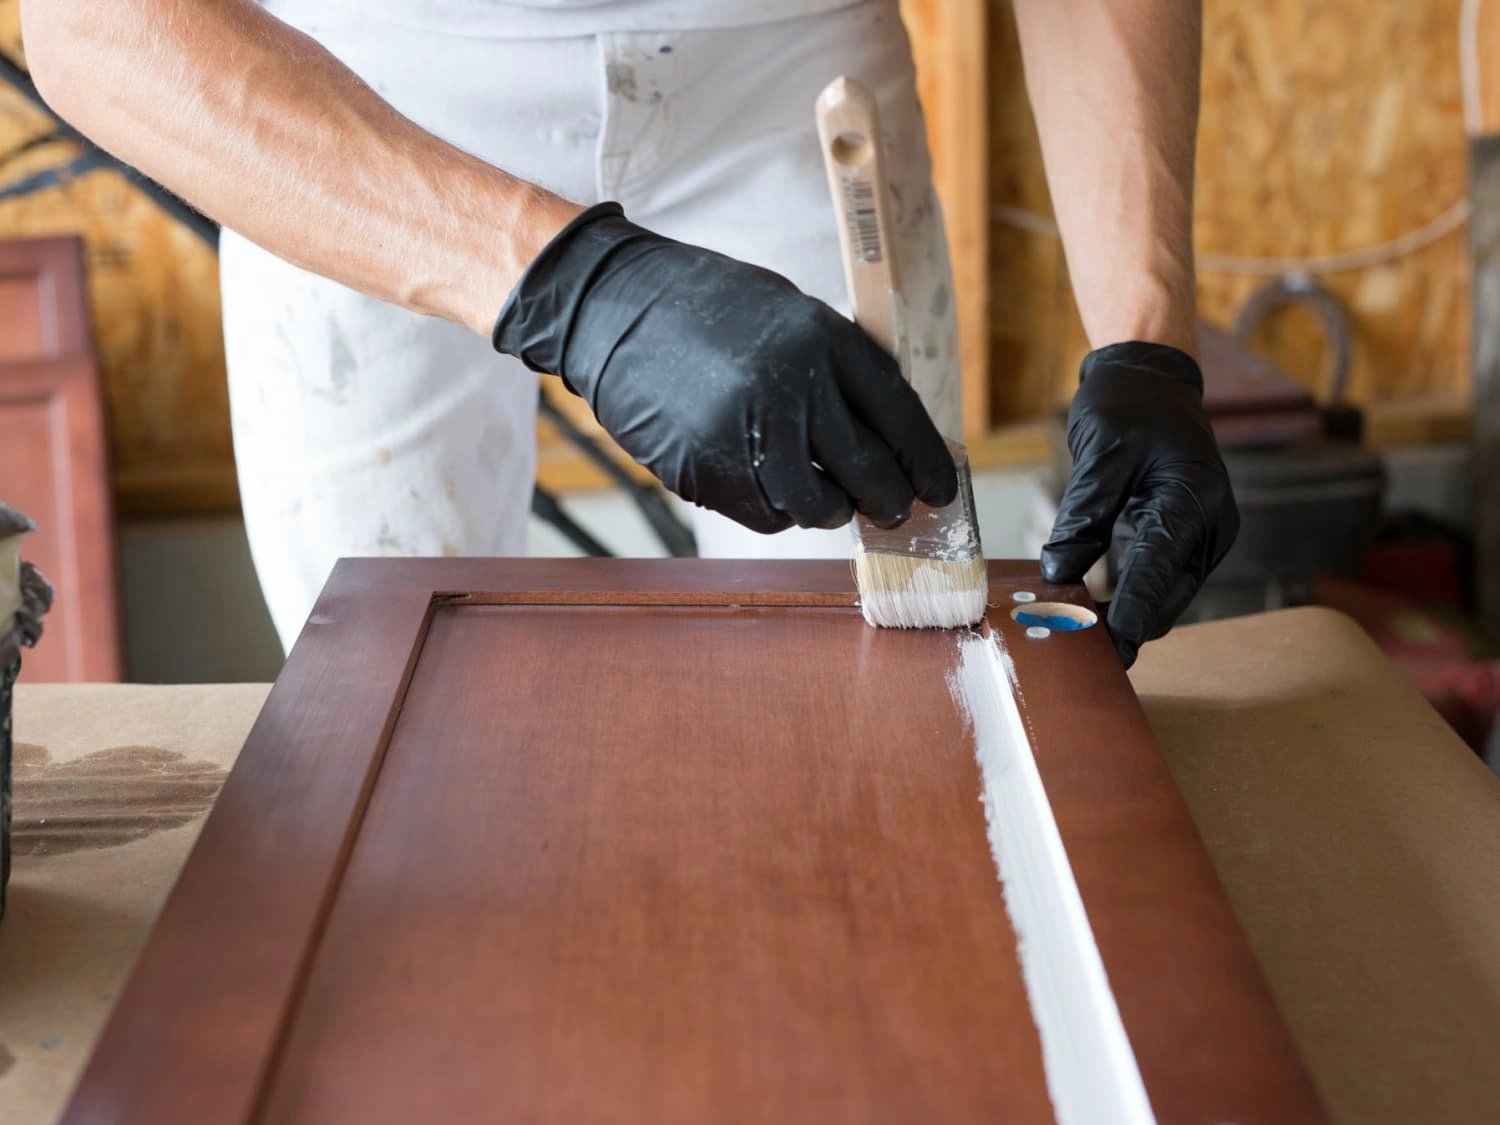
- Decorative Elements: Paint or stain your dividers to match your cabinets or add stylish accents.
- Integrated Bins or Hooks: Incorporate small baskets or hooks on the dividers for utensils, spice jars, or cleaning supplies.
- Lighting Additions: To enhance visibility, consider installing under-cabinet puck lights—discover more about installing puck lights in cabinets.
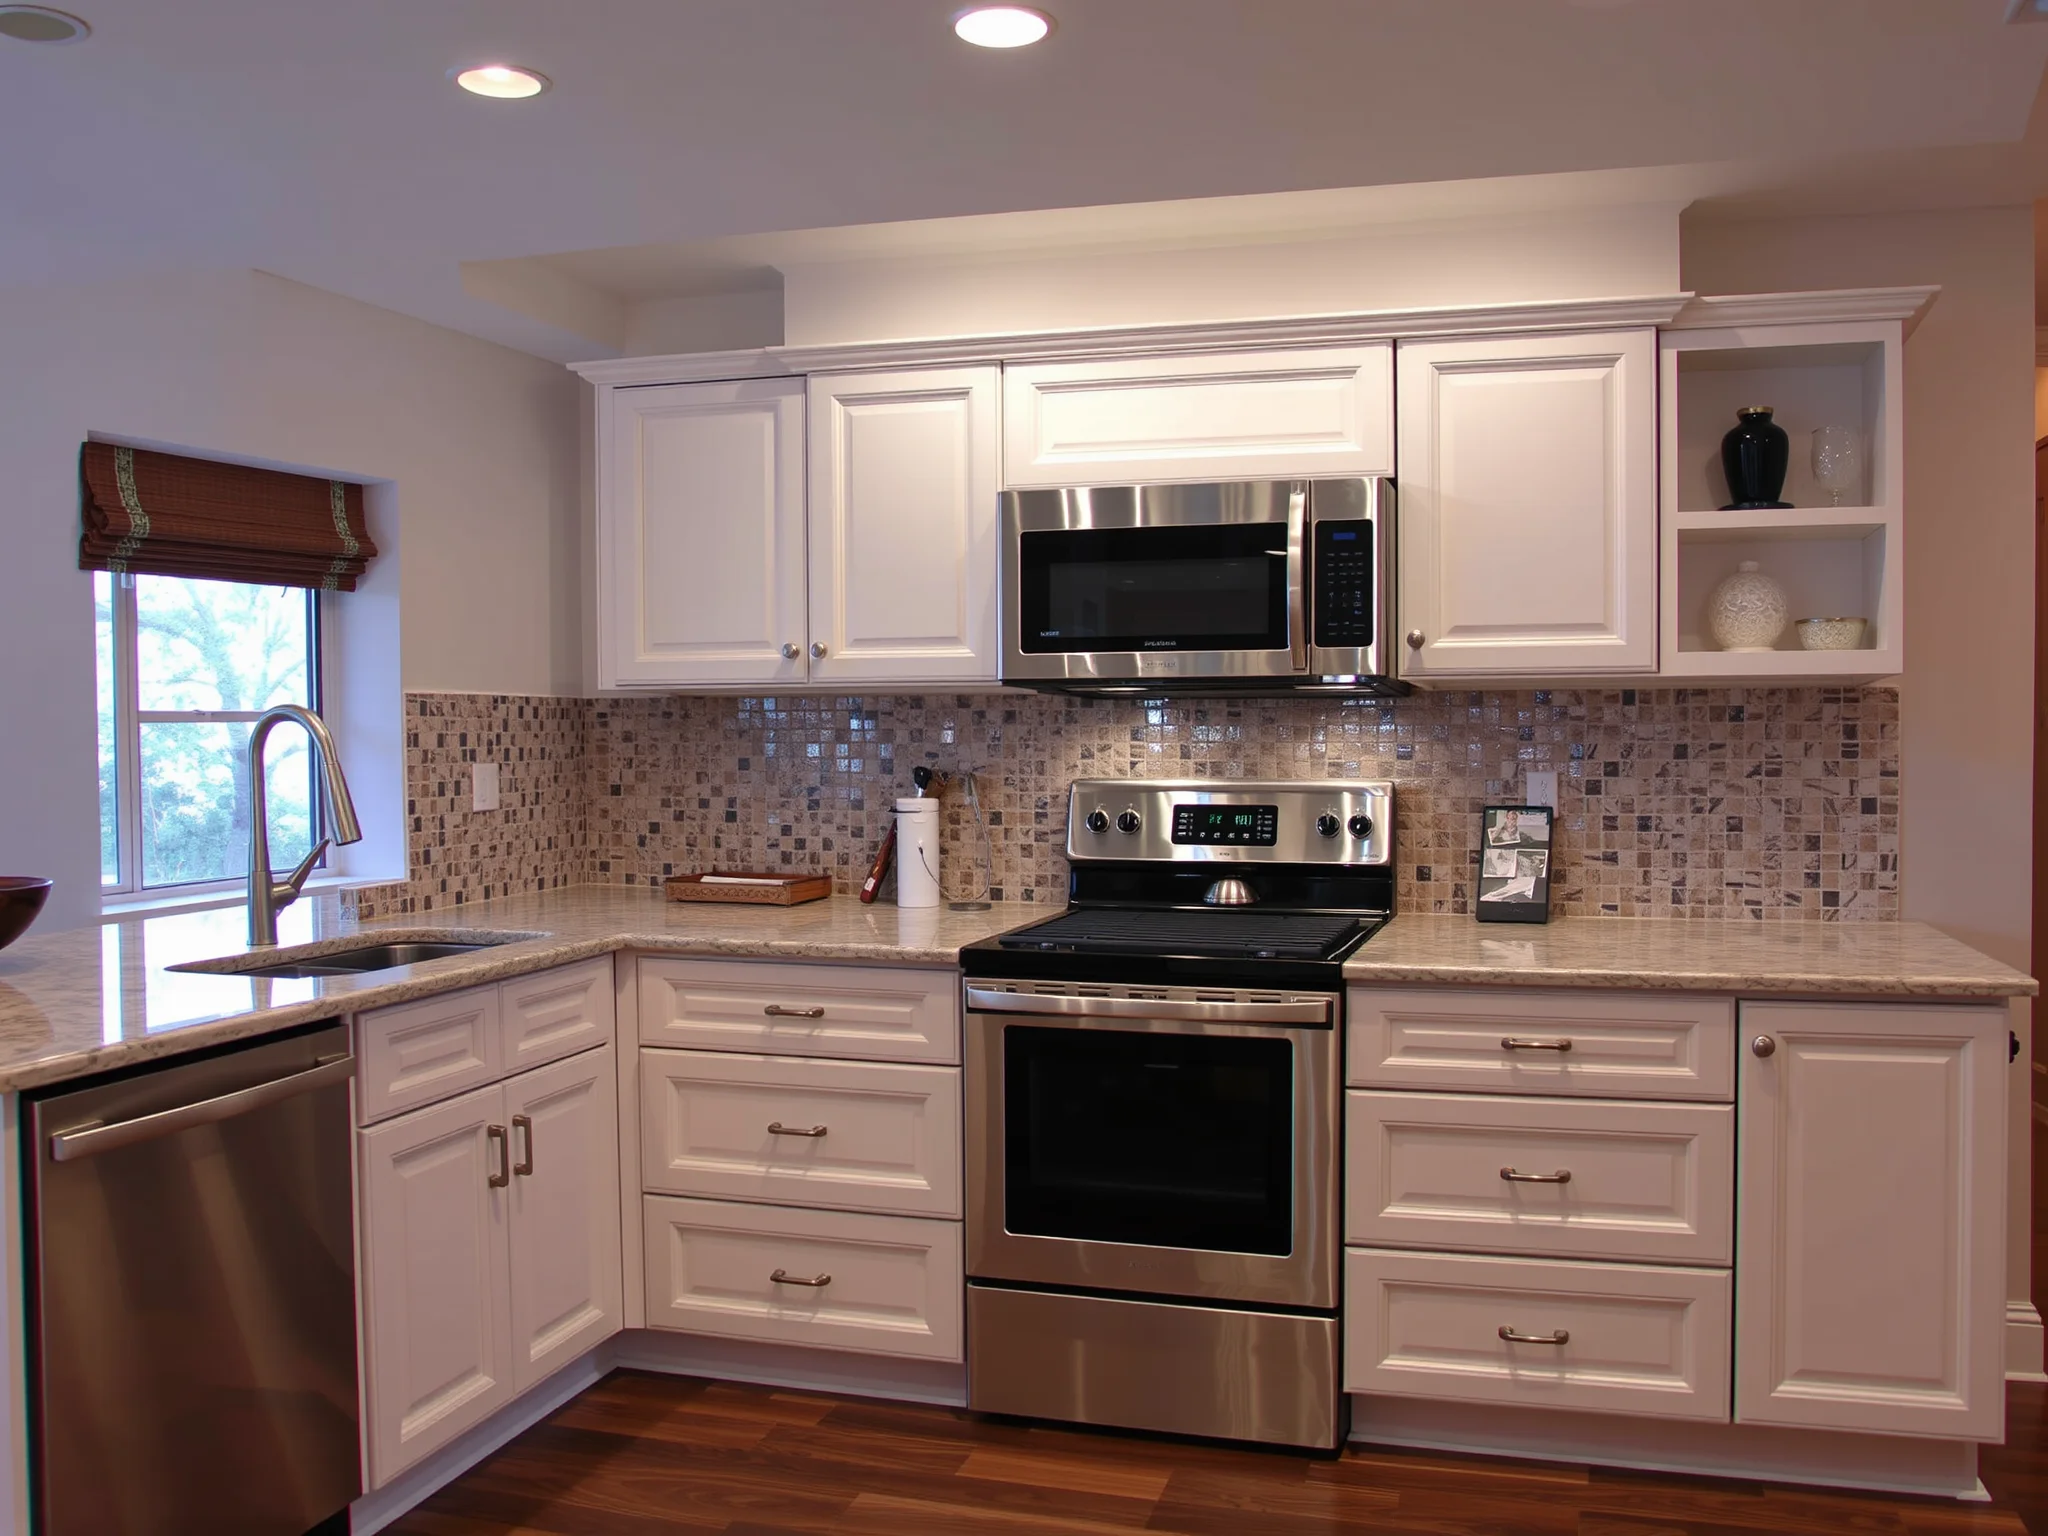
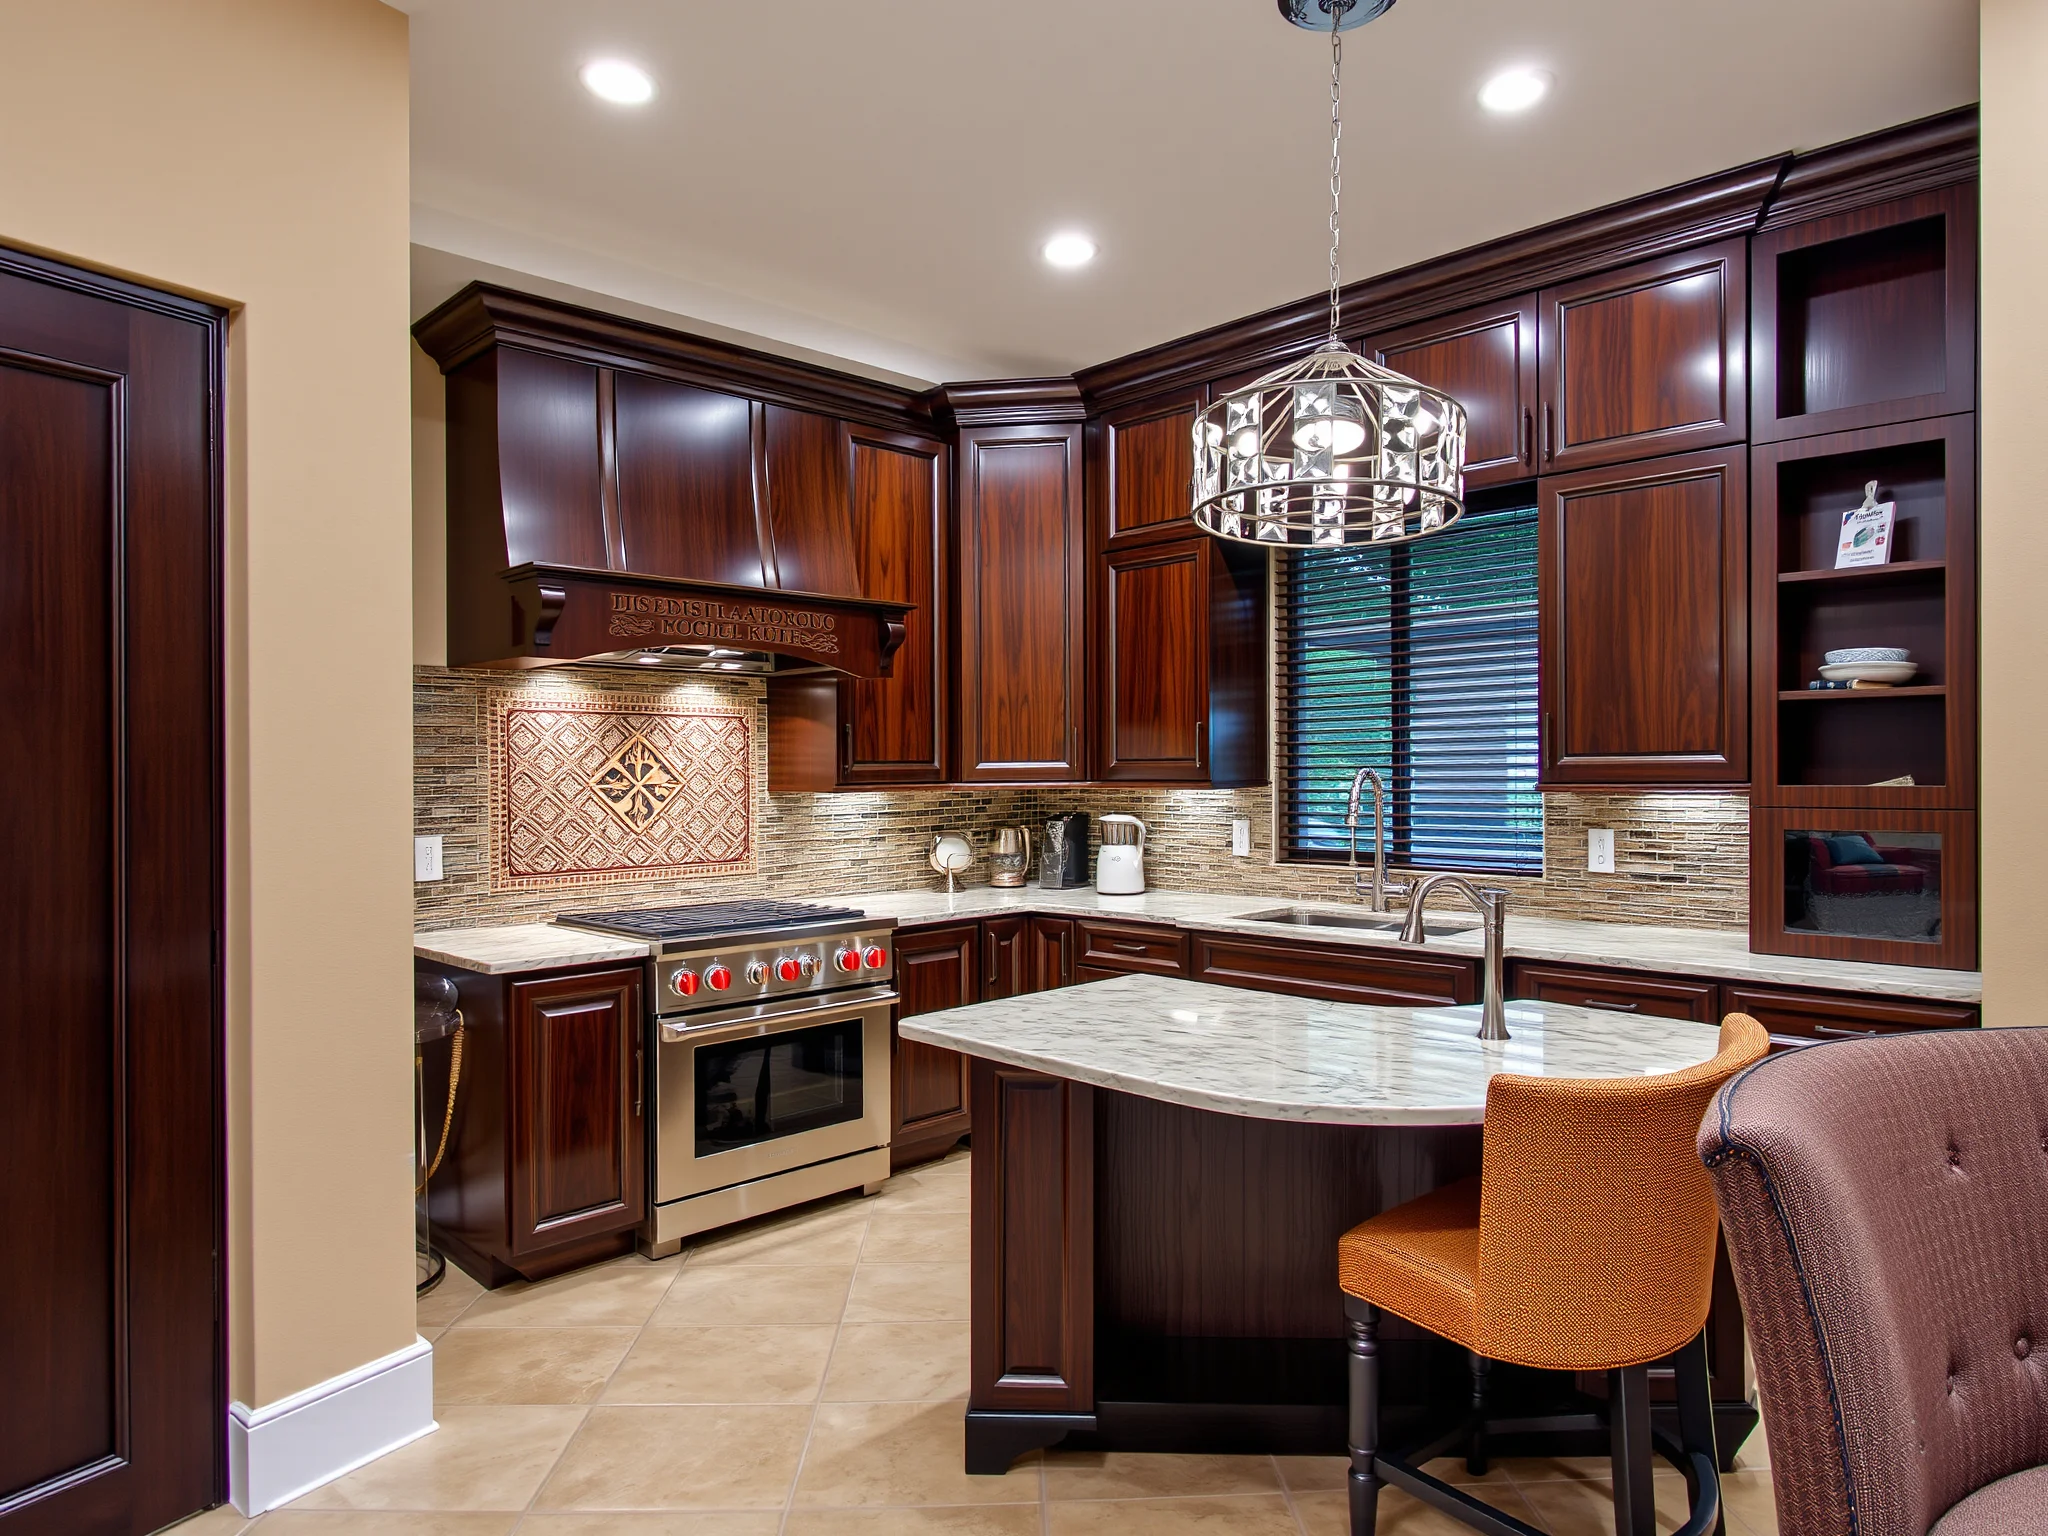
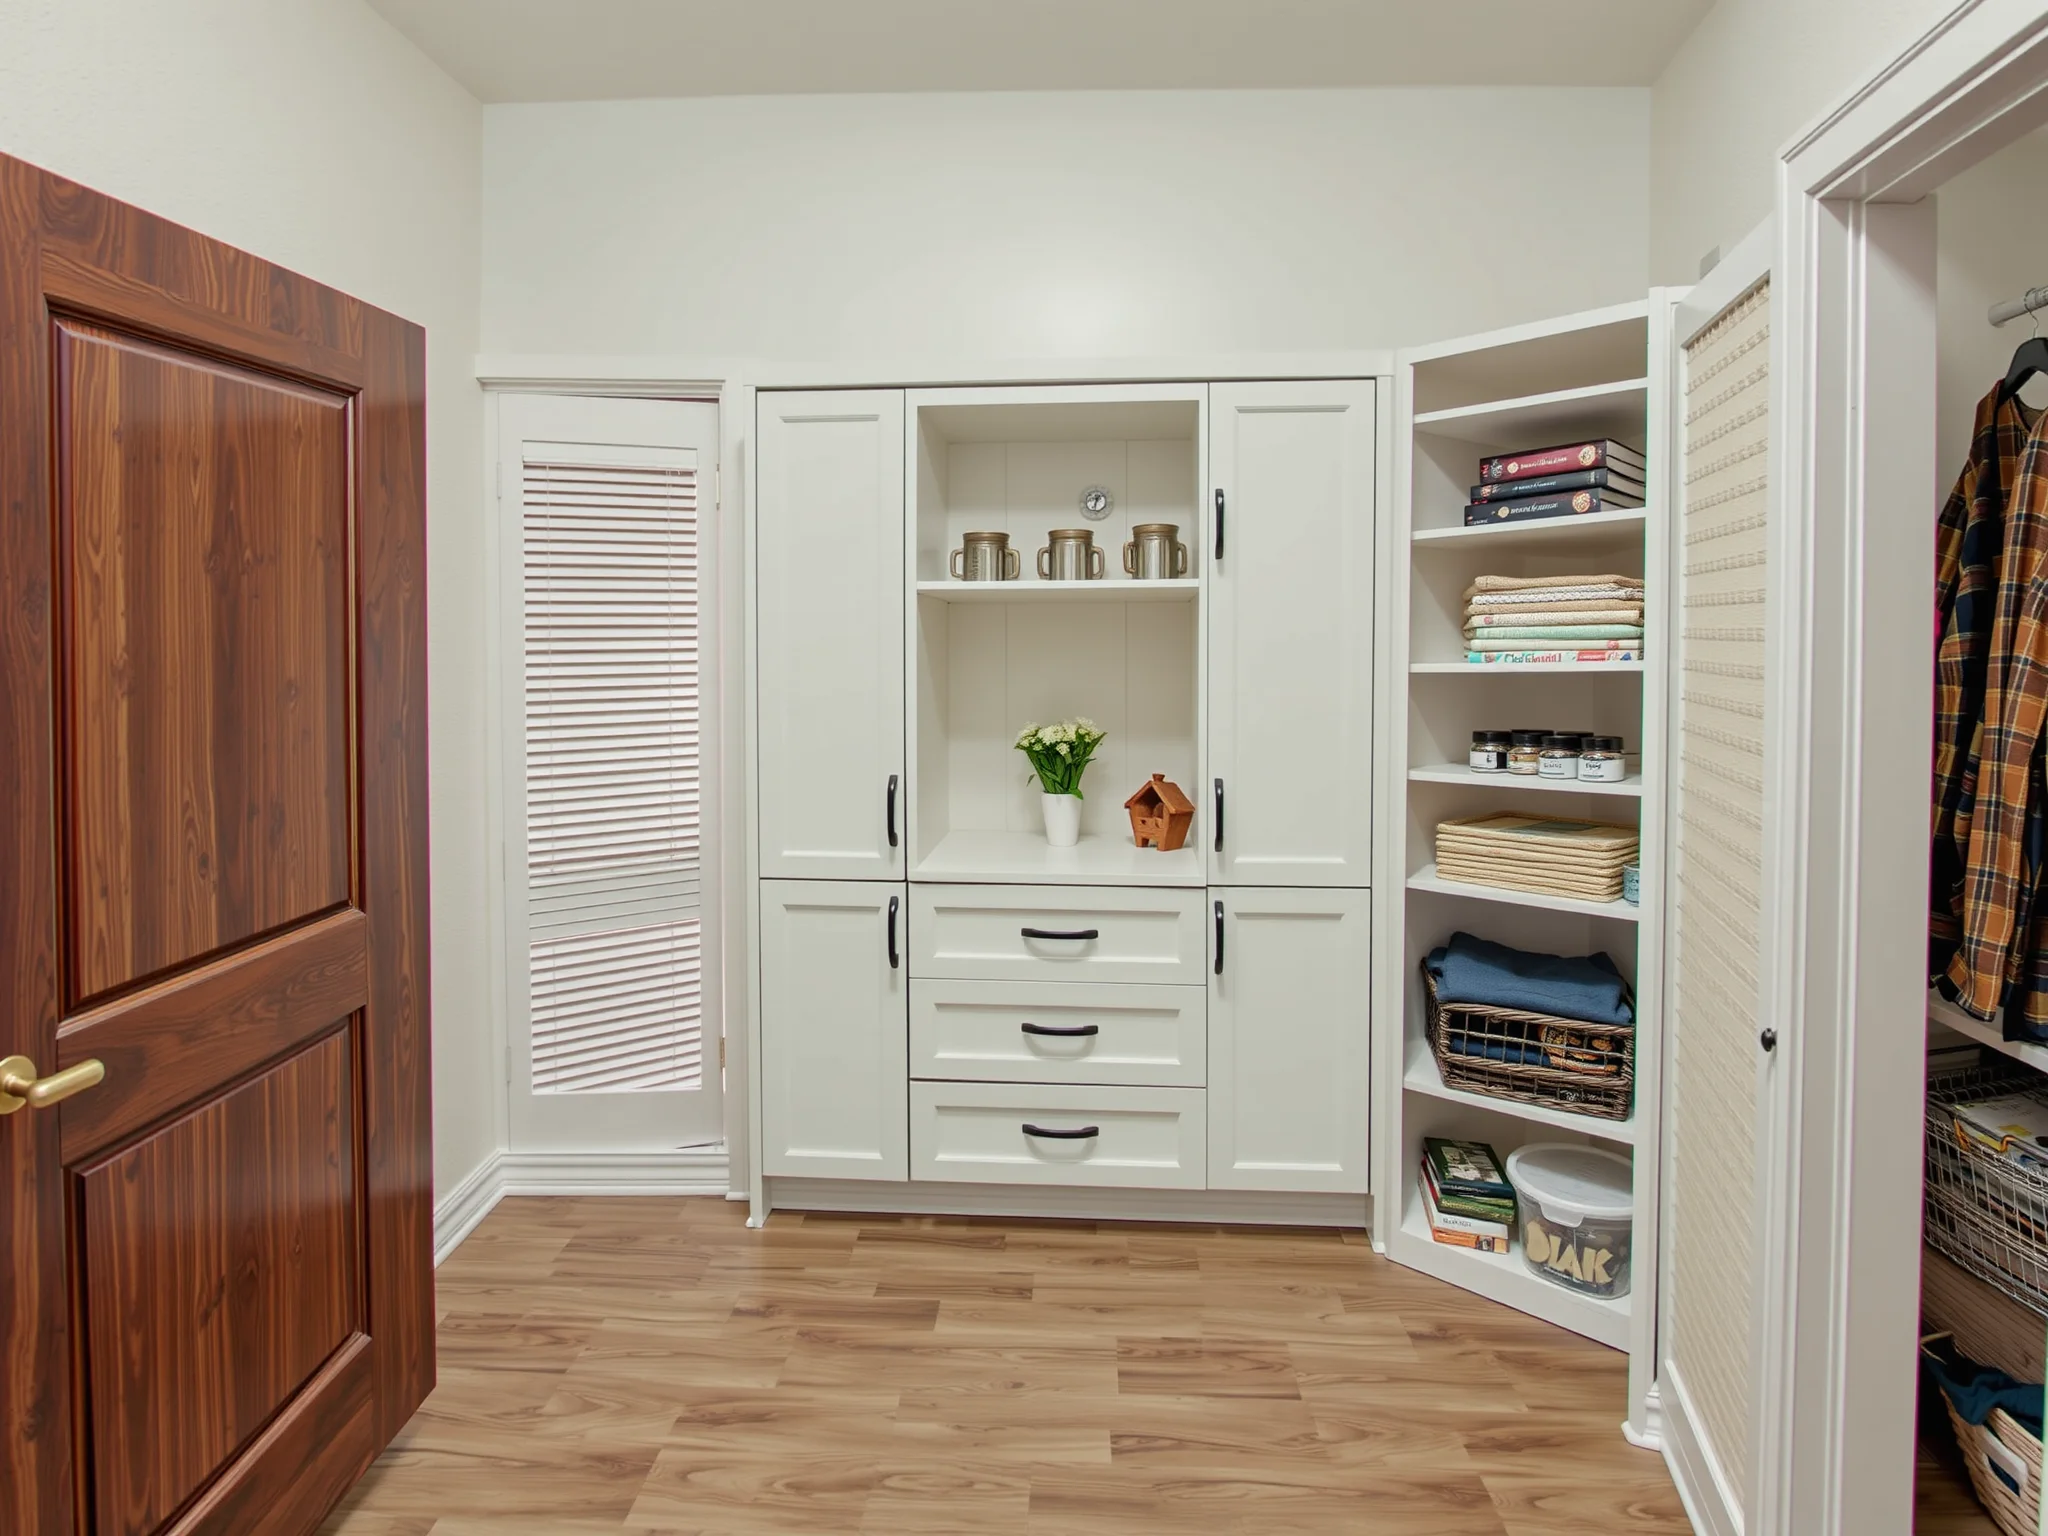
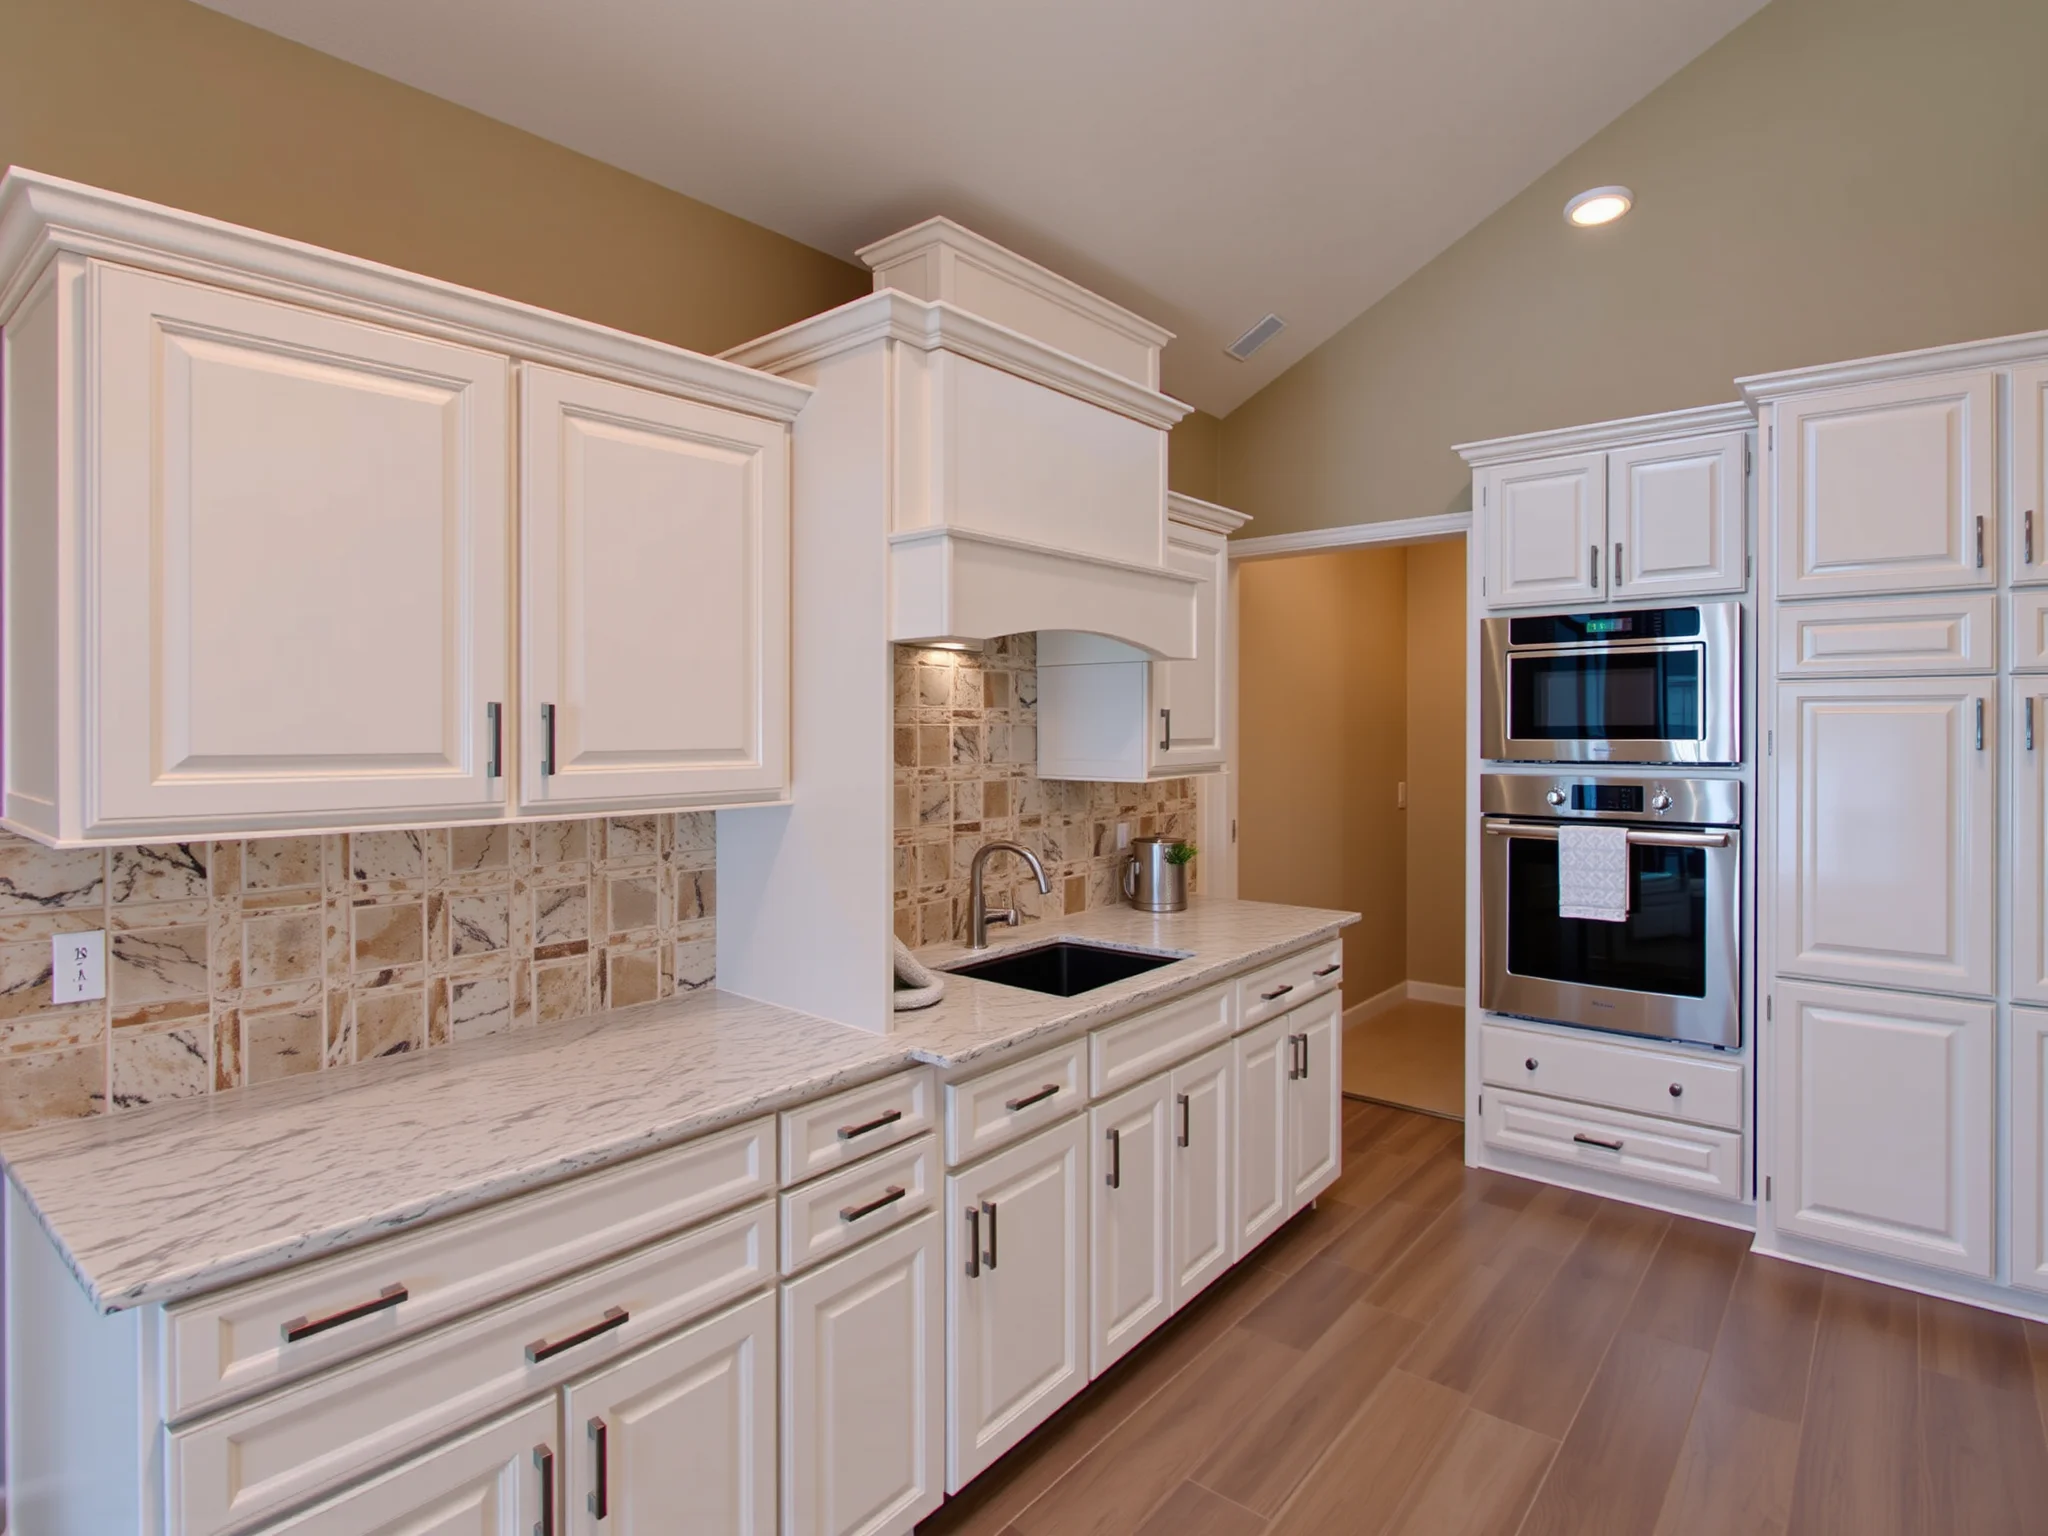
How Do Vertical Dividers Impact Overall Kitchen Aesthetics?
Far from ruining the aesthetic, vertical dividers can elevate your kitchen’s visual appeal. When stained or painted properly, they create structured, clean lines that make your space look more polished. Plus, organized cabinets prevent cluttered surfaces, giving a tidy, sophisticated ambiance. For design inspiration, check out how kitchen cabinet refinishing can complement your newly organized cabinetry.
What Are Common Mistakes to Avoid When Adding Vertical Dividers?
To keep your project on the smooth track, steer clear of these common errors:
- Inaccurate Measurements: Always double-check measurements to avoid gaps or tight fits.
- Ignoring the Level: A crooked divider will do more harm than good, so take your time aligning it properly.
- Insufficient Support: Large or heavy items require sturdy dividers secured with adequate screws or brackets.
- Skipping Planning: Jumping into cutting and installing without a blueprint can lead to mistakes. Take your time planning every step.
Can I Combine Vertical Dividers with Other Cabinet Accessories?
Yes! Combining dividers with other accessories transforms your space into a well-oiled storage machine:
- Cabinet hardware such as pull-out baskets or lazy Susans for maximizing corner spaces.
- Adding lighting solutions to brighten up your storage areas.
- Incorporating custom-sized custom shelves or drawers for specific items like baking sheets or spice jars.
How to Keep Your Newly Organized Cabinets Looking Sharp?
Of course! Here’s how to keep the chaos at bay:
- Regularly reassess and adjust your dividers as your storage needs evolve.
- Clean and wipe down shelves and dividers to prevent dust and grime buildup.
- Invest in quality cabinet accessories to enhance durability.
- Consider professional refinishing if your cabinets need a facelift—learn more about kitchen cabinet refinishing options to keep everything looking fresh and cohesive.
Is It Time to Call the Pros for Your Cabinet Makeover?
While installing vertical dividers is a gratifying DIY project, some situations call for expert touch—especially if you’re upgrading your overall cabinet design or framing the project within a larger renovation. If you’re in the Dallas-Fort Worth area, Hollywood Cabinet Refinishing offers tailored solutions from cabinet refinishing to custom commercial cabinets. Check out our services and see how we can bring your vision to life!
Final Tips for Success: How to Ace Your Vertical Divider Project
Here's a quick recap to ensure you’re ready to rock your cabinet organization:
- Plan meticulously: Measure twice, cut once.
- Choose durable materials suited to your needs.
- Use proper tools and safety gear—don’t rush!
- Align carefully—use a level religiously.
- Secure all components firmly for lasting stability.
- Think about aesthetics—paint or stain your dividers for a polished look.
- Don't forget to enjoy the process—after all, a neat kitchen is a happy kitchen!
Ready to Transform Your Cabinets and Tame the Chaos?
Learning how to add vertical dividers to cabinets is not just about neat shelves; it's about reclaiming your space and transforming your home into a sanctuary of order and elegance. With these tips, you'll be the reigning champ of cabinet organization, impressing everyone from your cat to your in-laws.
Need a helping hand or professional consultation? Hollywood Cabinet Refinishing is just a call away, ready to turn your cabinet chaos into a curated masterpiece. Whether you want to upgrade your cabinetry, incorporate custom features, or just breathe new life into old wood, we’re here to help!


:max_bytes(150000):strip_icc()/TAL-the-star-frisco-texas-FRISCOTX0223-5fb5e2ddde5a431e8072e46cbc504b63.jpg)


