
How to Install a Kitchen Backsplash: A Step-by-Step Guide
How to Install a Kitchen Backsplash Like a Pro: Your Ultimate Step-by-Step Guide
Transforming your kitchen with a stunning backsplash not only elevates the aesthetic appeal but can significantly boost your home's value. However, many homeowners hesitate, fearing an overly complicated process. Fear not. This groundbreaking guide will walk you through **how to install a kitchen backsplash** efficiently and flawlessly, whether you're a DIY enthusiast or a seasoned renovator. Ready to elevate your kitchen? Let's dive in!
Why is a Kitchen Backsplash Essential for Your Space?
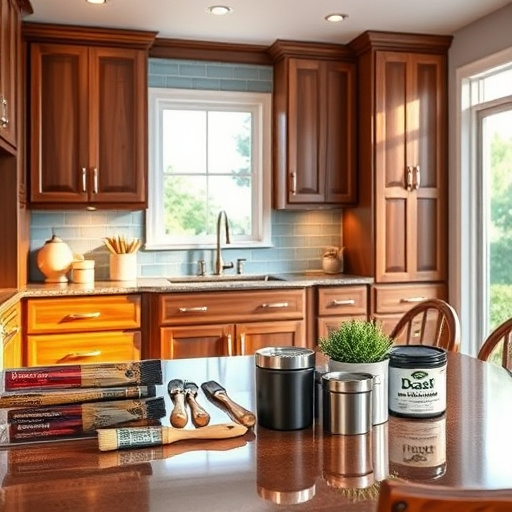
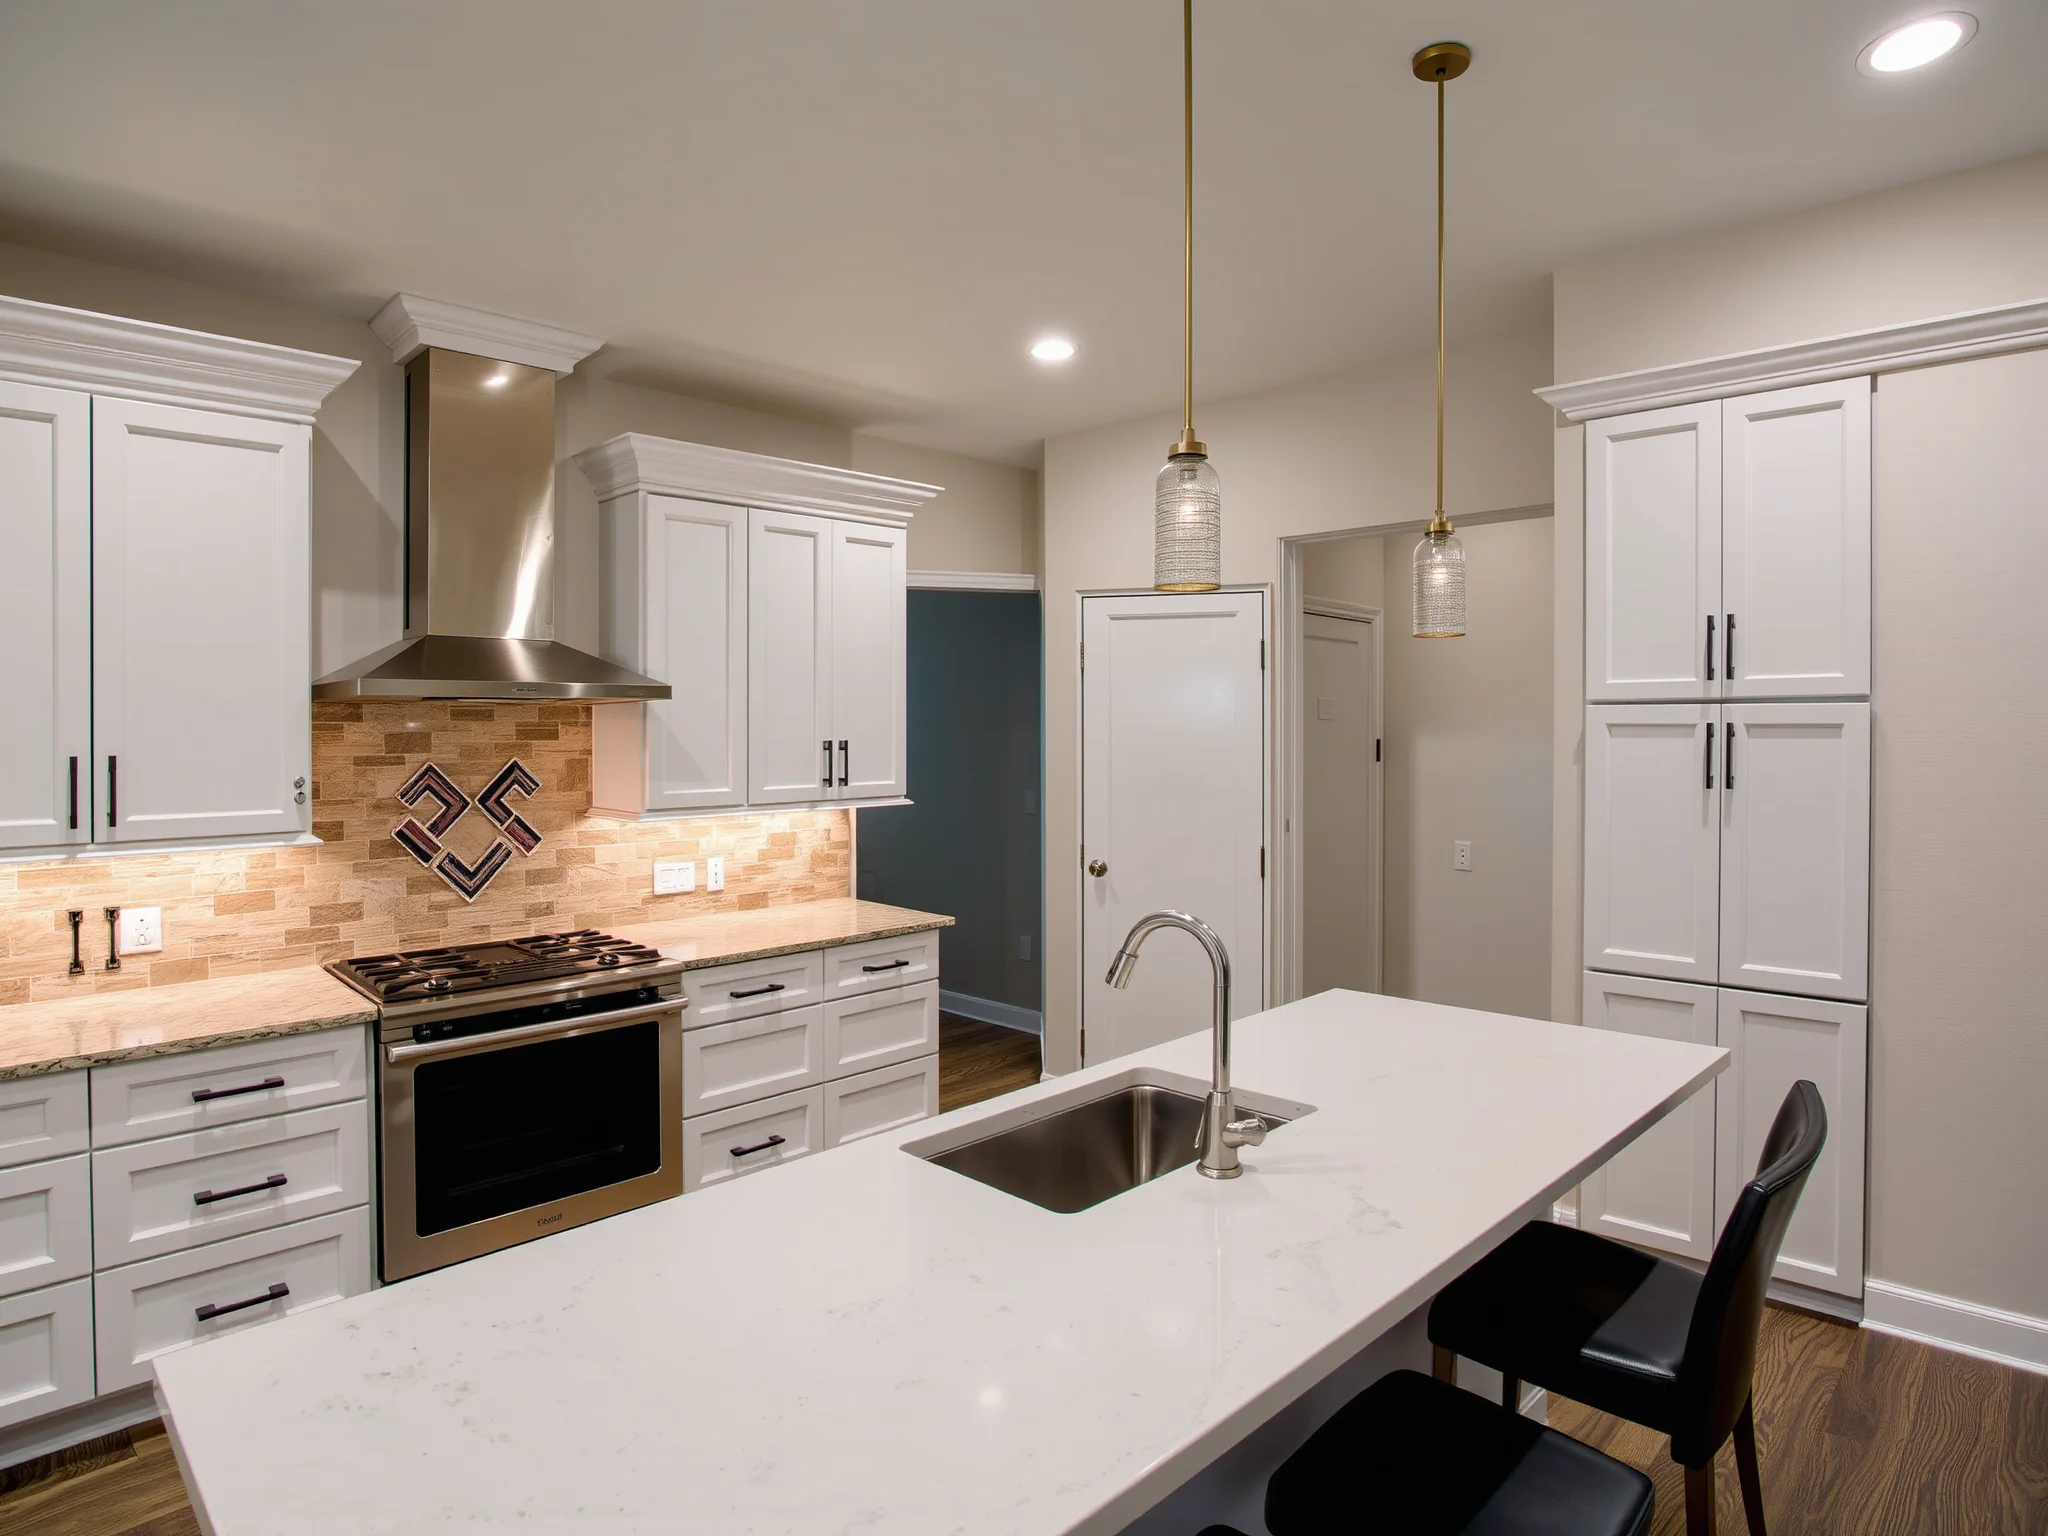
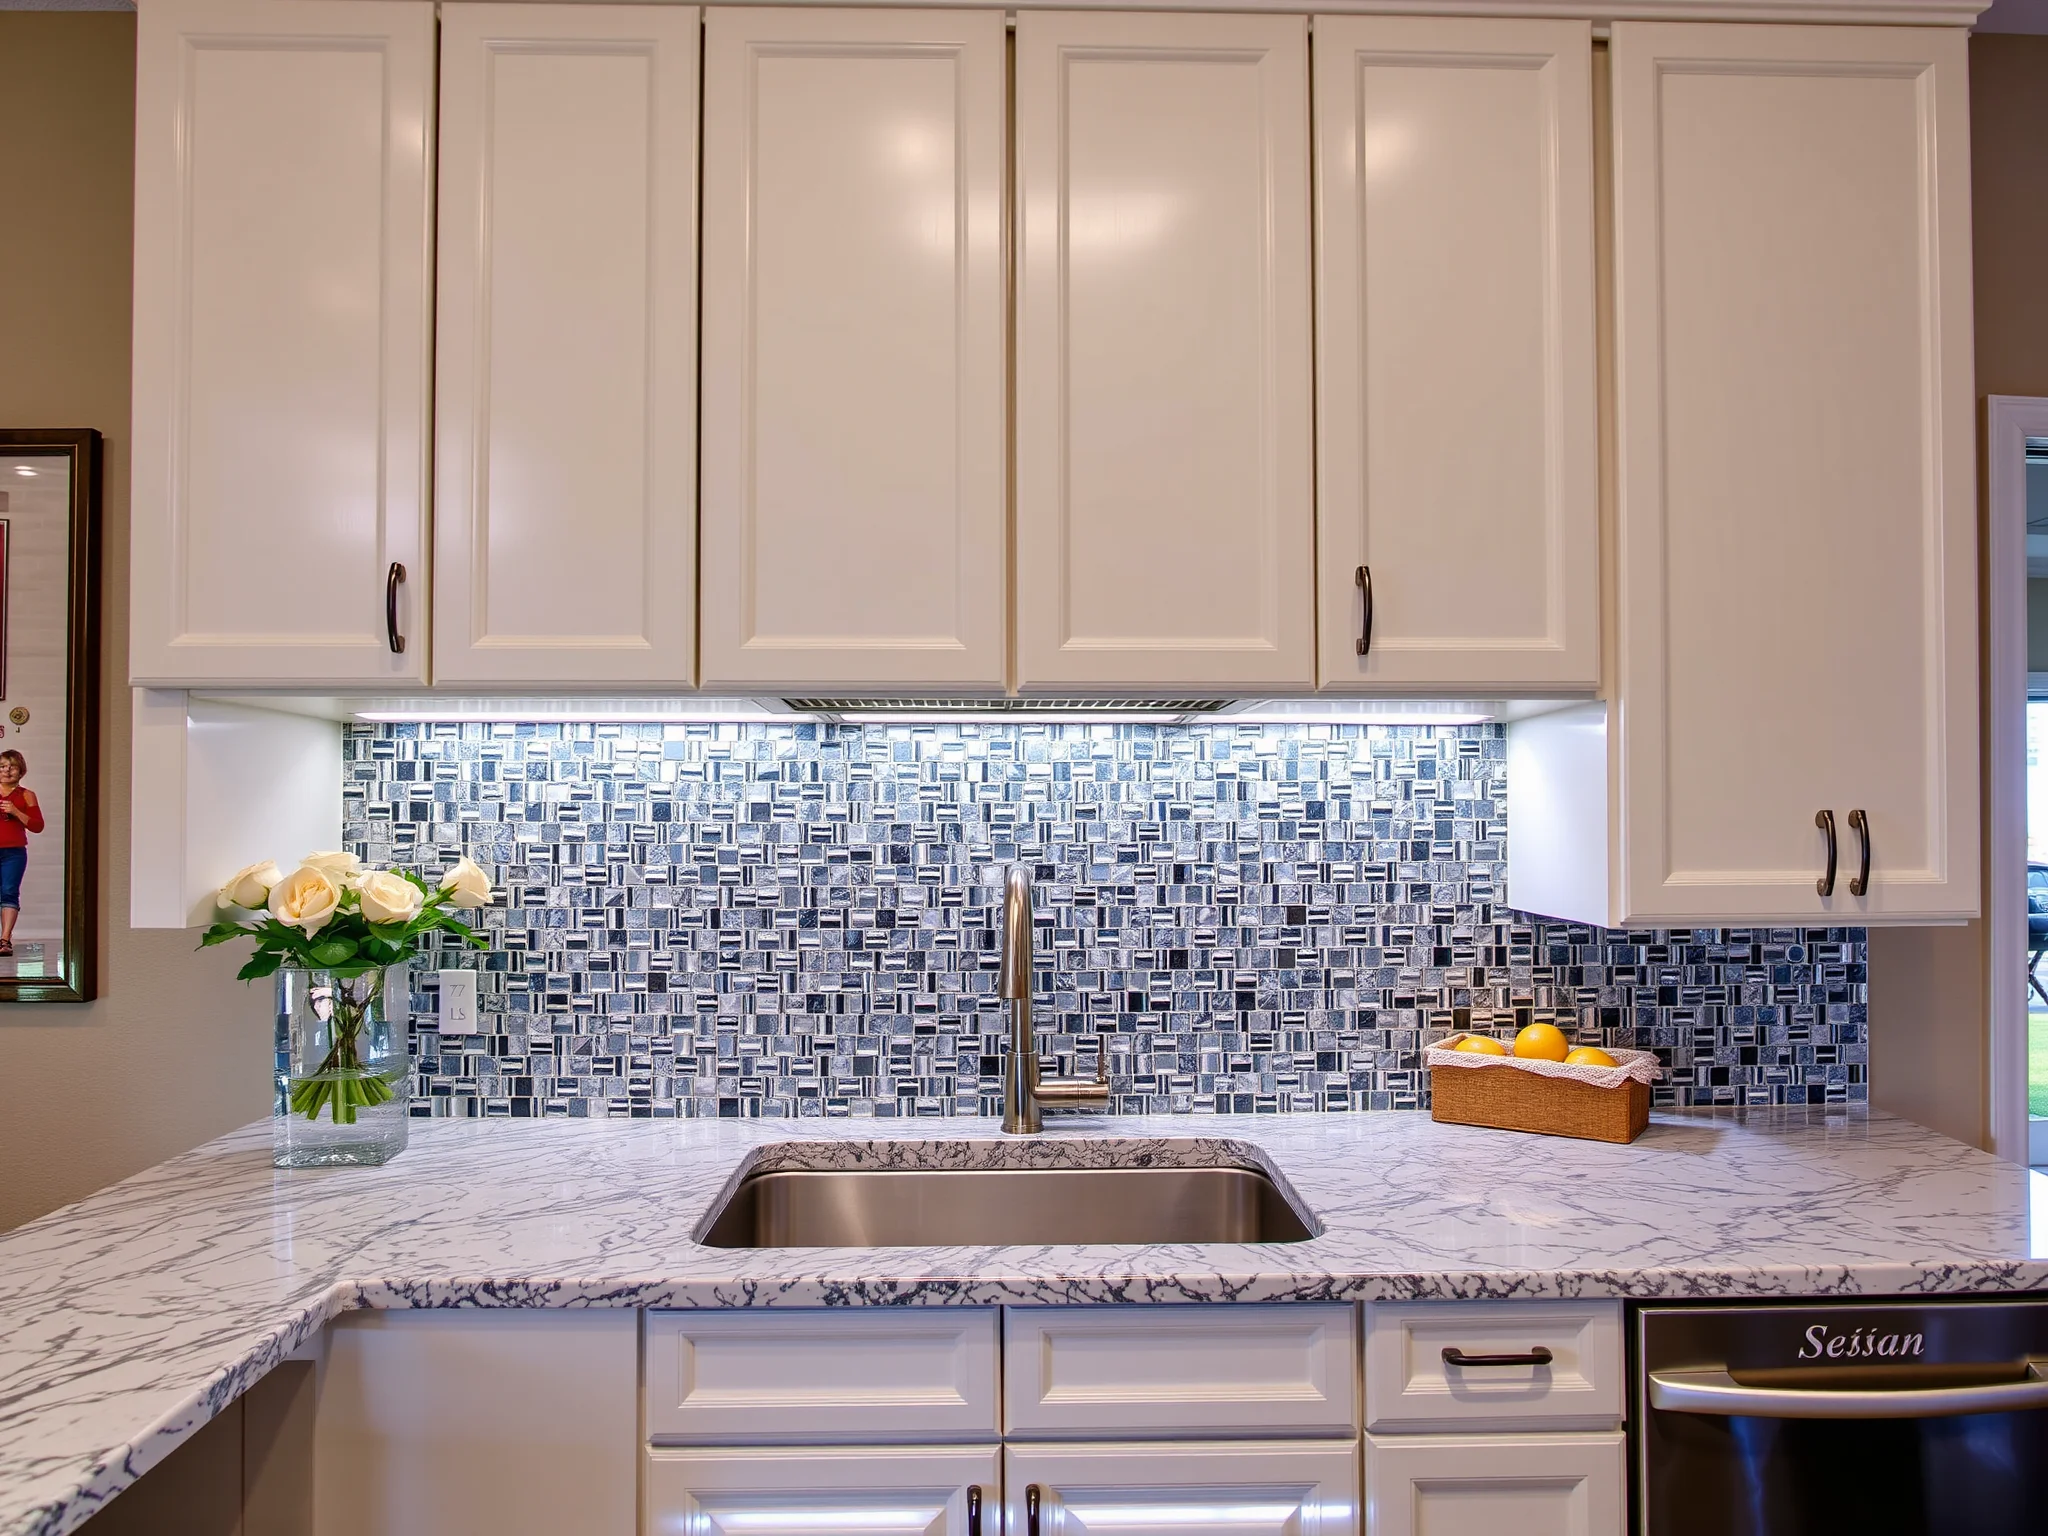
A kitchen backsplash serves both aesthetic and functional purposes. It acts as a visual focal point, enhances your kitchen's overall style, and protects your walls from water, stains, and splashes. Moreover, a well-installed backsplash reflects your personal taste and can make cleaning a breeze.
What Types of Backsplash Materials Are Available?
Choosing the right material is crucial for achieving your desired look and functionality. Popular options include:
- Porcelain and ceramic tiles
- Glass tiles
- Natural stone (marble, granite)
- Stainless steel
- Peel-and-stick backsplash decals
Each material offers unique benefits and challenges, so select based on durability, style, and budget.
How to Prepare for Your Kitchen Backsplash Installation
Gather the essentials:
- Tiles or chosen backsplash material
- Measuring tape
- Level and straight edge
- Tile cutter or wet saw
- Adhesive or mortar
- Grout and grout float
- Painter's tape
- Sponges and rags
- Protective gear (gloves, safety glasses)
Proper preparation ensures durability and a sleek finish:
- Clean walls thoroughly to remove grease, dust, and debris.
- Fill holes or imperfections with spackle and sand smooth.
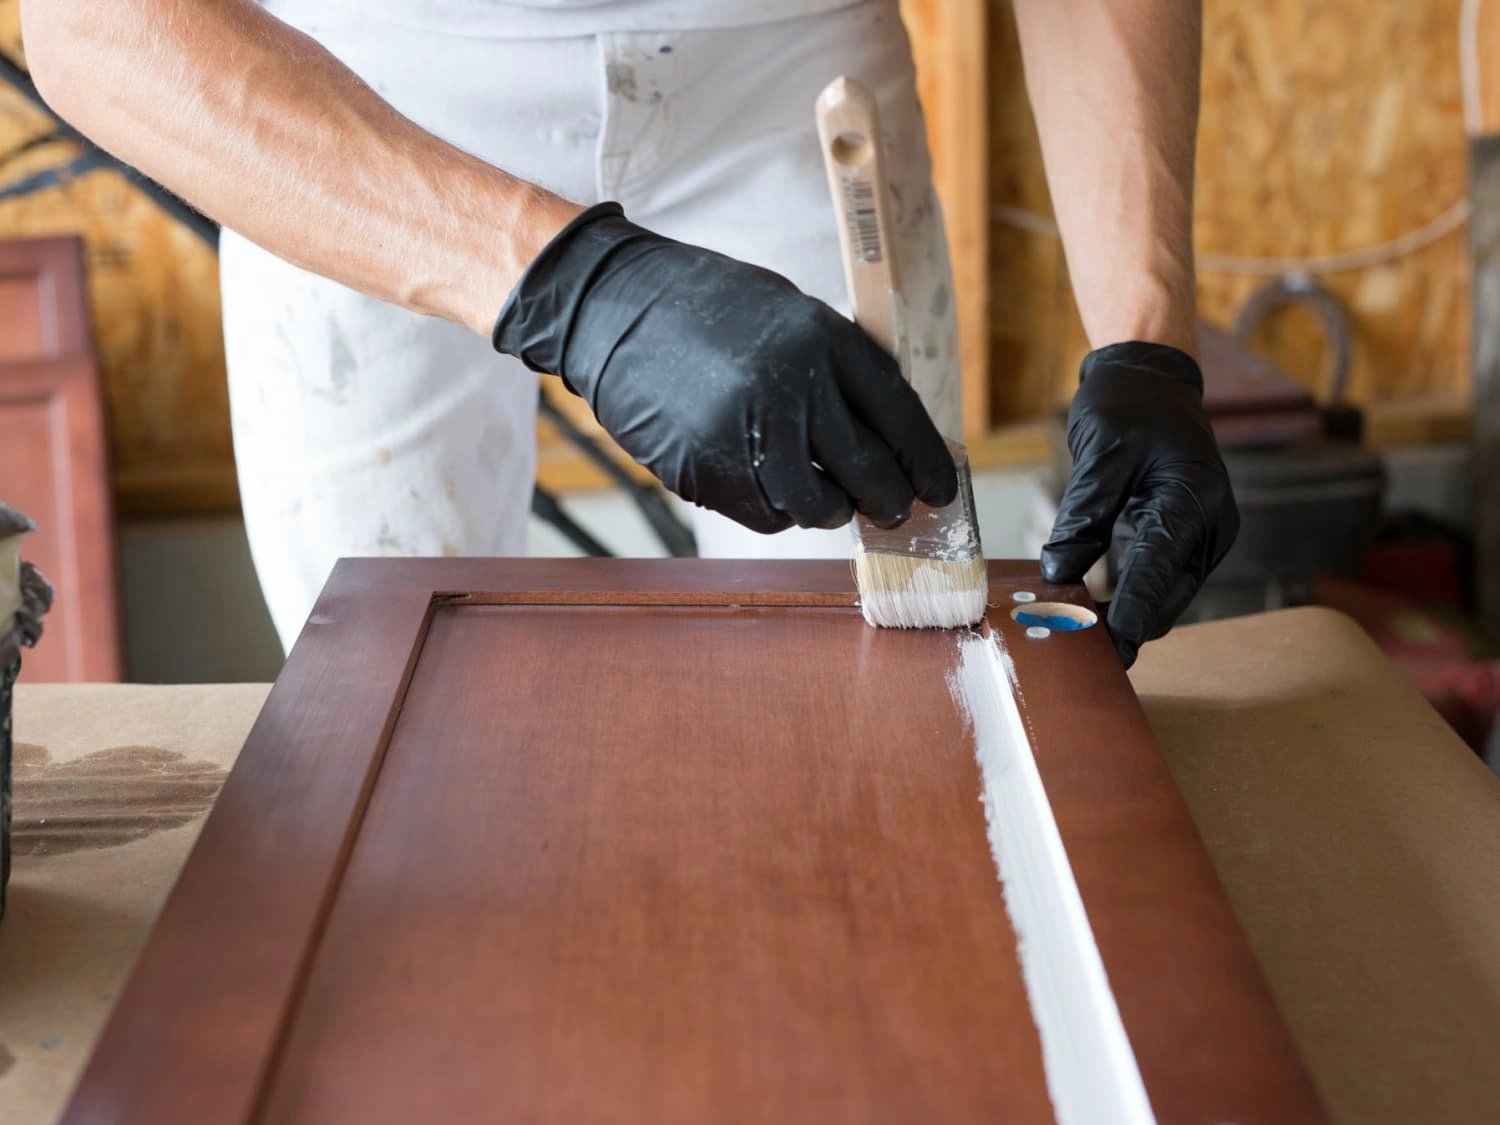
- Apply a primer, such as the [best primer for kitchen cabinets](https://hollywoodcabinet.com/post/best-primer-for-kitchen-cabinets), if necessary, to improve adhesion.
- Use painter's tape to mask off surrounding areas for clean edges.
What is the best method for measuring and planning your backsplash layout?
Use a measuring tape to determine the total height and width of your backsplash area. Record multiple measurements at different points to account for any irregularities.
Visualize your pattern by laying tiles on a flat surface before installing. Consider starting from the center or a focal point to ensure symmetrical alignment and minimize cut tiles at edges. Use gridlines and chalk to mark reference lines on the wall for precision.
How to Cut Tiles Properly for a Seamless Finish?
A wet saw is ideal for straight cuts, while a tile nipper works for intricate or small cuts. For less complex cuts, a scoring cutter can suffice.
Measure the area requiring cuts, transfer measurements onto the tile with a pencil or marker, and cut along the lines carefully, ensuring smooth edges.
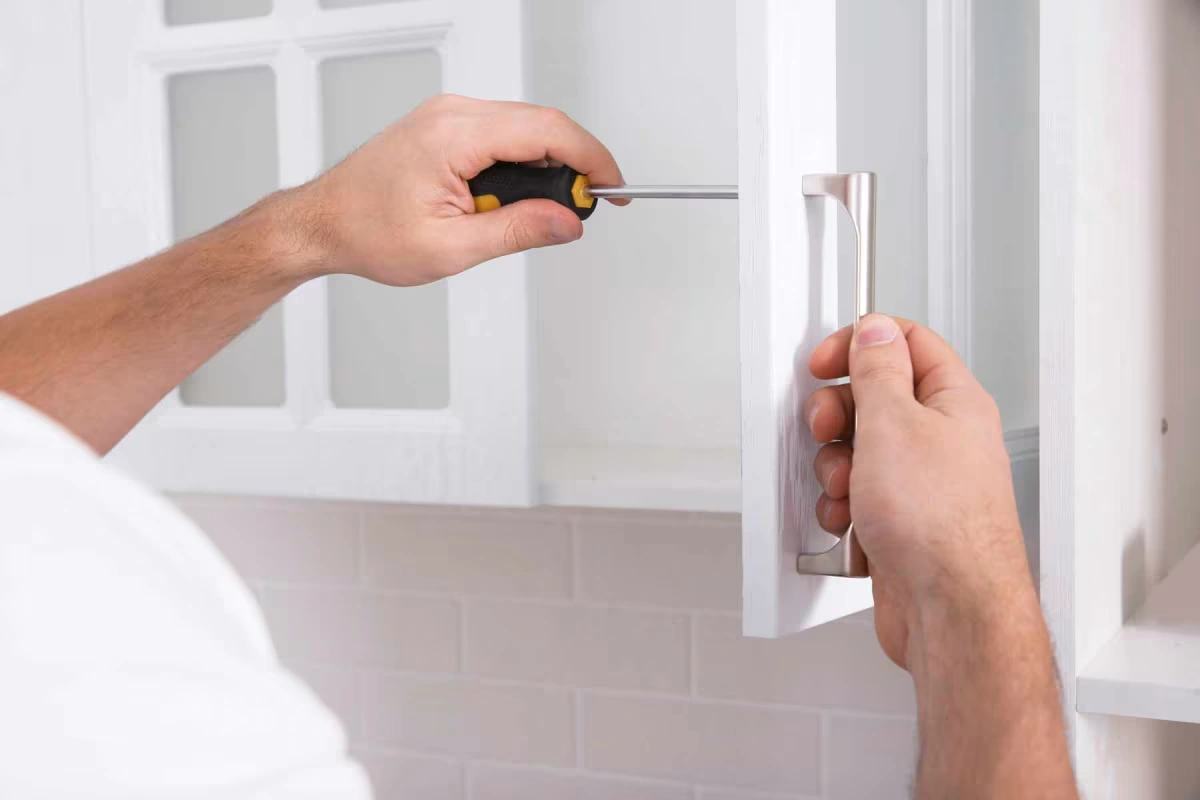
What are the steps for an efficient backsplash installation?
- Apply adhesive: Using a notched trowel, spread tile adhesive evenly on a small section of the wall to prevent it from drying prematurely.
- Place the tiles: Press tiles firmly into place, aligning them with your reference lines. Use spacers to ensure consistent grout lines.
- Cut tiles as needed: Fit cut tiles into corners, edges, or around outlets. Take your time to ensure accuracy.
- Allow adhesive to cure: Wait 24 hours or as recommended, to ensure tiles are securely bonded.
How do I Grout and Finish my Backsplash Professionally?
Choose a grout color that complements your tiles. Unsanded grout is preferable for narrow joints, while sanded grout offers durability for wider gaps.
Mix grout as per manufacturer instructions. Use a rubber float to press grout into joints at a 45-degree angle, ensuring thorough filling. Wipe excess grout with a damp sponge before it sets.
Applying a grout sealer once grout has cured helps prevent stains and makes cleaning easier over time.
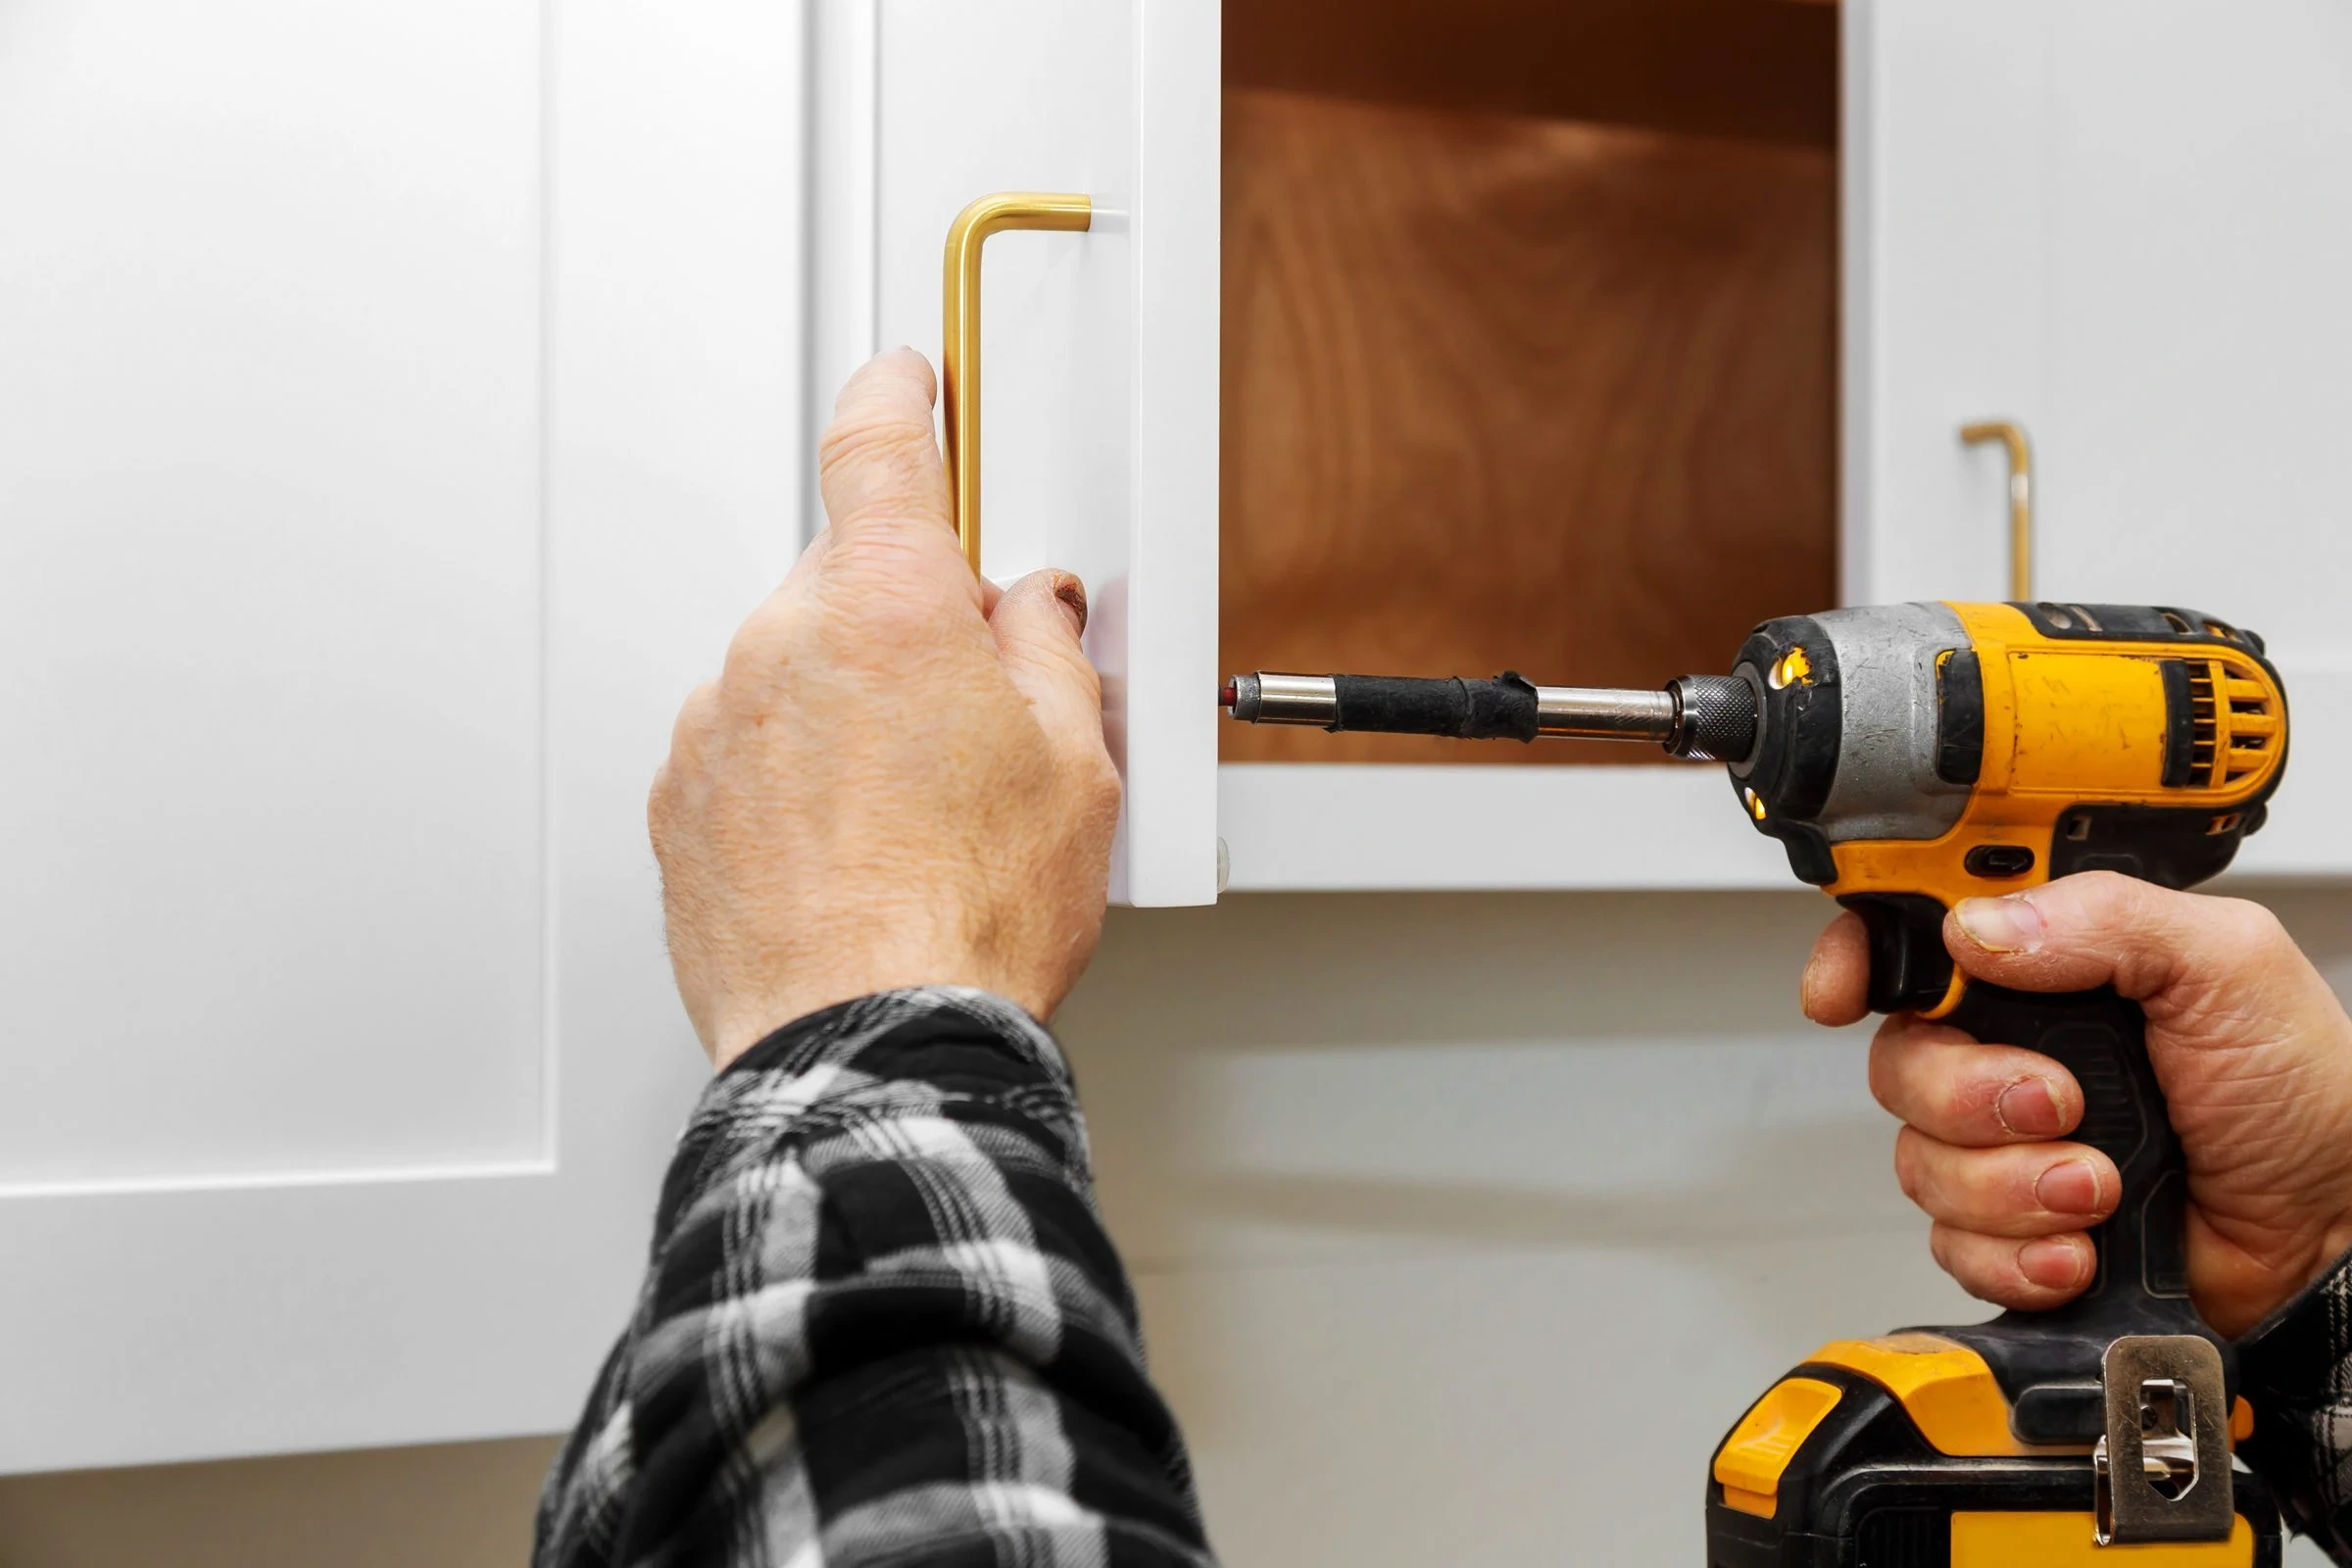
Can I install a kitchen backsplash around existing cabinetry and appliances?
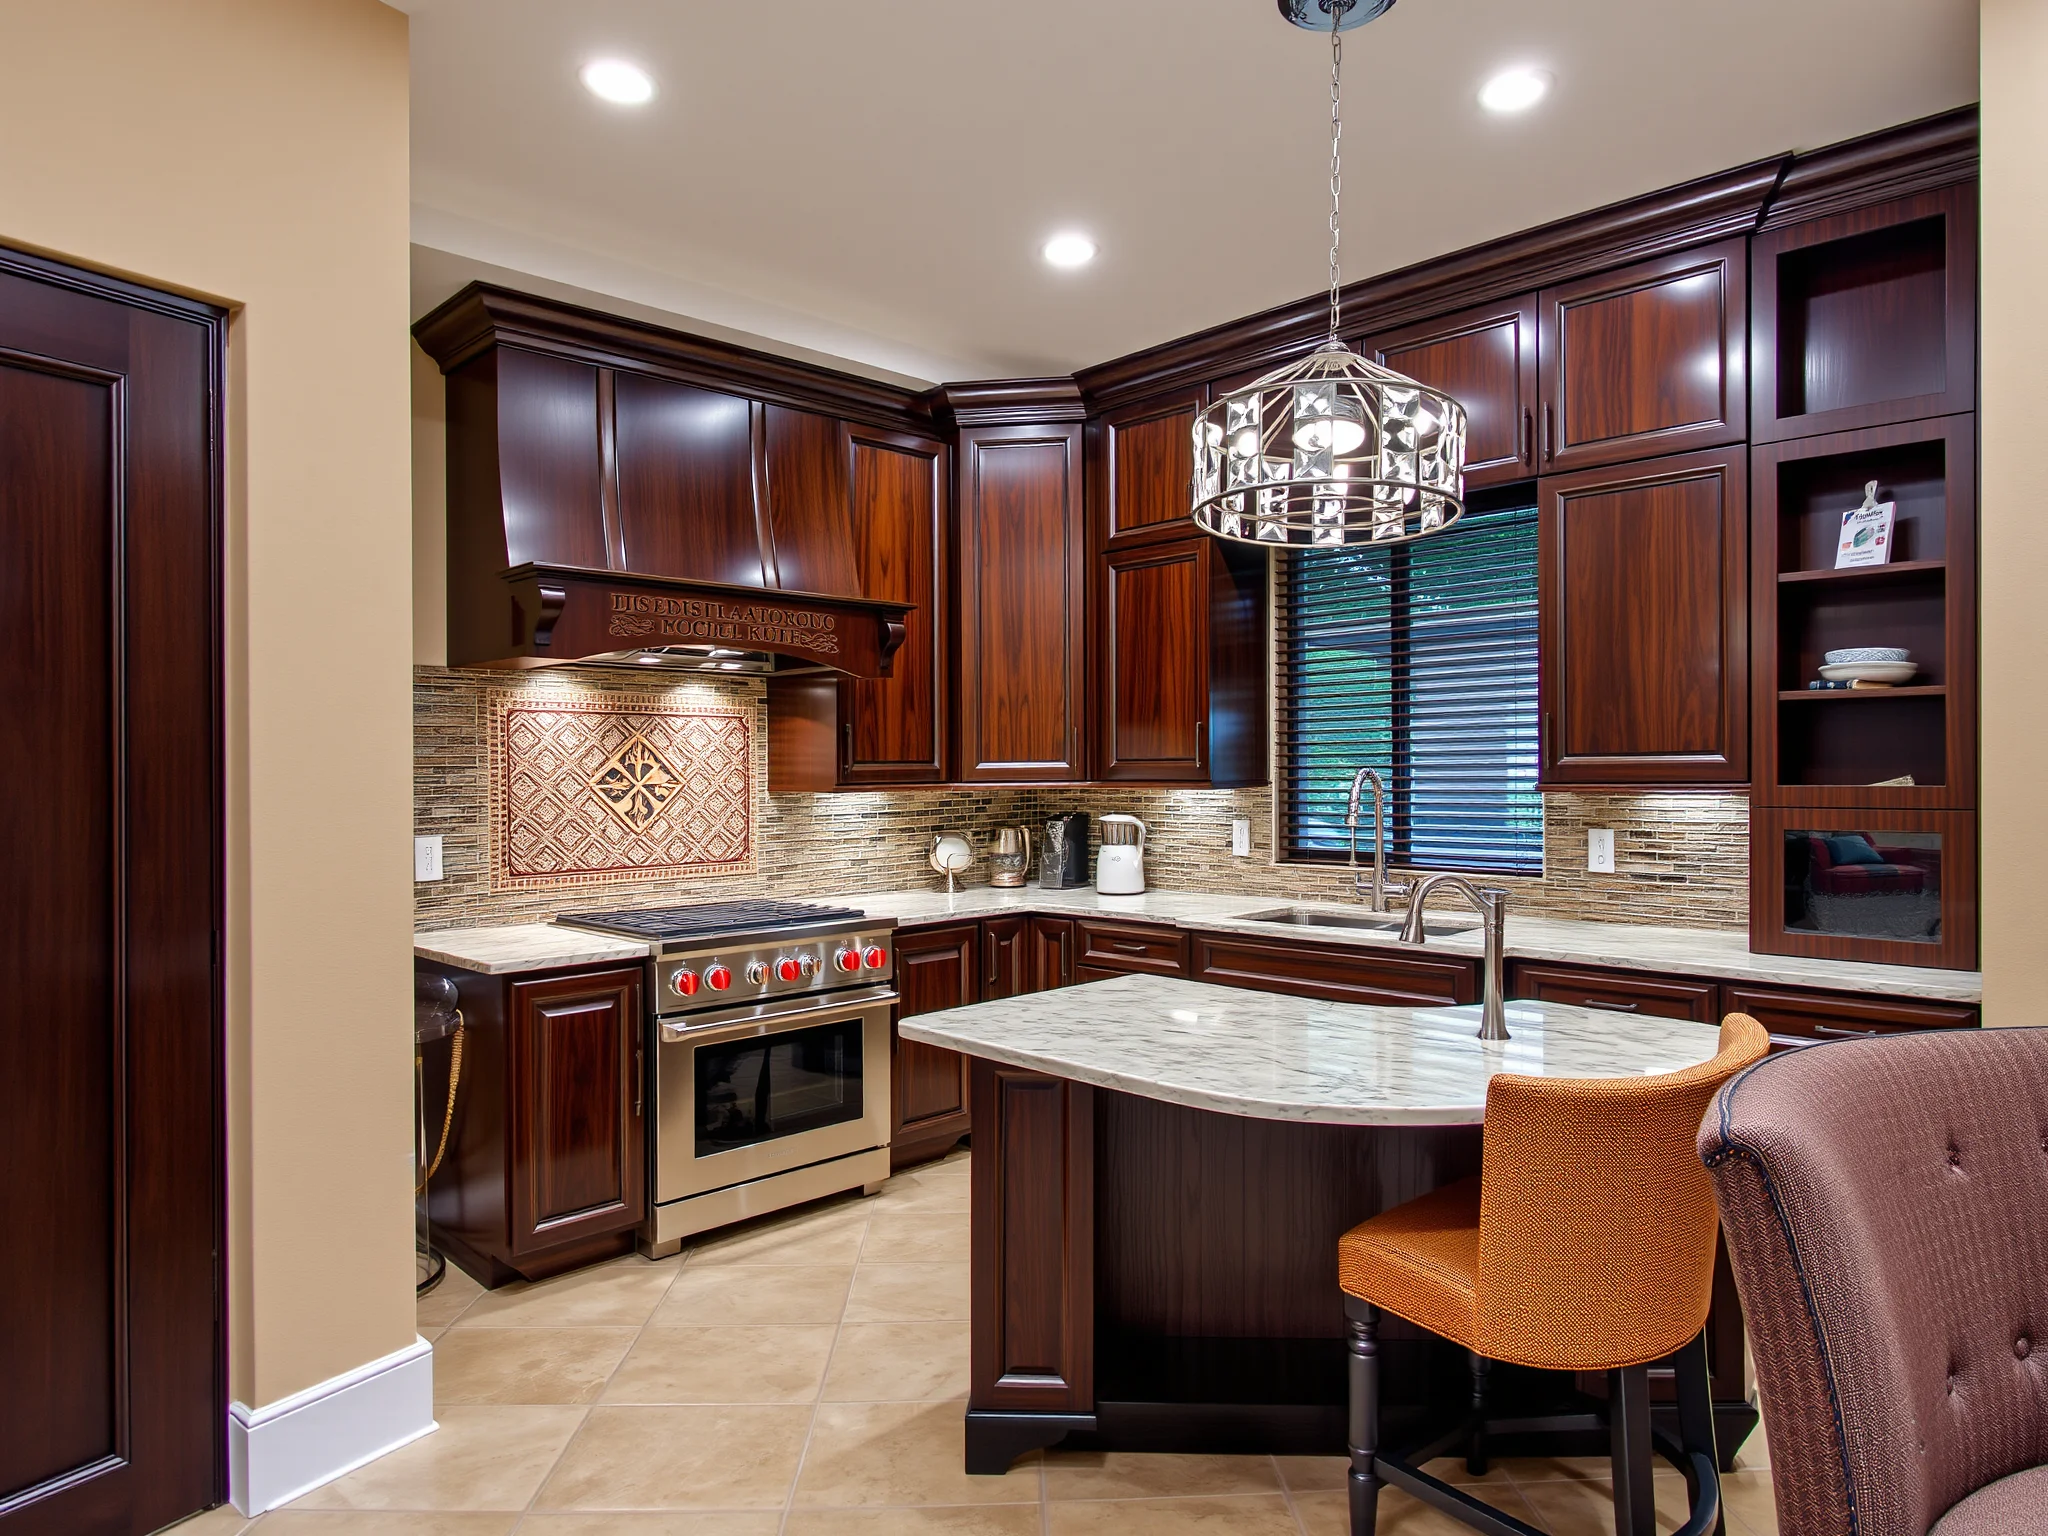
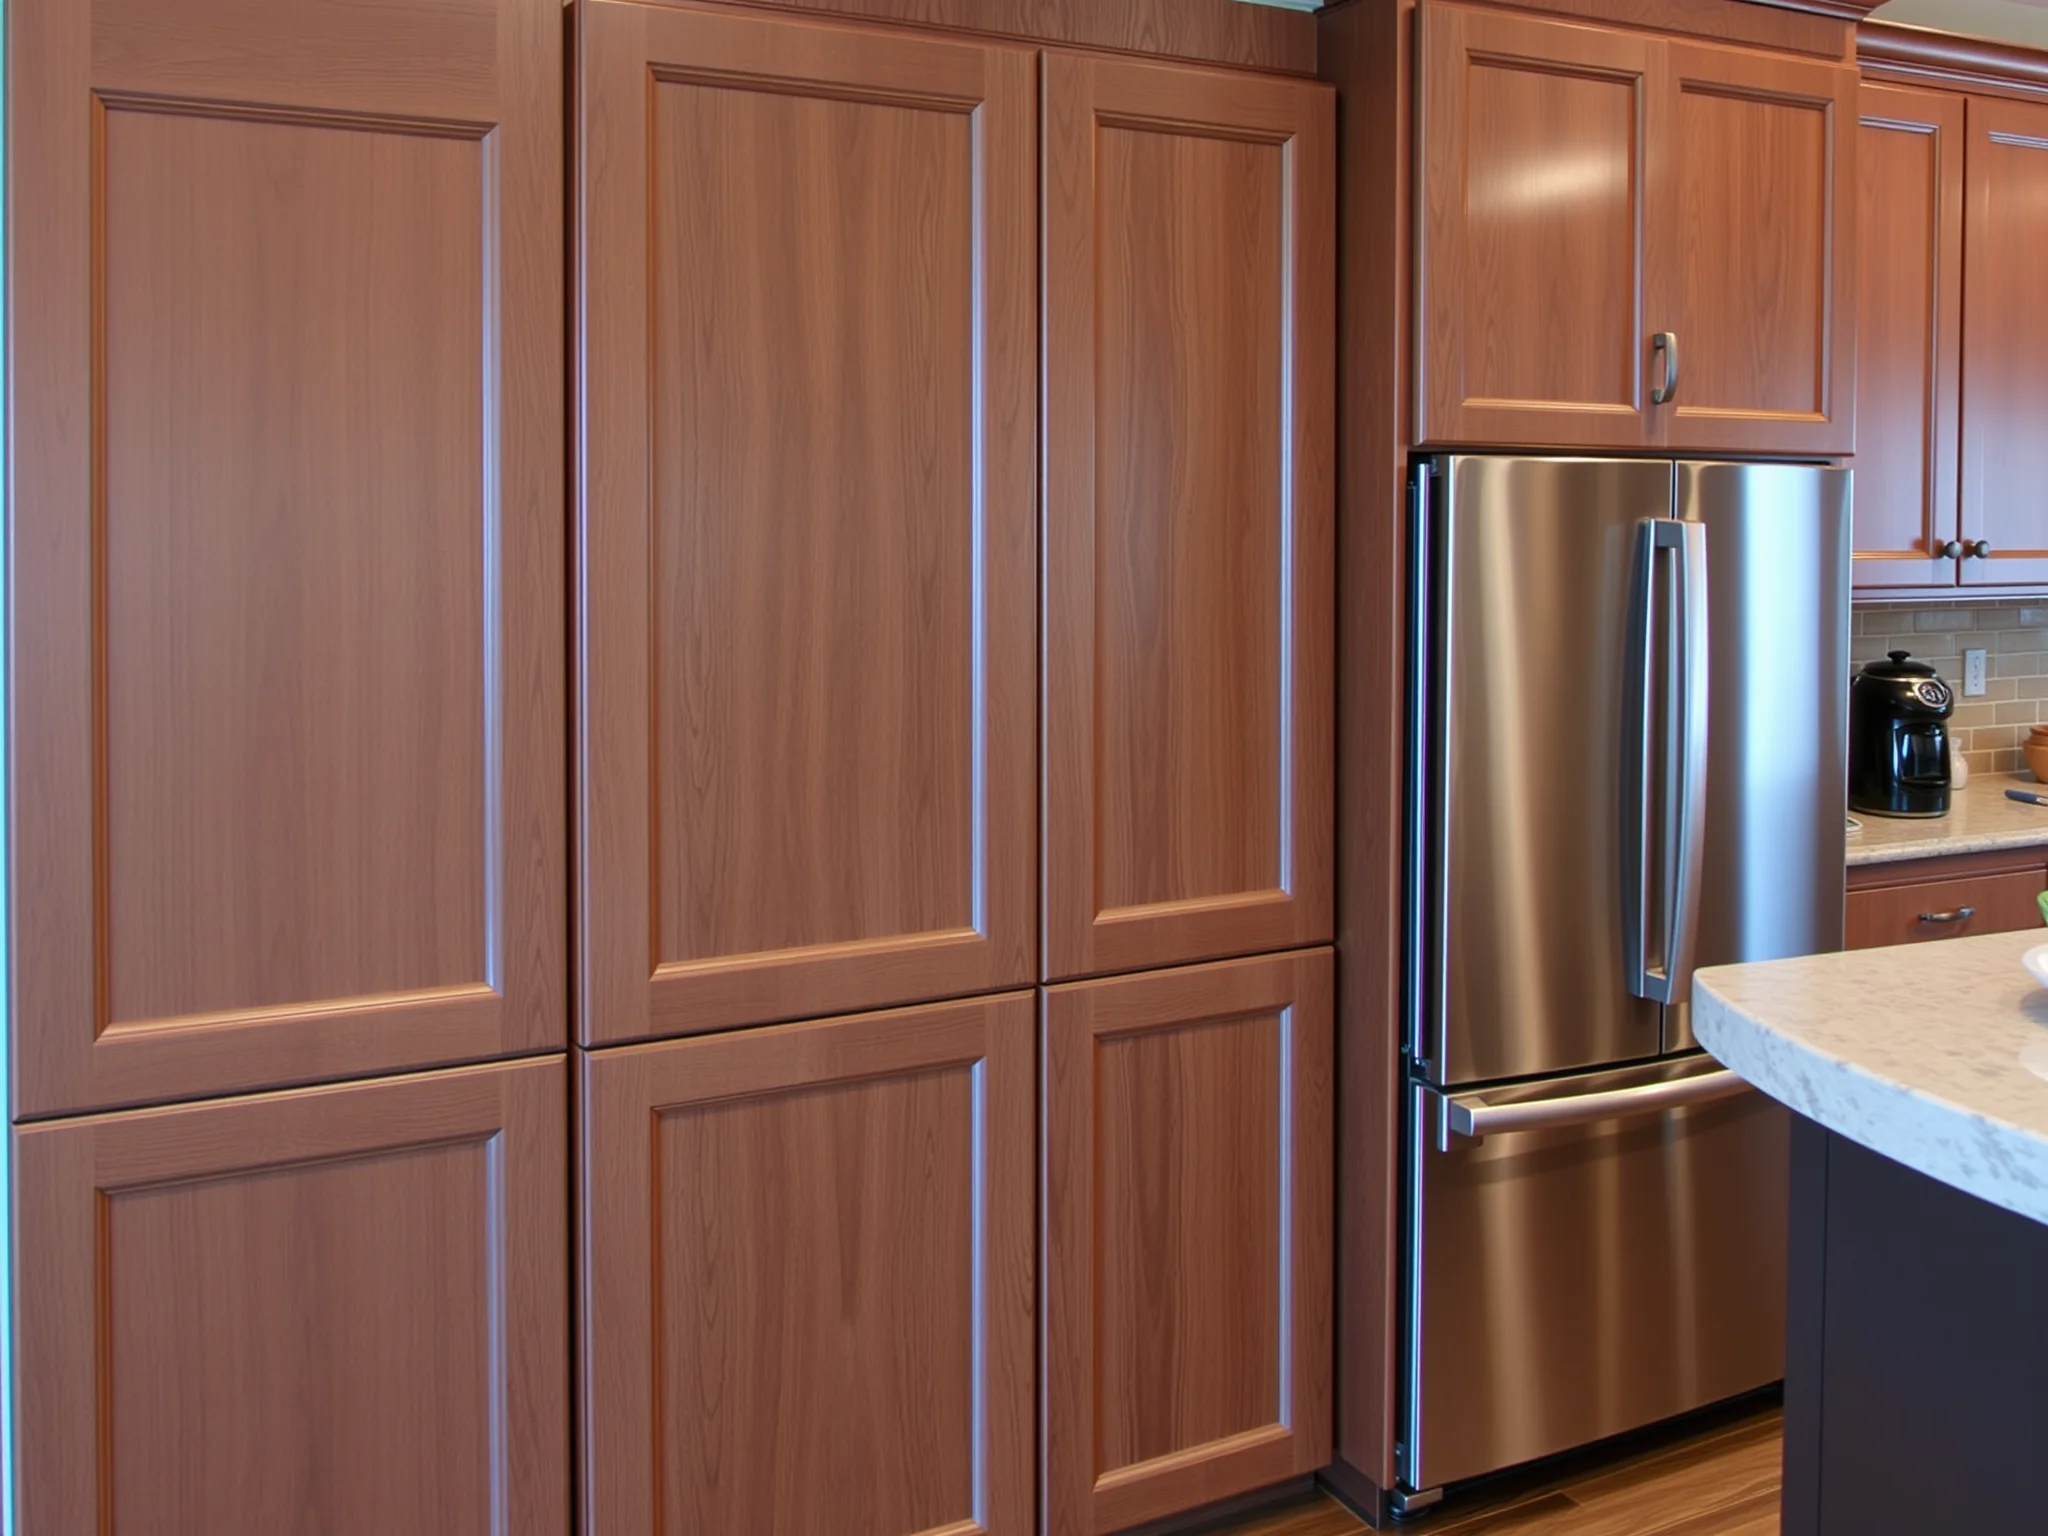
Yes! In fact, integrating your backsplash with cabinets and appliances enhances overall cohesion. Check out [cabinet painting and repair](https://hollywoodcabinet.com/post/cabinet-painting-and-repair) to ensure your cabinetry complements your new backsplash.
What are some common mistakes to avoid during backsplash installation?
- Skipping wall preparation, leading to poor adhesion
- Not planning layout and cuts thoroughly
- Applying adhesive or grout unevenly
- Rushing the curing process
- Ignoring sealing recommendations
How Can I Future-Proof My Kitchen Backsplash?
To keep your backsplash looking brand new for years:
- Opt for durable materials like porcelain tiles or natural stone.
- Seal porous surfaces to prevent stains and moisture ingress.
- Maintain regular cleaning with non-abrasive products.
- Consider periodic resealing depending on material type.
Can I upgrade my kitchen's overall look by refinishing cabinets?
Absolutely. Refinishing cabinets offers a cost-effective way to modernize your kitchen. Learn more about how cabinet refinishing can increase your home's value by visiting [kitchen cabinet refinishing to increase home value](https://hollywoodcabinet.com/post/kitchen-cabinet-refinishing-to-increase-home-value).
Partnering with experts like [cabinet refacing companies in Hurst, Texas](https://hollywoodcabinet.com/post/cabinet-refacing-companies-hurst-texas) can ensure quality workmanship and a seamless upgrade, complementing your new backsplash perfectly.
How long does a typical kitchen backsplash installation take?
Depending on the size and complexity, a straightforward backsplash can take 1 to 3 days—allowing ample time for curing and finishing touches.
Is it worth hiring professionals versus DIY?
While DIY can be rewarding, professional installation guarantees precision, especially around tricky areas like electrical outlets or irregular walls. For comprehensive upgrades, consider professional assistance for optimal results.
Overall, How Can Installing a Kitchen Backsplash Change Your Home?
A thoughtfully installed backsplash elevates your kitchen’s style and functionality, making everyday tasks more enjoyable and boosting your property's value. Whether you choose sleek modern glass or rustic natural stone, mastering **how to install a kitchen backsplash** sets the stage for a stunning transformation that lasts for years to come.
Yes! Pair your upgrade with modern cabinetry, fresh paint, or new countertops for a complete kitchen makeover. Discover creative ideas and expert tips to refine your design.
Conclusion: Get Started with Confidence
Now that you're equipped with groundbreaking insights on **how to install a kitchen backsplash**, it's time to take your renovation to the next level. Remember, careful planning, patience, and precision are your best allies. Want personalized advice or professional assistance? Reach out to industry experts who can help turn your vision into reality.
Frequently Asked Questions (FAQs)
While it requires some skill and patience, many homeowners successfully complete backsplash installations by following detailed steps and using the right tools. Starting with smaller sections and practicing cuts can build confidence.
Use a level and adjustable spacers to accommodate irregularities. When necessary, plan cuts meticulously and consider trimming tiles or adding shims behind cabinetry for a clean finish.
Absolutely. Peel-and-stick options are perfect for quick, less invasive upgrades. They are especially suitable for renting or testing out new styles without a full renovation.
Connect with reputable [cabinet refacing companies in Hurst, Texas](https://hollywoodcabinet.com/post/cabinet-refacing-companies-hurst-texas) or local contractors experienced in backsplash installation and cabinet refinishing to ensure quality results.
Ready to Transform Your Kitchen?
With this groundbreaking guide, you now know precisely **how to install a kitchen backsplash** like a seasoned pro. Take the plunge, unleash your creativity, and celebrate your new kitchen that combines style, durability, and flawless craftsmanship.


:max_bytes(150000):strip_icc()/TAL-the-star-frisco-texas-FRISCOTX0223-5fb5e2ddde5a431e8072e46cbc504b63.jpg)


