
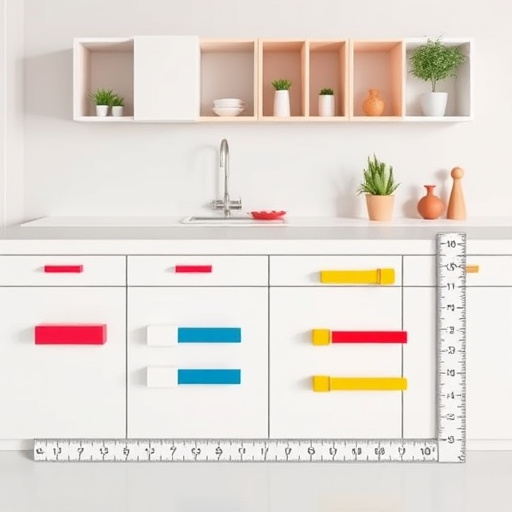
How to Install Cabinet Pulls Evenly: Step-by-Step Guide
Mastering the Art of Harmony: How to Install Cabinet Pulls Evenly for a Flawless Finish
When it comes to transforming your kitchen or vanity area, the little details often make the biggest impact. Installing cabinet pulls might seem straightforward, but achieving that perfect, harmonious alignment can be a subtle art that elevates your entire space. Hollywood Cabinet Refinishing is here to guide you through the nuanced craft of how to install cabinet pulls evenly, ensuring your cabinetry exudes both style and symmetry.
The placement of cabinet pulls influences the overall visual balance and functionality of your cabinetry. When pulls are uneven, it can detract from the sleek, cohesive look you desire. Plus, well-installed hardware simplifies opening and closing cabinets, reducing strain and potential damage. Imagine a kitchen where every knob and handle aligns perfectly—a testament to craftsmanship and attention to detail that impresses everyone.
- Uneven spacing leading to asymmetrical looks
- Misaligned holes resulting in crooked pulls
- Inconsistent pull depths that affect ease of use
- Difficulty in marking the placement accurately
Overcoming these challenges begins with understanding fundamental techniques, precise measurements, and a touch of patience. Ready to master the art? Let’s dive into the detailed process of how to install cabinet pulls evenly.
Preparation is key. Make sure you have:
- Measuring tape or ruler
- Center punch or nail punch
- Drill with appropriate drill bits
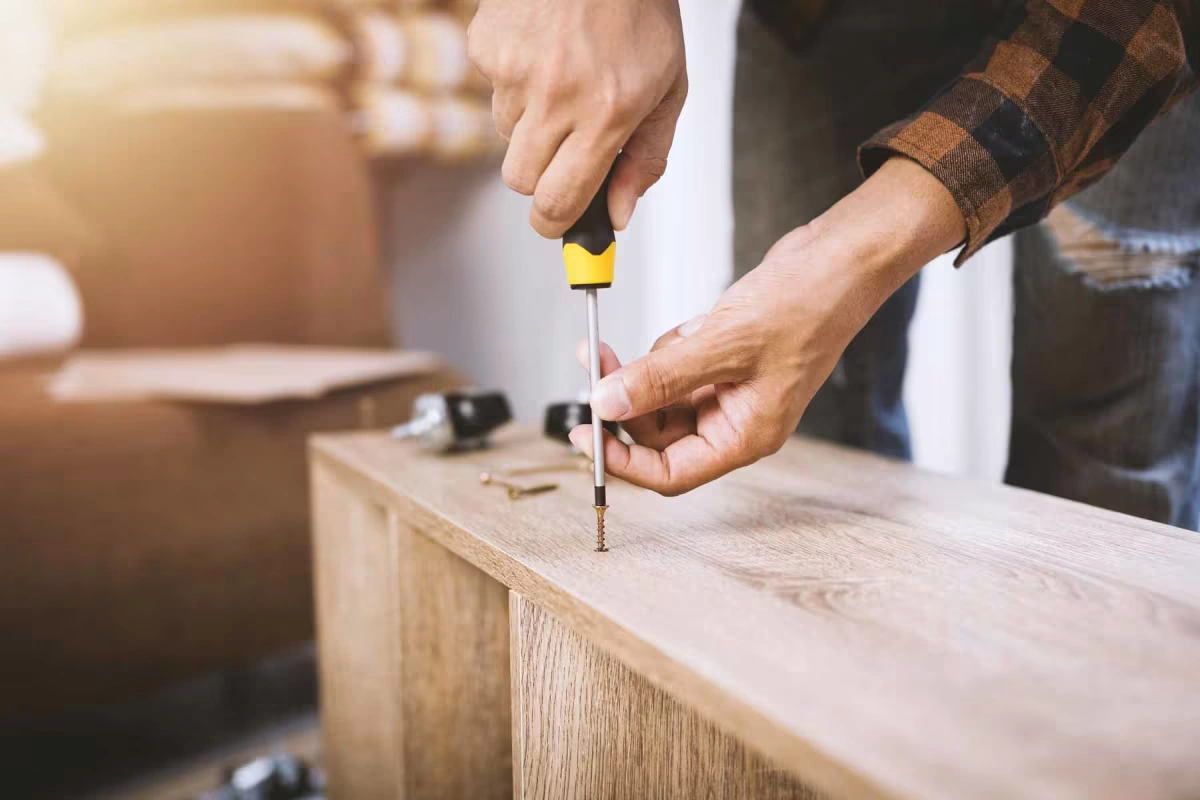
- Screwdriver (manual or electric)
- Level or a straight edge
- Painter’s tape or masking tape
- Marking pencil
- Optional: template or jig for consistent spacing
Investing in quality tools ensures precision, paving the way for flawless results when determining easy home improvement with cabinet refinishing.
Accuracy begins with thorough measurements. Follow these steps:
- Decide on the type and style of the pulls that suit your cabinet design.
- Determine the ideal height—commonly, pulls are installed about 2.5 to 3 inches from the bottom of the cabinet frame for base cabinets, and centered vertically for upper cabinets.
- Use a measuring tape to mark the center point of each cabinet door or drawer.
- Mark the desired distance from the edges for consistent placement—typically, 1.5 to 2 inches from the side edge.
- Use painter’s tape to create delineation lines for where the holes will be drilled, ensuring alignment across multiple cabinets.
For larger projects, consider using a template or jig to streamline measurements and ensure uniform placement across all cabinets. This technique simplifies the process and guarantees even installation, exemplifying the finesse needed for a refinishing project.
Accuracy in transfer minimizes errors. Use the following methods:
- Mark the points with a pencil directly on the cabinet surface, guided by your measured center points and edge distances.
- If dealing with multiple cabinets, create a template from cardboard or heavy paper that can be used repeatedly, aligning it carefully before marking.
- Employ painter’s tape with measurements written directly on it for quick, visible guides during drilling.
Drilling pilot holes is essential. Here’s how so you can do it flawlessly:
- Choose a drill bit slightly smaller than the length of your screws to prevent wood splitting.
- Using your marked points as guides, carefully drill pilot holes straight through the cabinet door or drawer front.
- Double-check alignment and levelness using a level or straight edge before proceeding.
- If needed, countersink the holes to allow the screw heads to sit flush with or below the surface, ensuring a clean look.
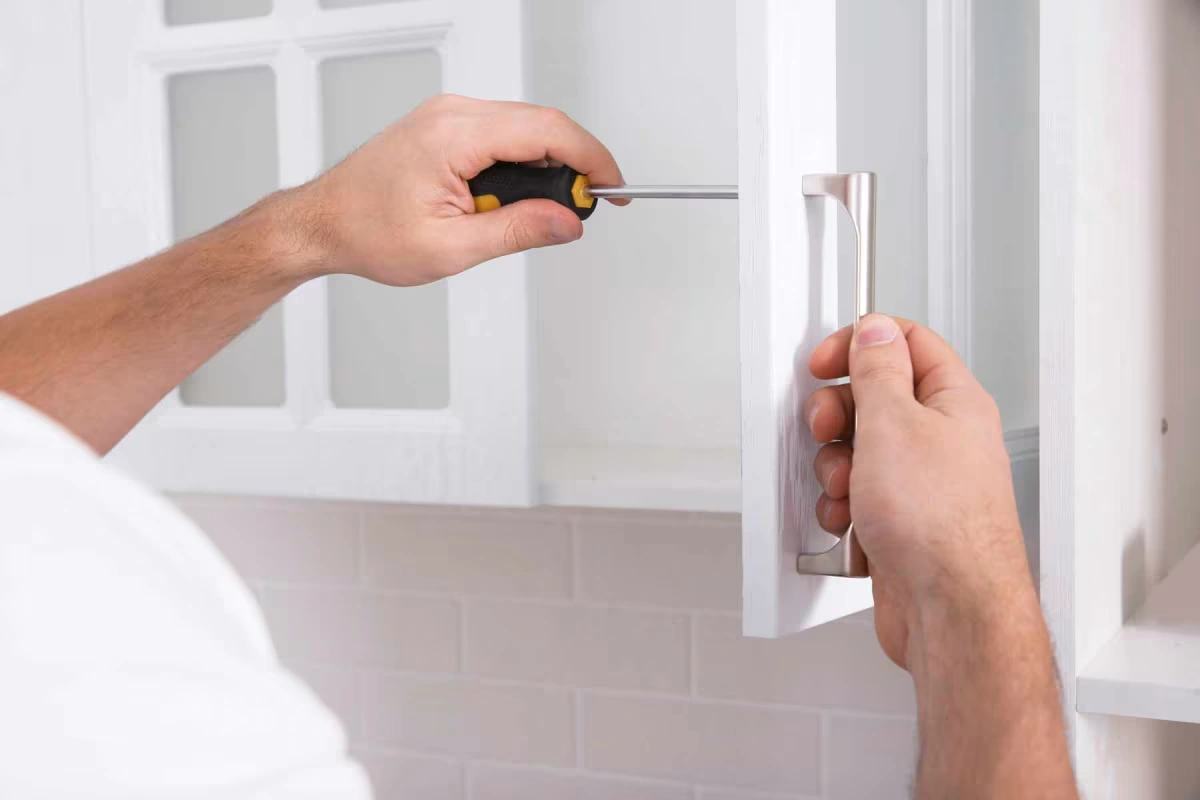
Now that your pilot holes are drilled, attach the pulls with these tips:
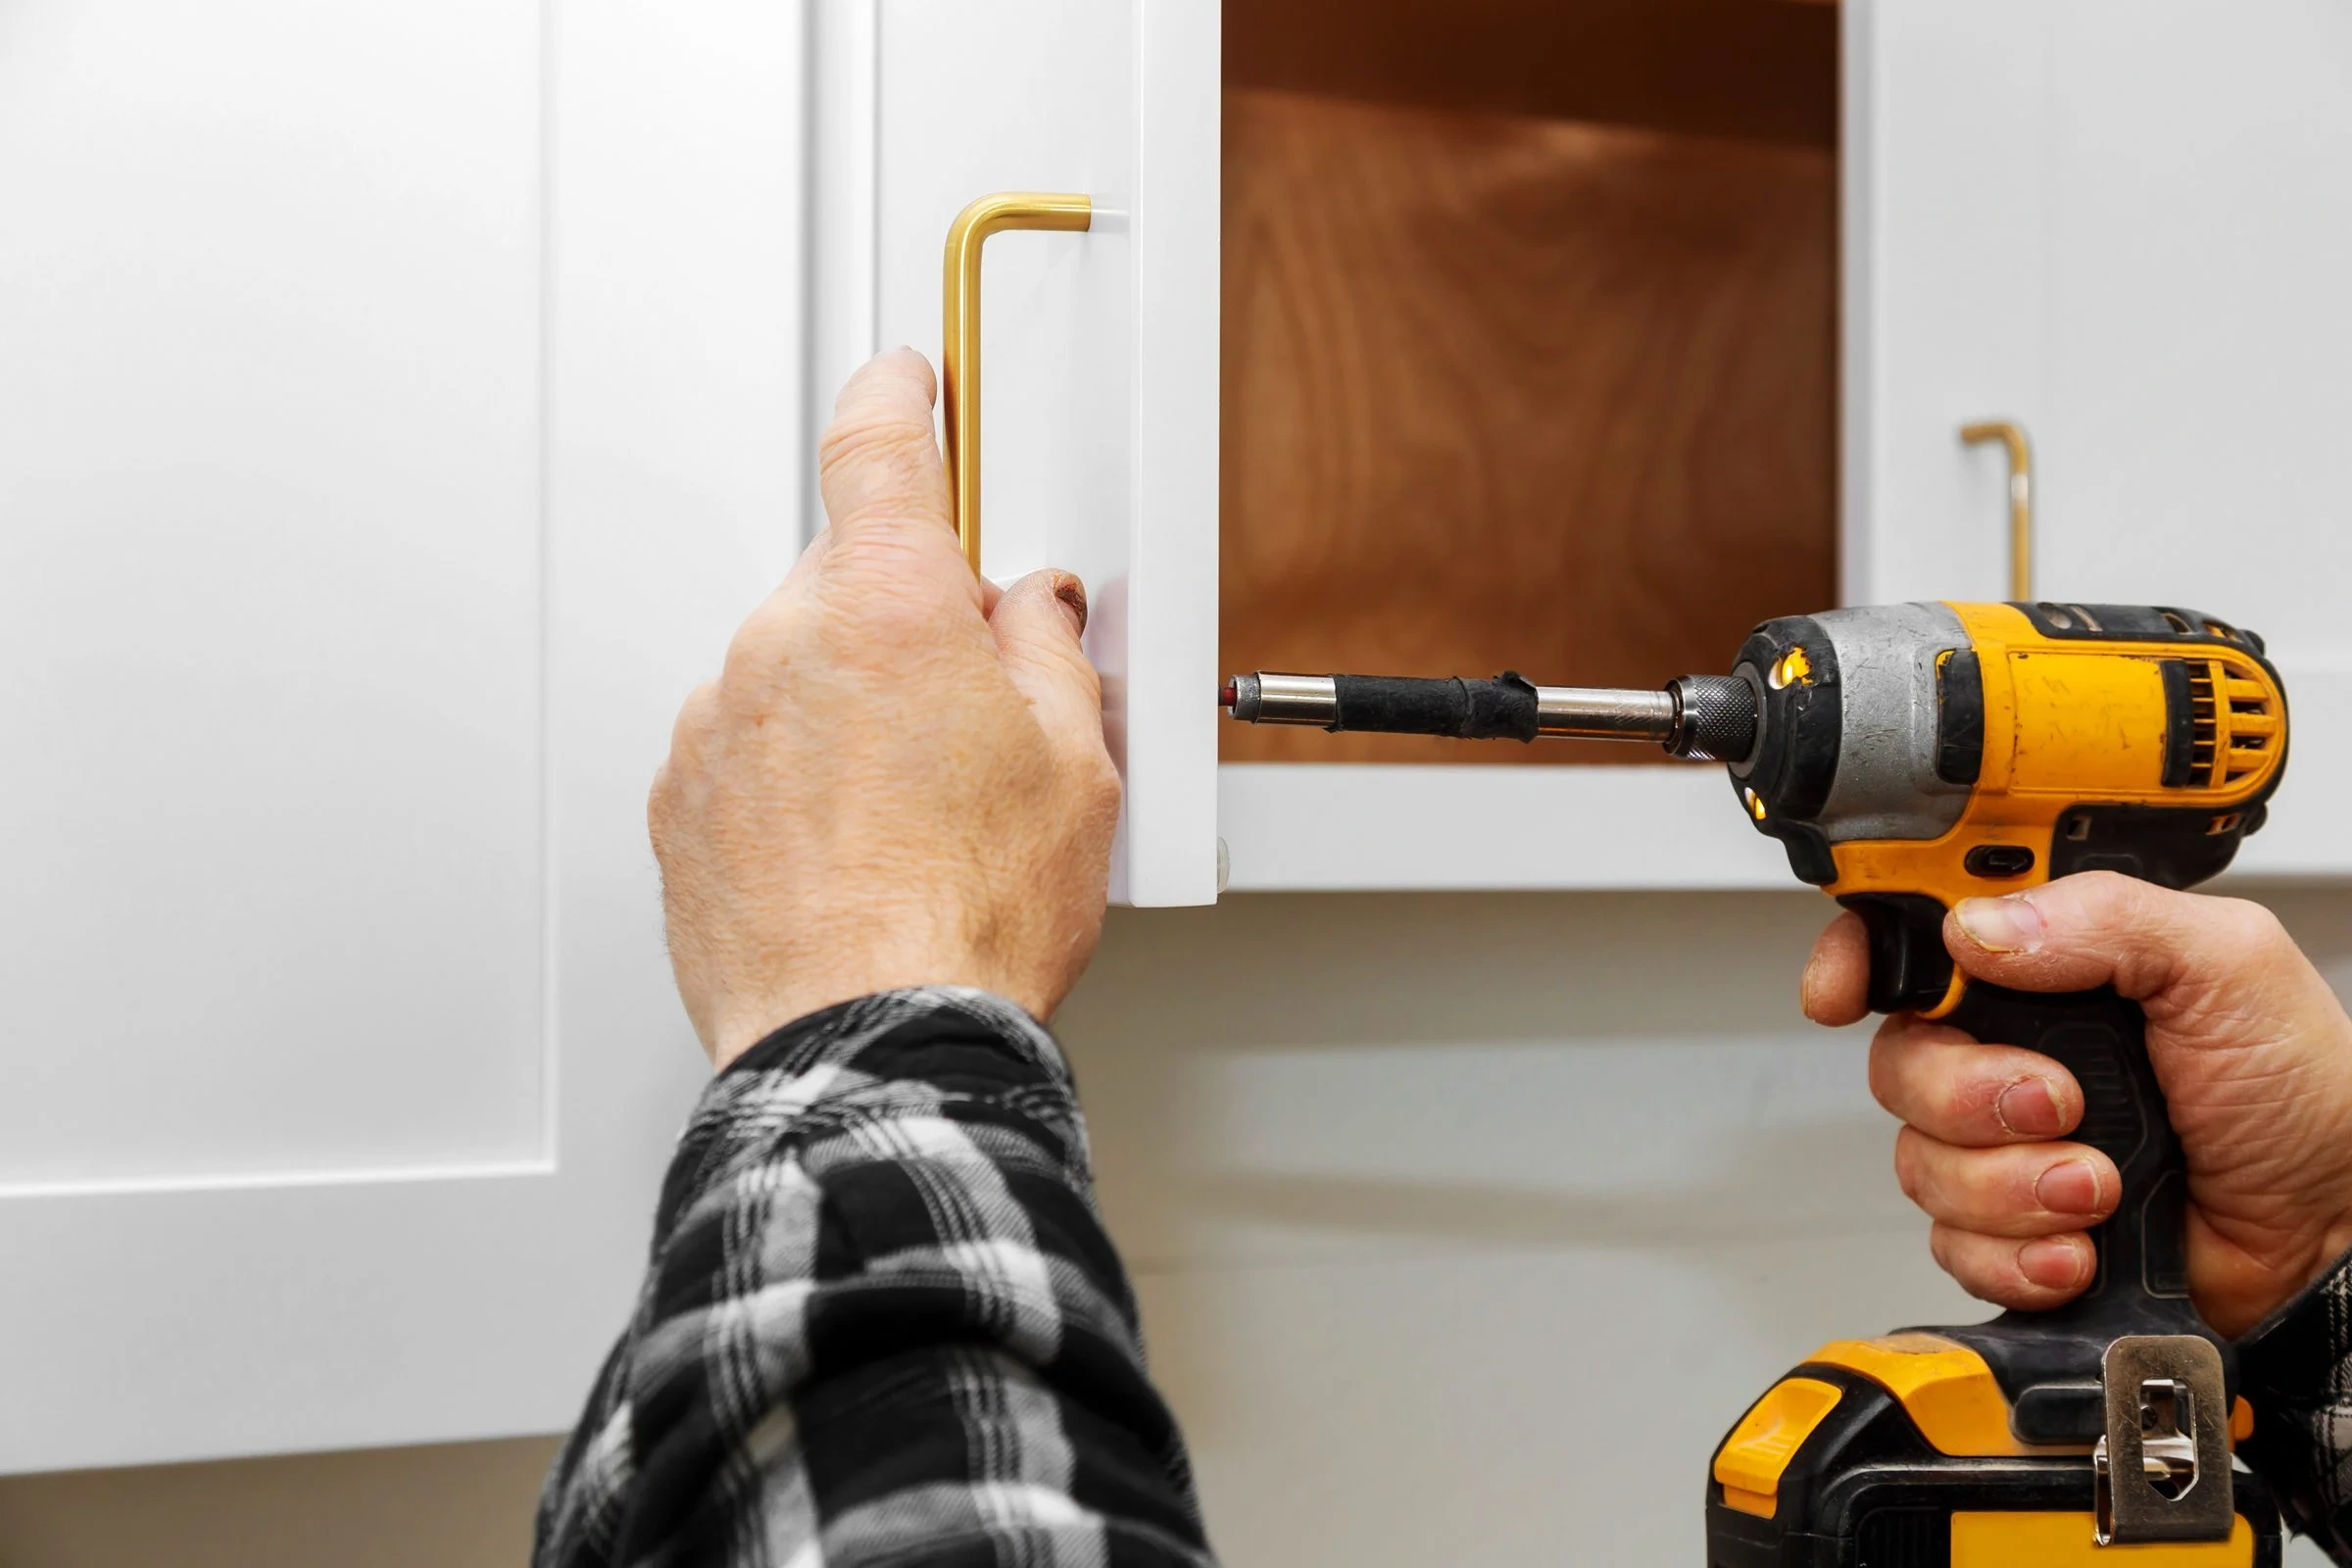
- Align the pull with your markings before inserting screws.
- Start with one screw and gently tighten it to hold the pull in place, then insert the second screw.
- Use a screwdriver to tighten screws evenly, ensuring the pull remains level.
- Periodically check the alignment with a level or measuring tape to confirm everything stays proportioned.
Consistency is key for a unified look. Strategies include:
- Creating a master template or using a drilling jig to guide all holes.
- Measuring and marking each pull location before drilling, verifying measurements at each step.
- Using the same tools and techniques across all cabinets to maintain uniformity.
- Double-checking the final alignment before tightening all screws fully.
- Skipping measurements—always double-check before drilling.
- Using the wrong drill bit size, leading to loose or overly tight screws.
- Ignoring the level—misaligned pulls can spoil the visual harmony.
- Rushing through the process, resulting in crooked hardware or misaligned pulls.
By paying attention to detail and practicing these techniques, you can master how to install cabinet pulls evenly and achieve a finish that impresses.
Proper maintenance ensures durability and lasting beauty:
- Regularly clean pulls with a mild soap and soft cloth to prevent dirt buildup.
- Check and tighten screws periodically to avoid loosening over time.
- Use protective finishes or sprays designed for hardware to prevent tarnishing or corrosion, especially in humid environments.
In Conclusion: Elevate Your Cabinet Aesthetics with Precision and Skill
Understanding how to install cabinet pulls evenly is more than just a DIY task; it’s an art form that reflects craftsmanship and attention to detail. Whether you're aiming for a sleek modern look or a rustic charm, the key lies in precision, patience, and the right techniques. With these insights, your cabinets will not only function flawlessly but also become the showcase of your space, radiating harmony and style.
Use a high-quality measuring tape or ruler, double-check your measurements before marking, and consider creating templates for multiple cabinets to maintain consistency.
Most experts recommend positioning pulls about 1.5 to 2 inches from the edge of the cabinet or drawer face, depending on size and style. Consistency across all cabinets is crucial for a harmonious appearance.
With proper tools and patience, installing cabinet pulls is a manageable DIY project. However, for large-scale or intricate installations, consulting professionals like Hollywood Cabinet Refinishing can ensure perfect results.
Visit our blog posts such as factors affecting cabinet refinishing cost or browse design galleries online to discover styles that complement your space.
Well-installed and aesthetically pleasing hardware enhances your cabinetry’s look, boosting your home’s appeal and potentially increasing its market value over time.






:max_bytes(150000):strip_icc()/TAL-the-star-frisco-texas-FRISCOTX0223-5fb5e2ddde5a431e8072e46cbc504b63.jpg)


