Transform Your Cabinets: Cabinet Refinishing DIY Guide
What Makes Cabinet Refinishing DIY a Symphony of Creativity and Transformation?
In the quiet corners of our homes, cabinets hold stories—of family gatherings, daily routines, and timeless style. The idea of transforming these essential elements into a melody of color and texture can seem both inspiring and intimidating. Yet, with a thoughtful approach and a few artistic strokes, cabinet refinishing diy becomes a harmonious dance of renewal and personal expression.
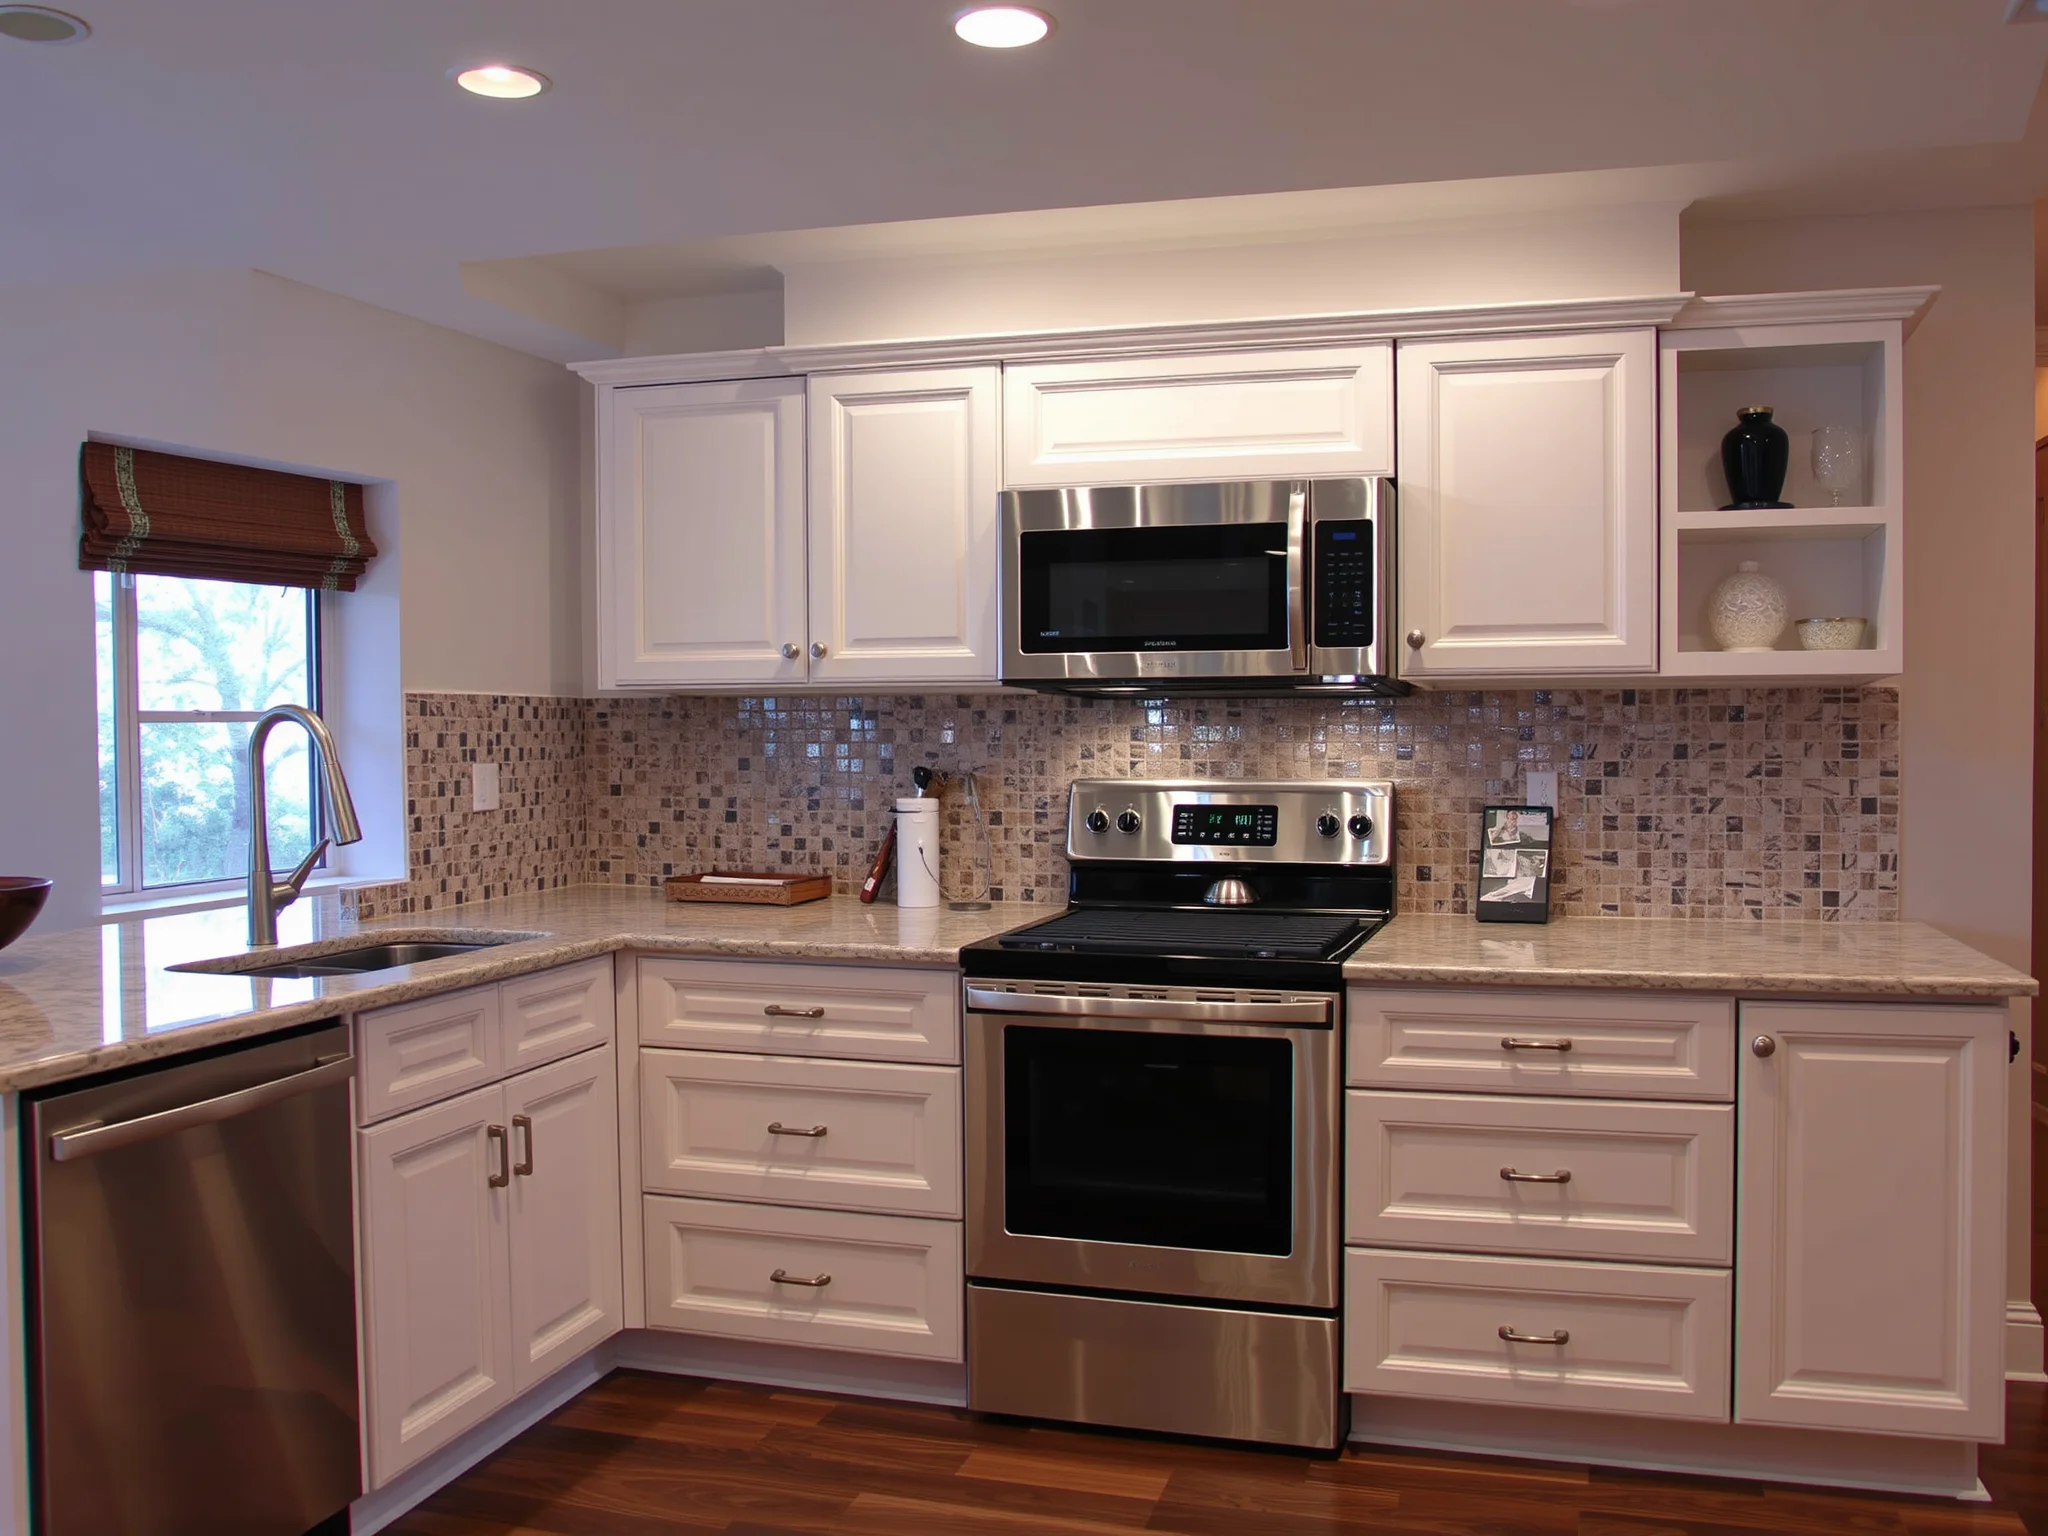
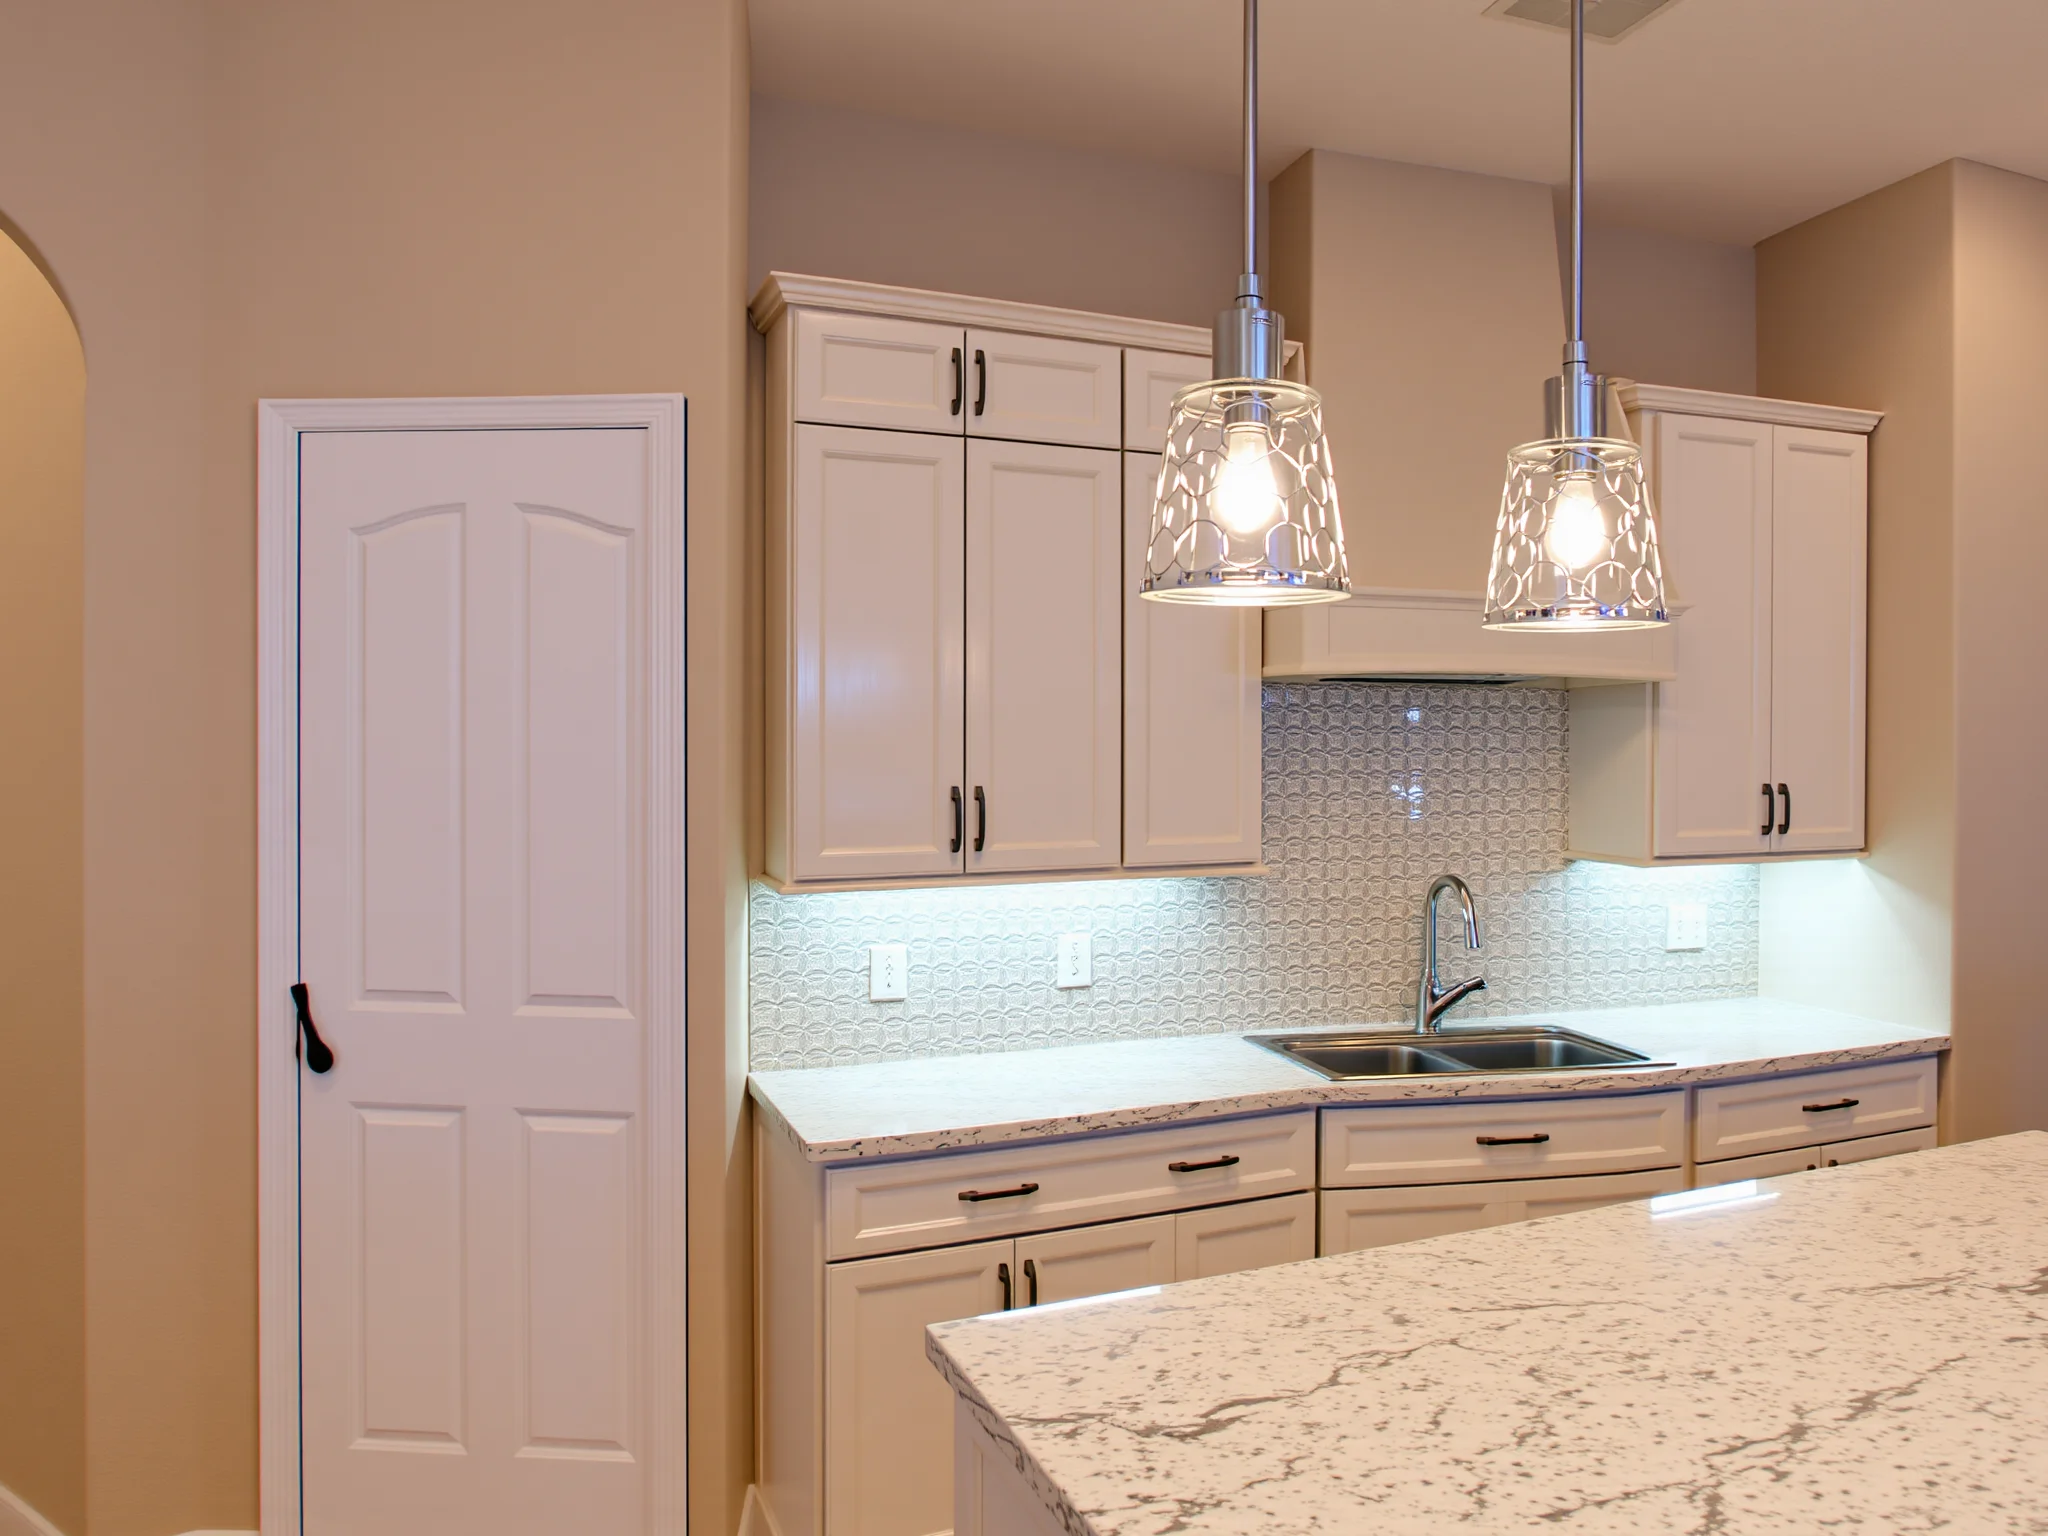
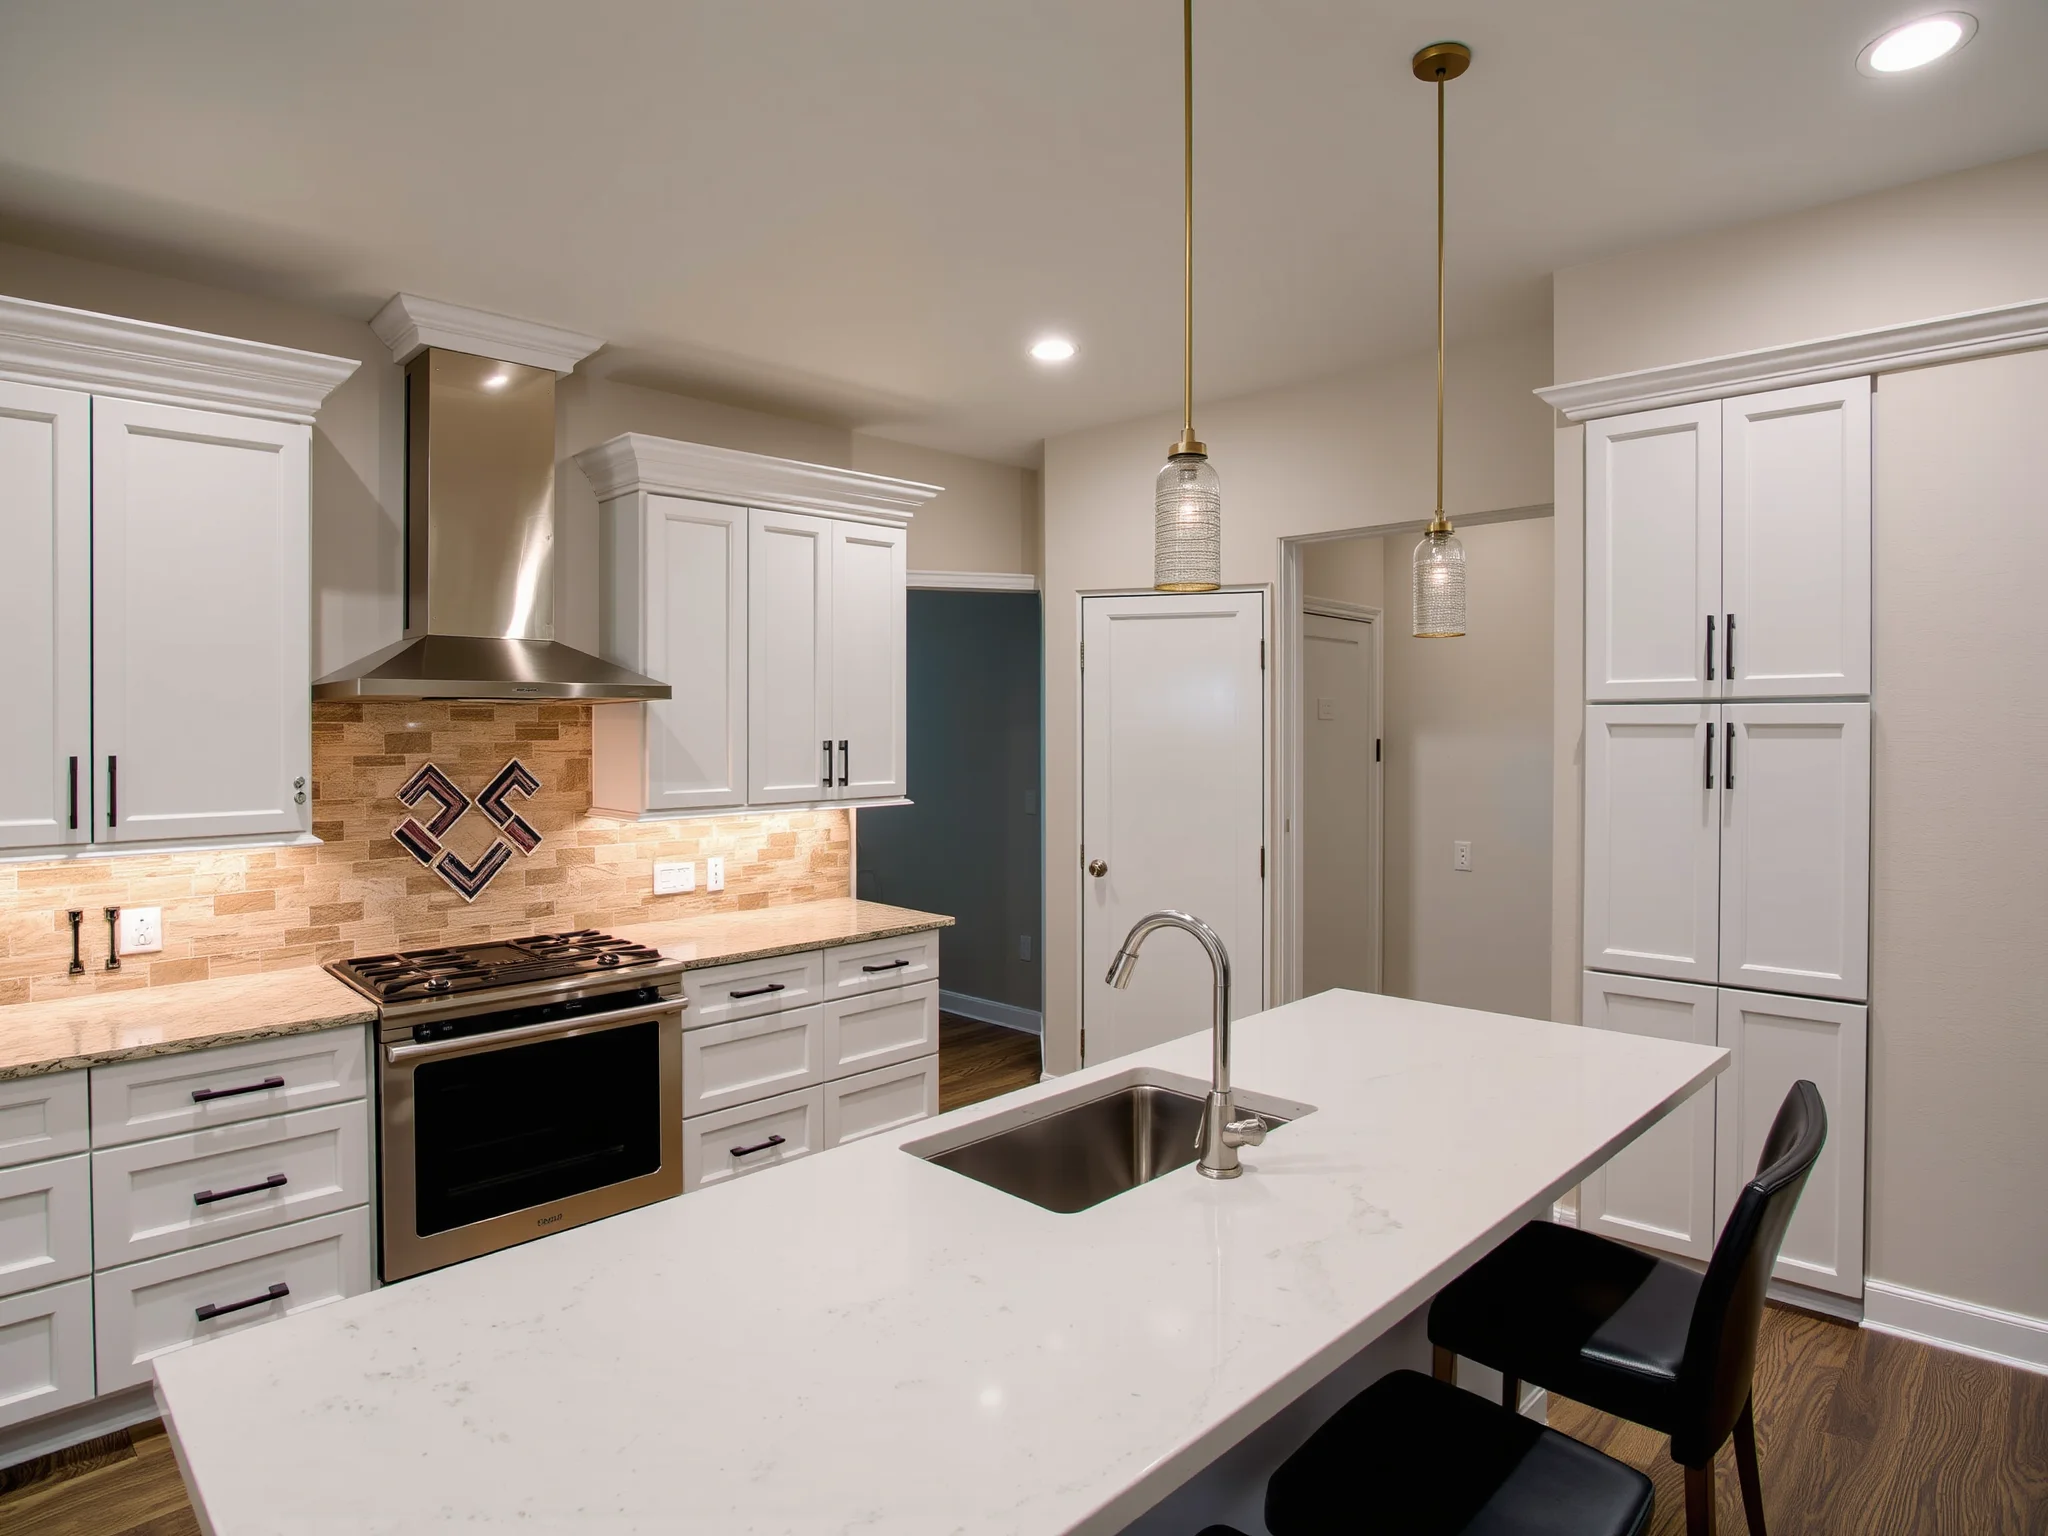
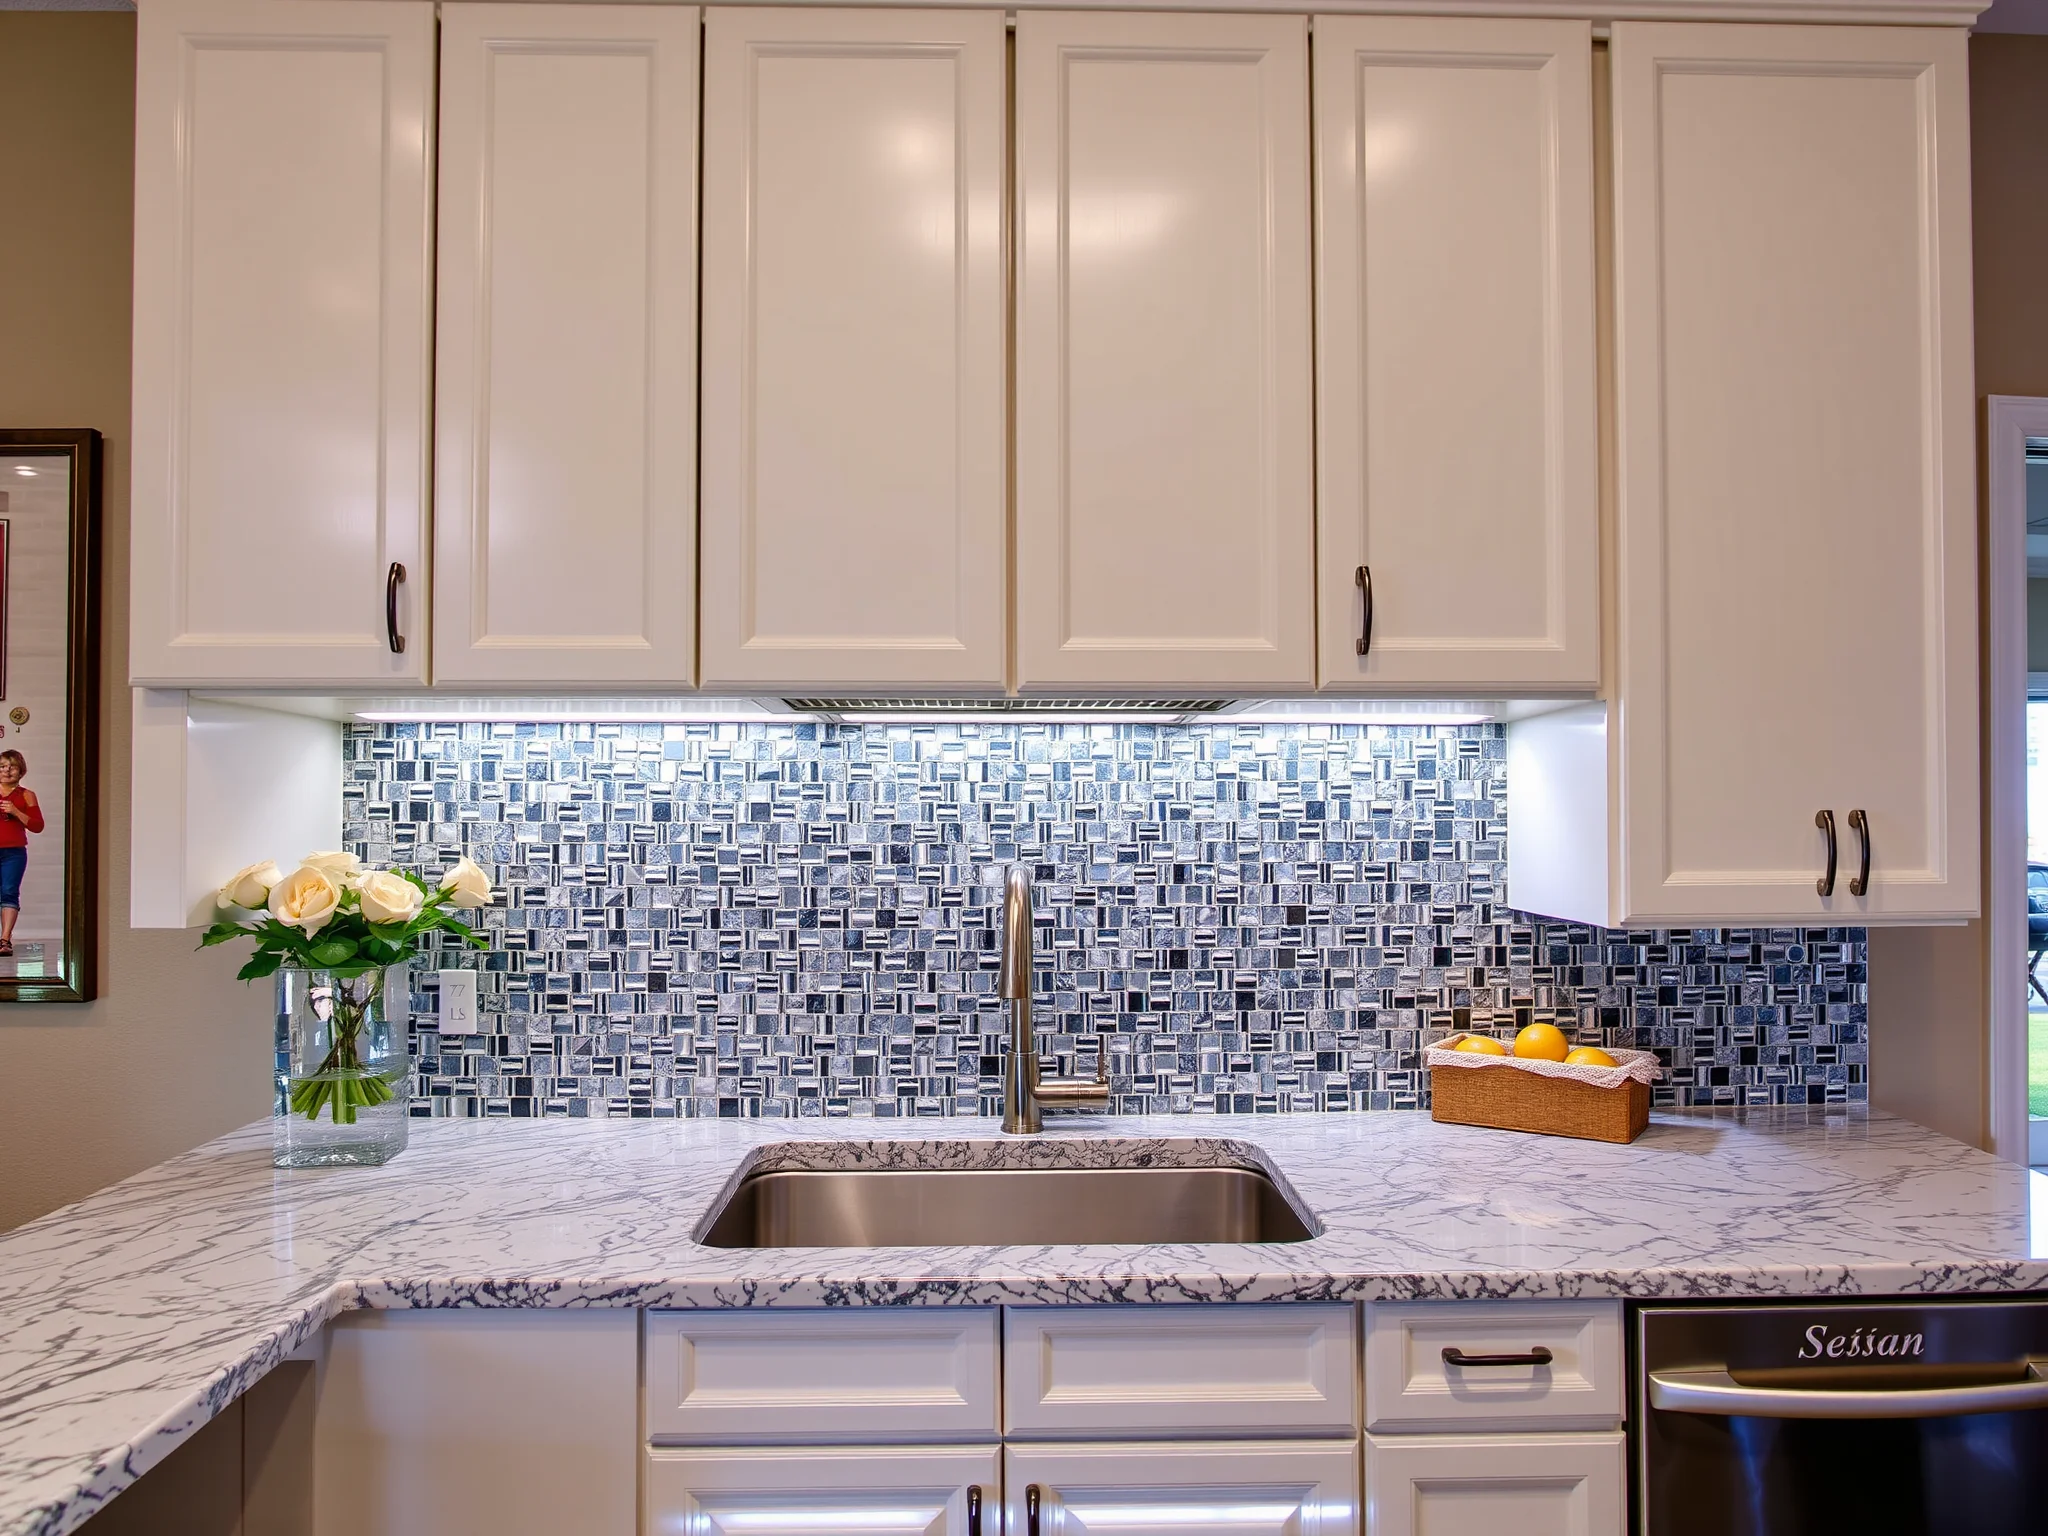
Imagine walking into a kitchen or bath where every cabinet whispers elegance, all achieved through your own hands. It’s more than a renovation—it’s an act of love for your space, an opportunity to craft a tailor-made melody of aesthetic harmony. Hollywood Cabinet Refinishing guides artisans and homeowners alike through this soulful journey, turning plain surfaces into works of art that resonate with personality and style.
What Are the Key Benefits of Performing Cabinet Refinishing DIY?
Choosing to undertake a cabinet refinishing diy project brings numerous rewards—beyond just a stunning visual upgrade. You become the conductor of your home’s rebirth, orchestrating benefits that elevate your living experience:
- Cost Efficiency: Save in costs compared to full replacement, channeling your budget into high-quality materials or decorative touches.
- Creativity Unleashed: Customize colors, finishes, and hardware, making each cabinet uniquely yours—like a musical improvisation that reflects your personality.
- Satisfaction and Pride: Experience the joy of transforming your space through your own artistry, turning a DIY project into a heartfelt masterpiece.
- Environmental Impact: Reduce waste and minimize environmental footprint by refurbishing rather than discarding old cabinets.
What Are the Essential Steps to Mastering Cabinet Refinishing DIY?
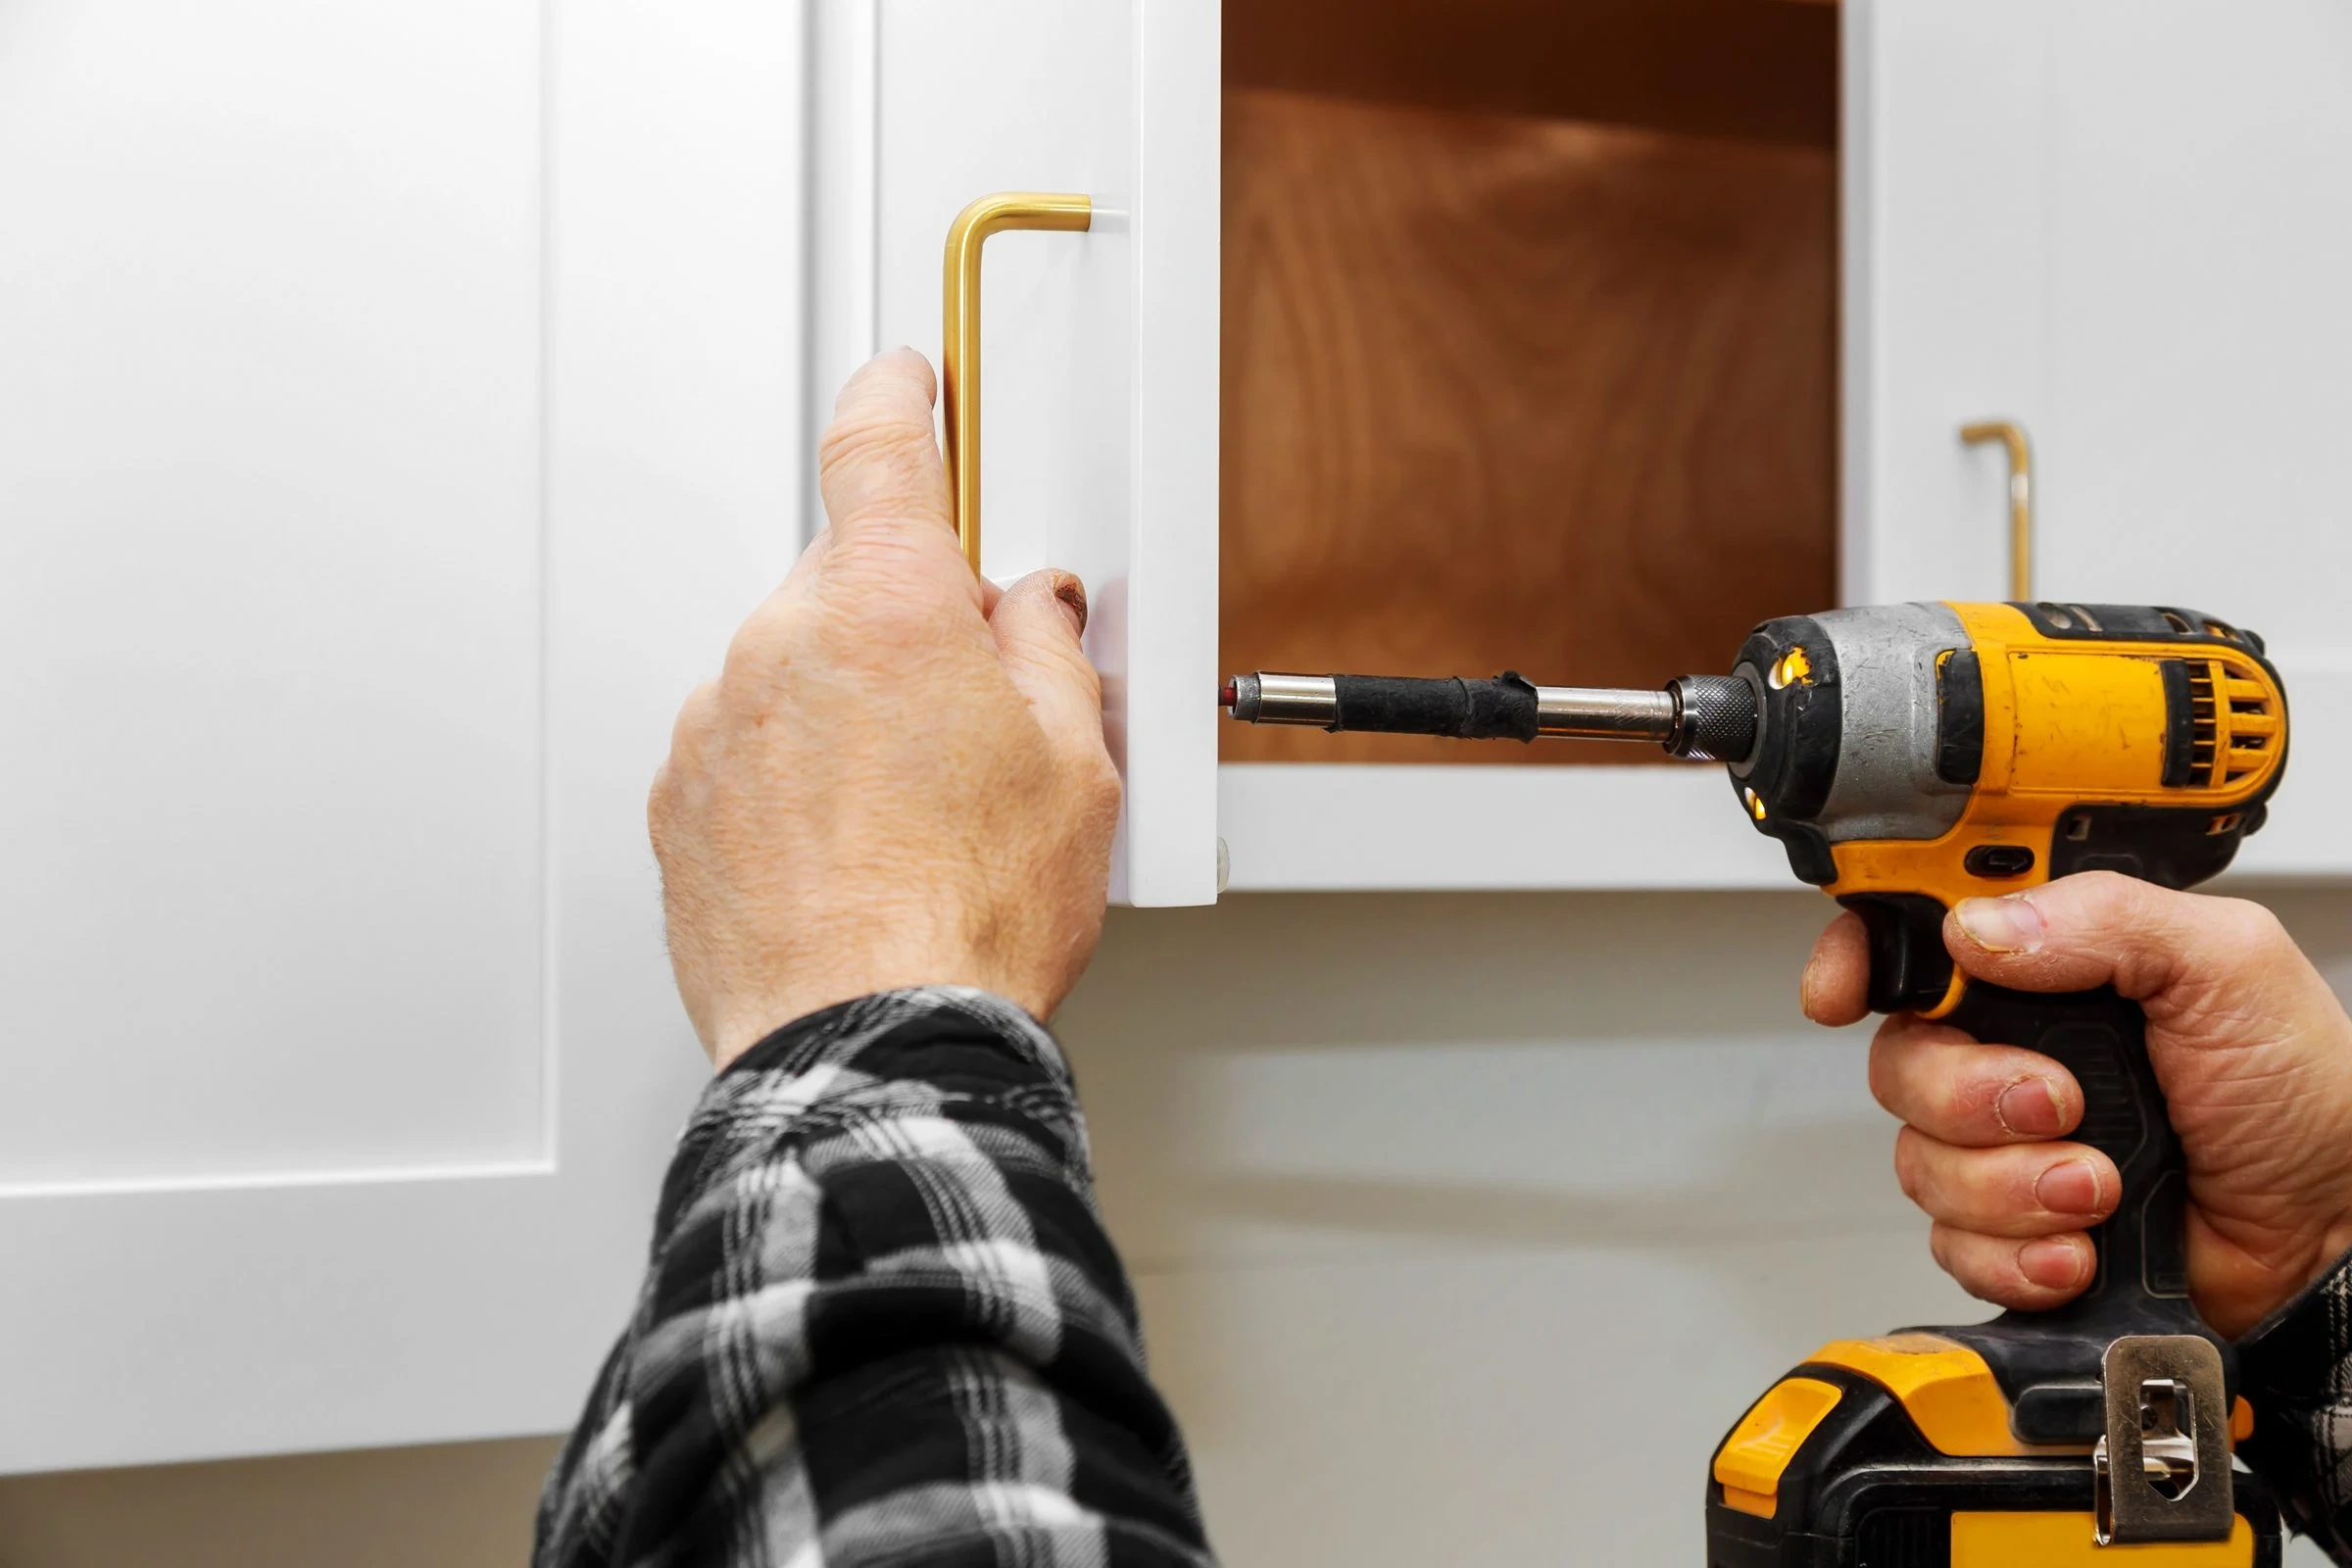
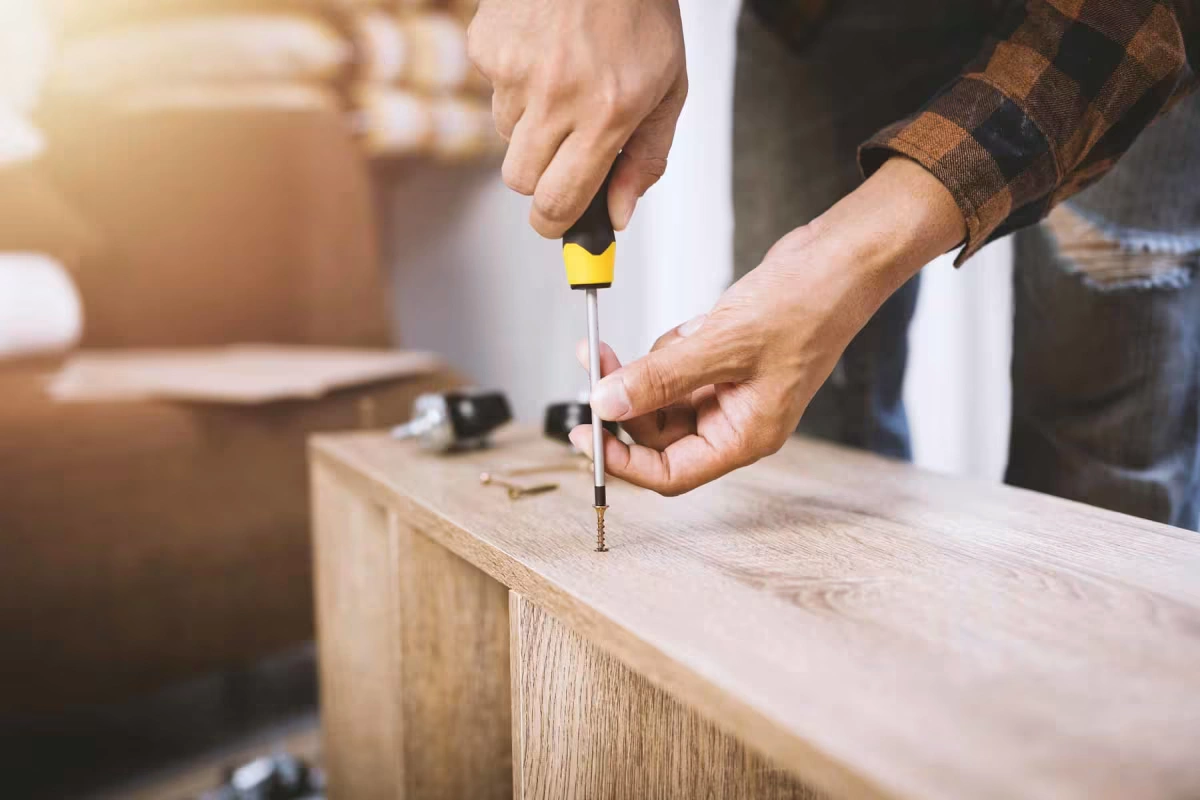
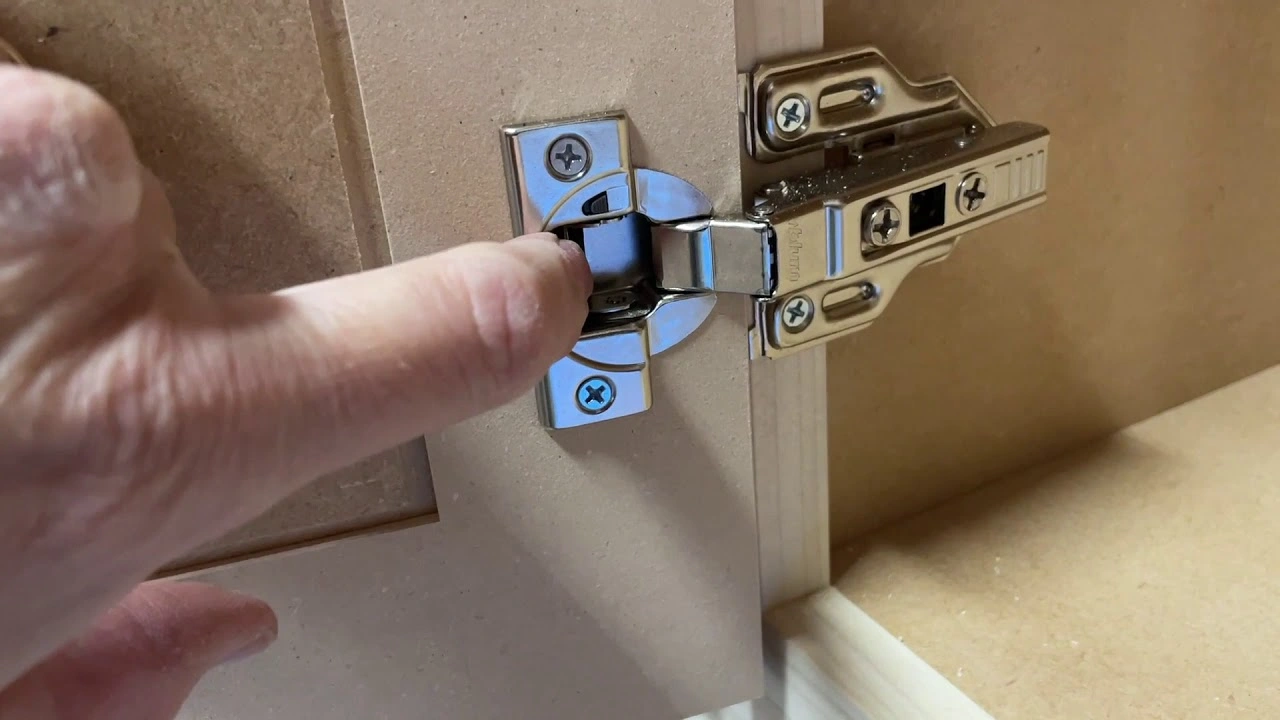
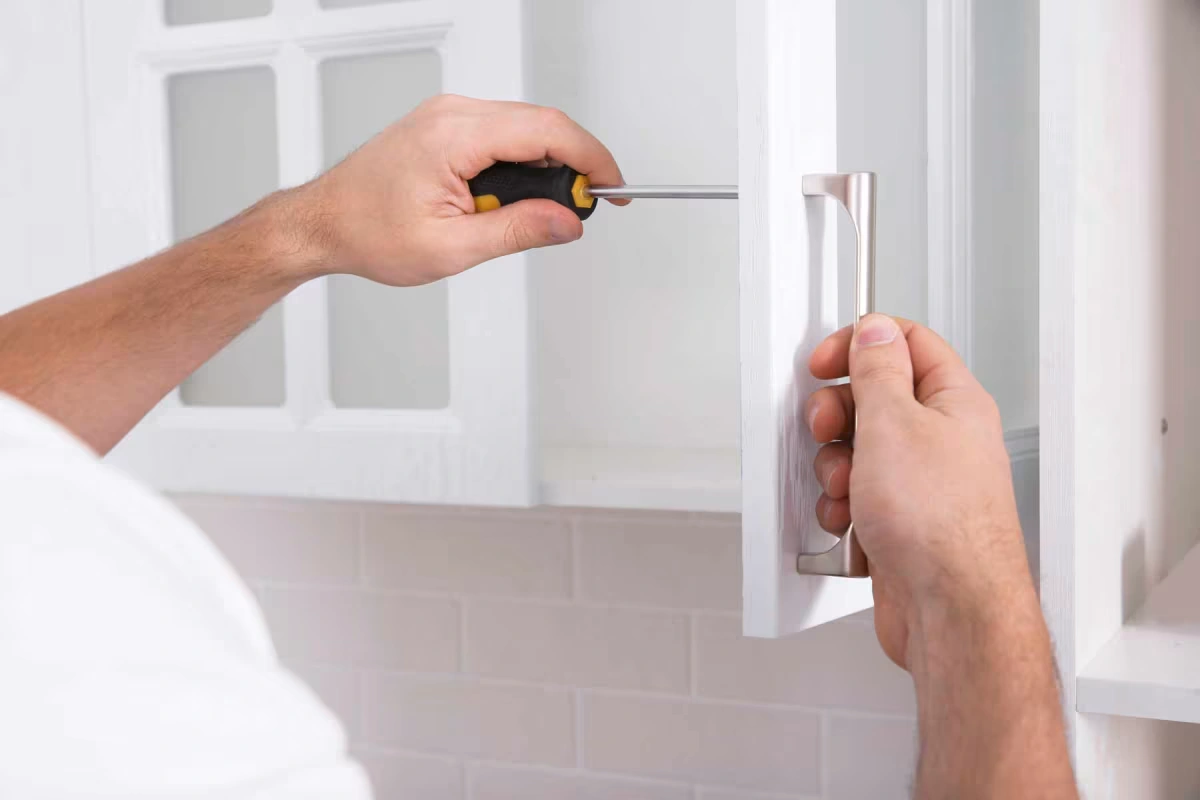
Preparation is the rhythm that sets the tone for your cabinet makeover. Begin by removing all hardware, hardware pulls, and doors—lay them out neatly for reinstallation. A thorough cleaning with a degreaser or mild detergent ensures all grease, dust, and grime are banished, creating a pristine stage for your project.
Light sanding follows—this step is vital to create a tooth for the paint or stain to adhere, akin to tuning an instrument before performing. For older or damaged surfaces, consider using a power sander for efficiency. If your cabinets are antique or valuable, consult cabinet staining and restoration for antiques to preserve their integrity.
Gathering the right supplies is akin to selecting the perfect notes for your melody. For successful diy cabinet refinishing, you’ll need:
- High-quality primer suitable for wood surfaces
- Paint or stain in your chosen shade—preferably water-based for ease of cleanup and durability
- Brushes, rollers, or a sprayer for application
- Fine-grit sandpaper for smooth finishes
- Protective gear—gloves, masks, goggles
- Drop cloths or tarps to shield surrounding areas
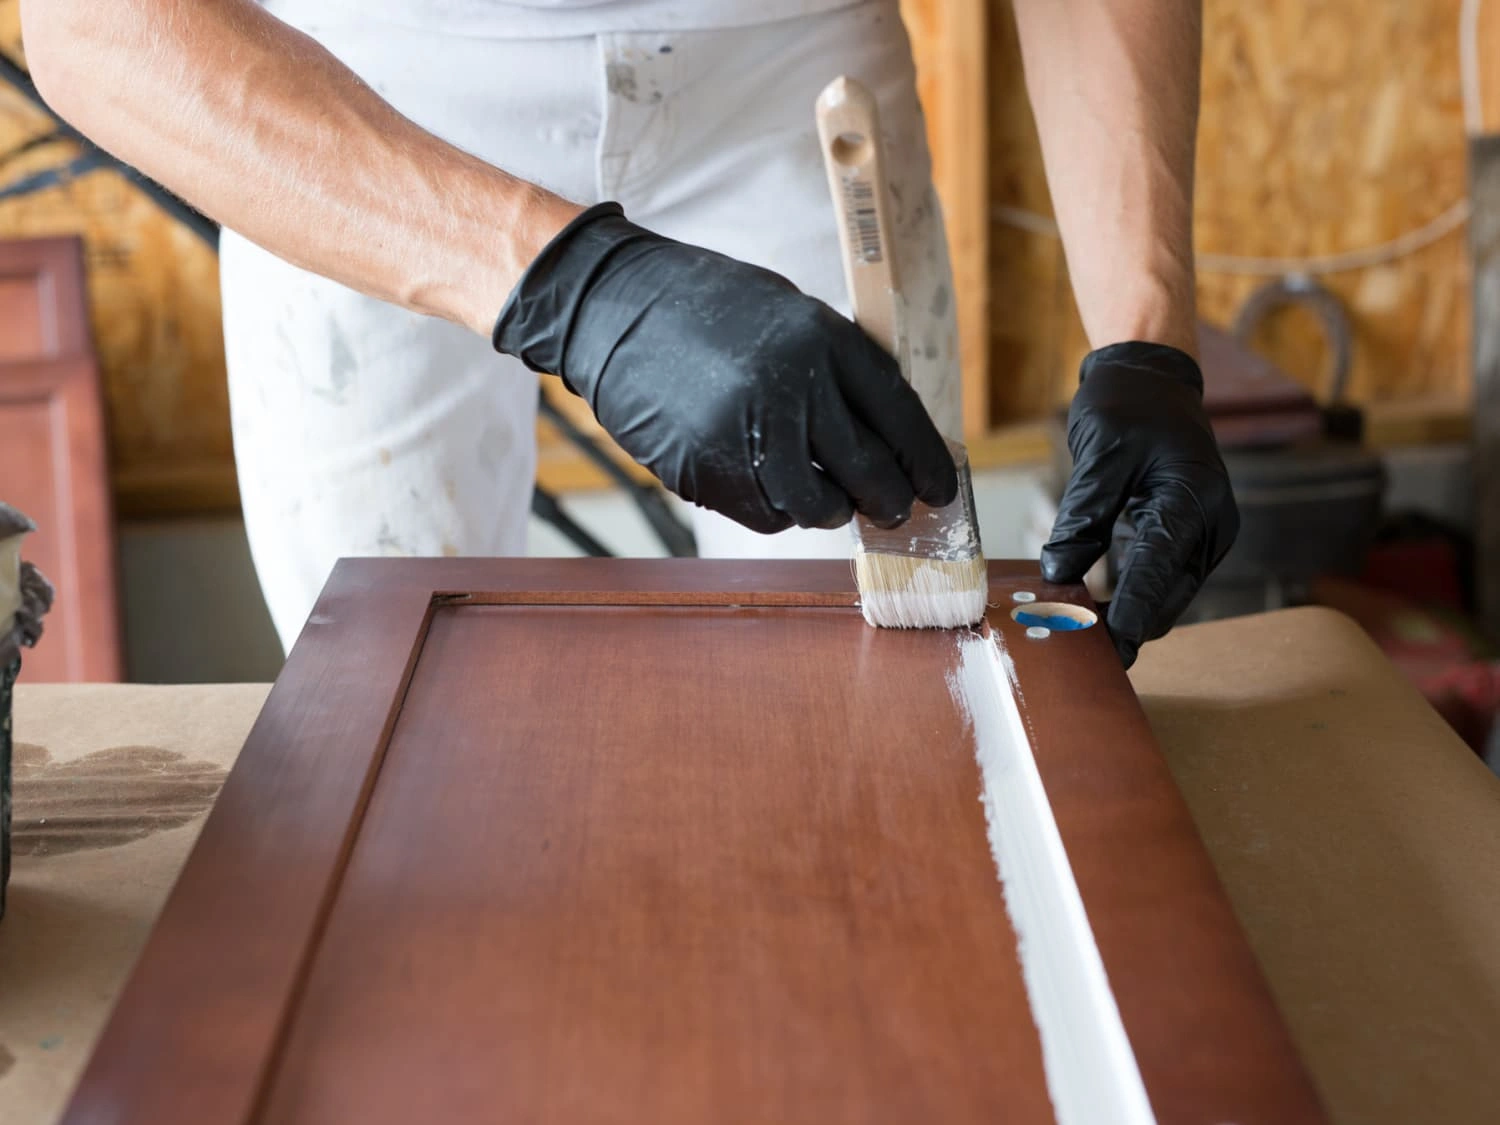
Patience and care are your greatest allies. After prepping, apply a high-quality primer to ensure an even base. Once dried, apply the first coat of paint or stain with smooth, even strokes. Light sanding between coats enhances adhesion and smoothness—think of it as fine tuning your masterpiece.
For an ultra-smooth, factory-like look, explore options such as spray painting or using a paint sprayer, which can provide a more even coat than brushes or rollers. Finish with a clear protective coat to seal your work and ensure longevity—this step is like the final crescendo, bringing everything together harmoniously.
Can You Incorporate Unique Finishes for a Truly Personal Touch?
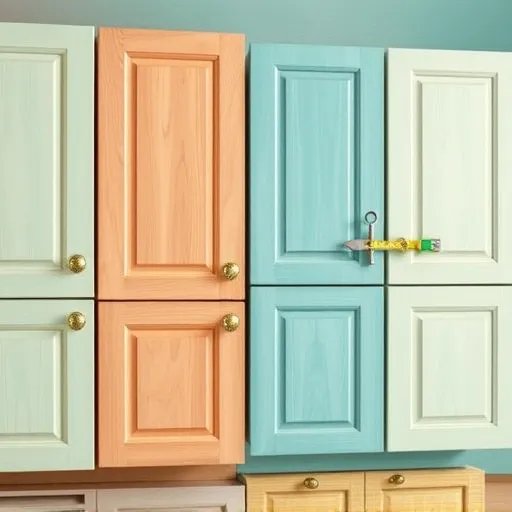
Personalization transforms an ordinary cabinet into a statement of style. Consider techniques such as distressing for a vintage charm, glazing for depth, or adding decorative hardware for a modern edge. If you're feeling adventurous, try faux finishes, marble effects, or murals—each method allowing your creativity to play a new melody.
To maintain a cohesive look, browse local showrooms or consult high-quality cabinet showrooms for inspiration and expert advice. Remember, an artistic touch can make a significant difference in capturing your home's unique personality.
What Common Challenges Might You Encounter and How to Overcome Them?
Even for seasoned DIYers, imperfections can happen. To minimalize these issues, work in thin, overlapping coats and maintain a wet edge during application. Keep brushes and tools well-maintained and clean for smooth results. Should bubbles or drips occur, lightly sand the area once dry and apply a touch-up coat—sometimes, patience and a gentle hand are the best restorers of harmony.
Absolutely. Refinishing in tight quarters requires meticulous planning—cover every surface, work with minimal dust, and ensure proper ventilation. For tailored guidance, refer to cabinet refinishing for small spaces. Even in compact areas, your DIY symphony can flourish with careful attention and creative solutions.
How to Choose the Best Hardware to Complement Your Resurfaced Cabinets?
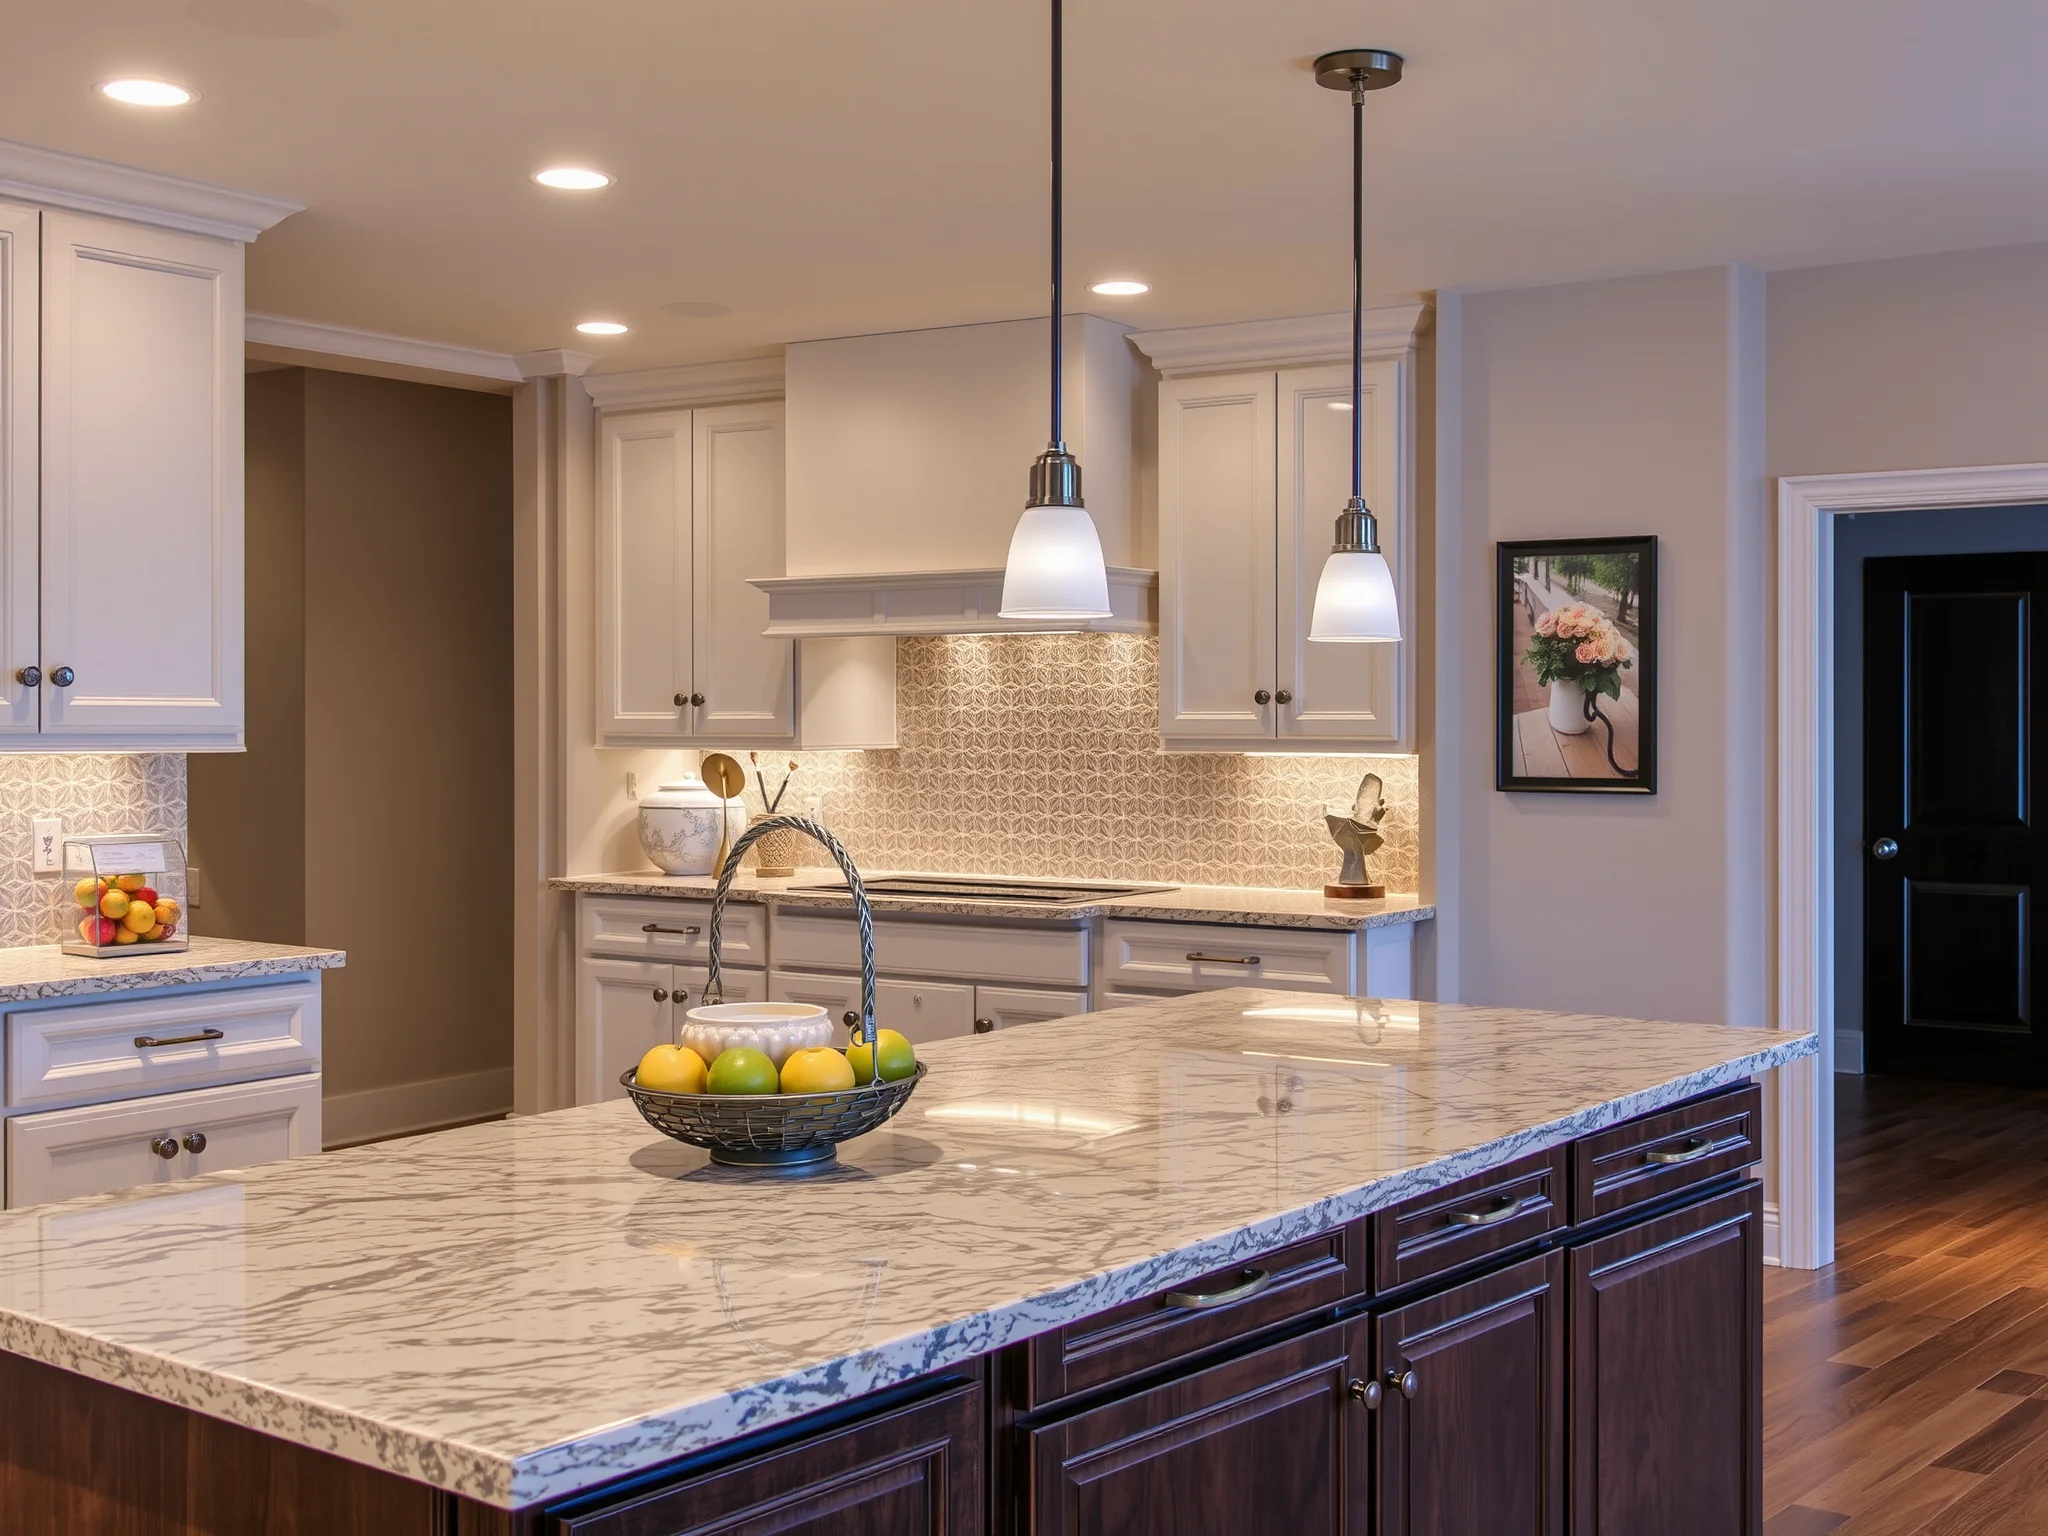
The right hardware can be the crescendo of your cabinet refinishing diy project. Whether you prefer vintage knobs, modern pulls, or ornate handles, choose styles and finishes that harmonize with your color scheme and overall decor. Metal finishes such as brushed nickel, matte black, or antique brass can dramatically influence the visual impact—think of them as the accents that elevate your composition.
Why Should You Consider Professional Guidance for Your Cabinet Revival?
While the DIY path offers remarkable satisfaction, professional expertise can elevate your project to new heights. Experts bring an artistic eye, refined techniques, and access to high-quality materials. If you seek inspiration and professional craftsmanship, explore professional cabinet staining and restoration options to see how mastery transforms your vision.
What Are Some Inviting Ideas to Keep Your DIY Cabinet Refinishing Journey Alive?
- Combine multiple finishes for a layered, textured look
- Rearrange cabinetry hardware to refresh the overall style
- Add decorative accents such as glass panels or molding
- Use contrasting paint colors for a modern aesthetic
- Incorporate sustainable or repurposed materials for eco-conscious design
FAQs: Your Melodic Guide to Cabinet Refinishing DIY
The timeline varies depending on the number of cabinets, the chosen finishes, and your working pace. Typically, finishing a kitchen set can take from a few days to a week, including drying times between coats. Patience ensures a level of quality that resounds beautifully in the end.
While basic DIY skills such as painting, sanding, and prep work are helpful, many projects are accessible to beginners with careful planning and patience. Watching tutorials or consulting experts can build your confidence and refine your technique.
Absolutely. Refurbishing existing cabinets reduces waste and minimizes environmental impact. Plus, choosing eco-friendly paints and stains supports sustainable practices and a greener home.
Common pitfalls include neglecting proper prep, applying too thick coats, rushing drying times, and ignoring hardware removal. Paying attention to detail and following a structured plan helps prevent setbacks and results in a professional look.
Let Your Home’s Melody Resound with the Beauty of DIY Refinishing
Transforming your cabinets through diy projects is more than a labor—it's an expression of soul, a testament to your creativity, and a promise to nurture your space. Each brushstroke, color choice, and finishing touch echoes your unique style, creating a symphony of style and function. With guidance, patience, and passion, your DIY cabinet refinishing journey becomes a melodic story of rebirth—ready to serenade your senses for years to come.