
How to Install LED Strip Lights in Cabinets: A Complete Guide
Introduction
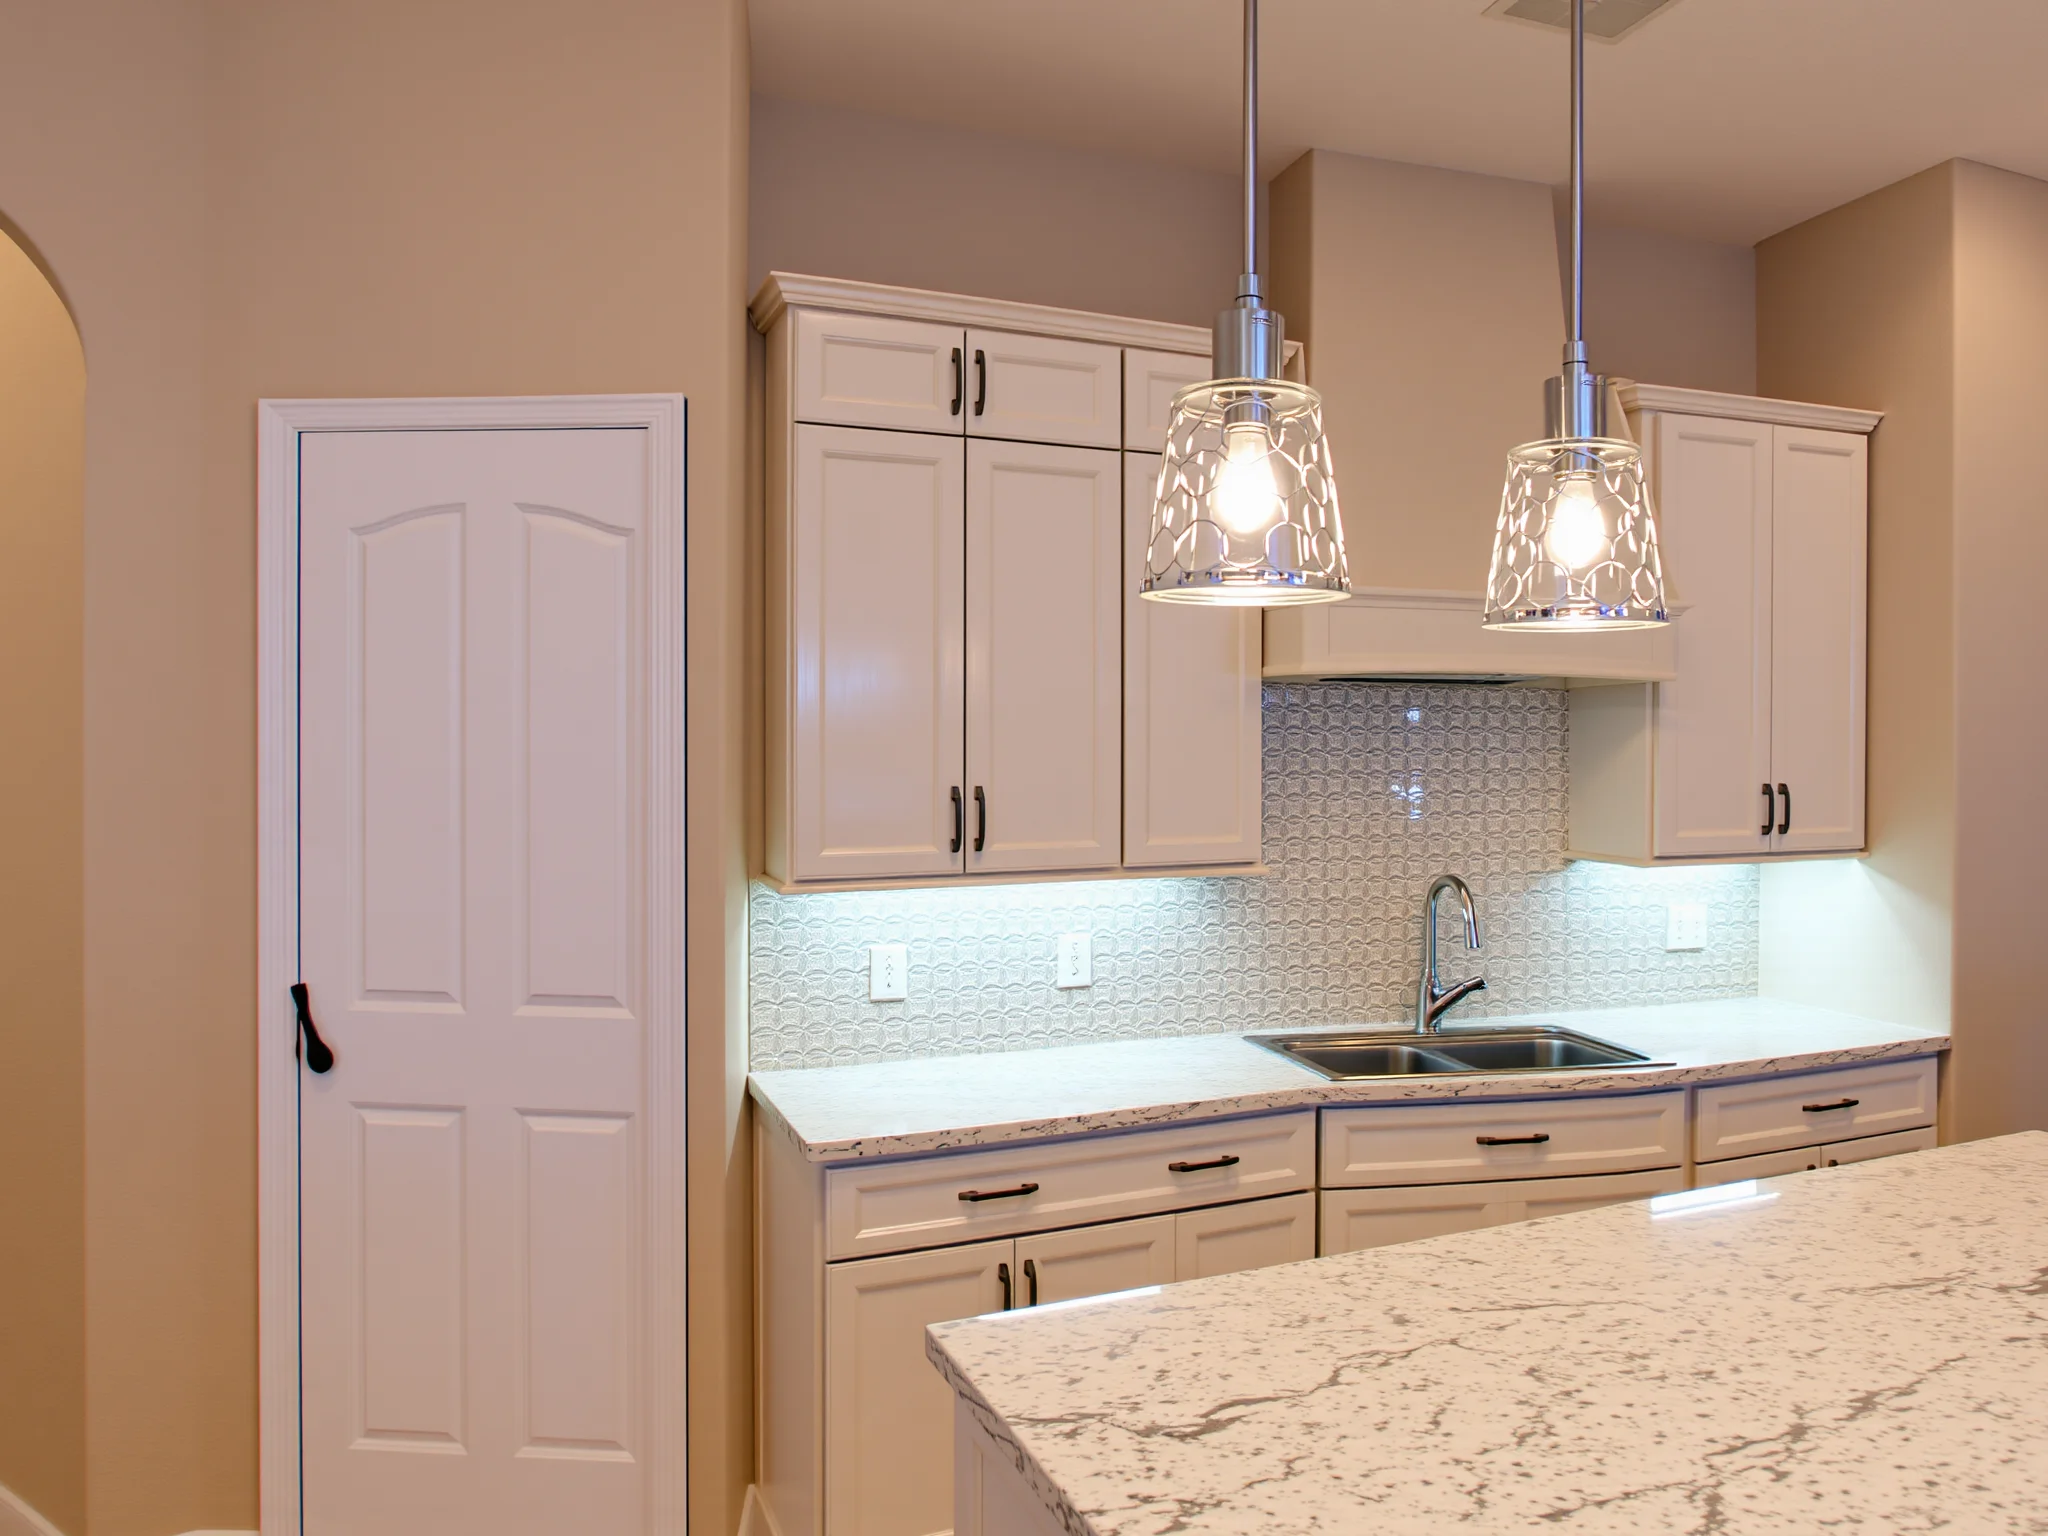
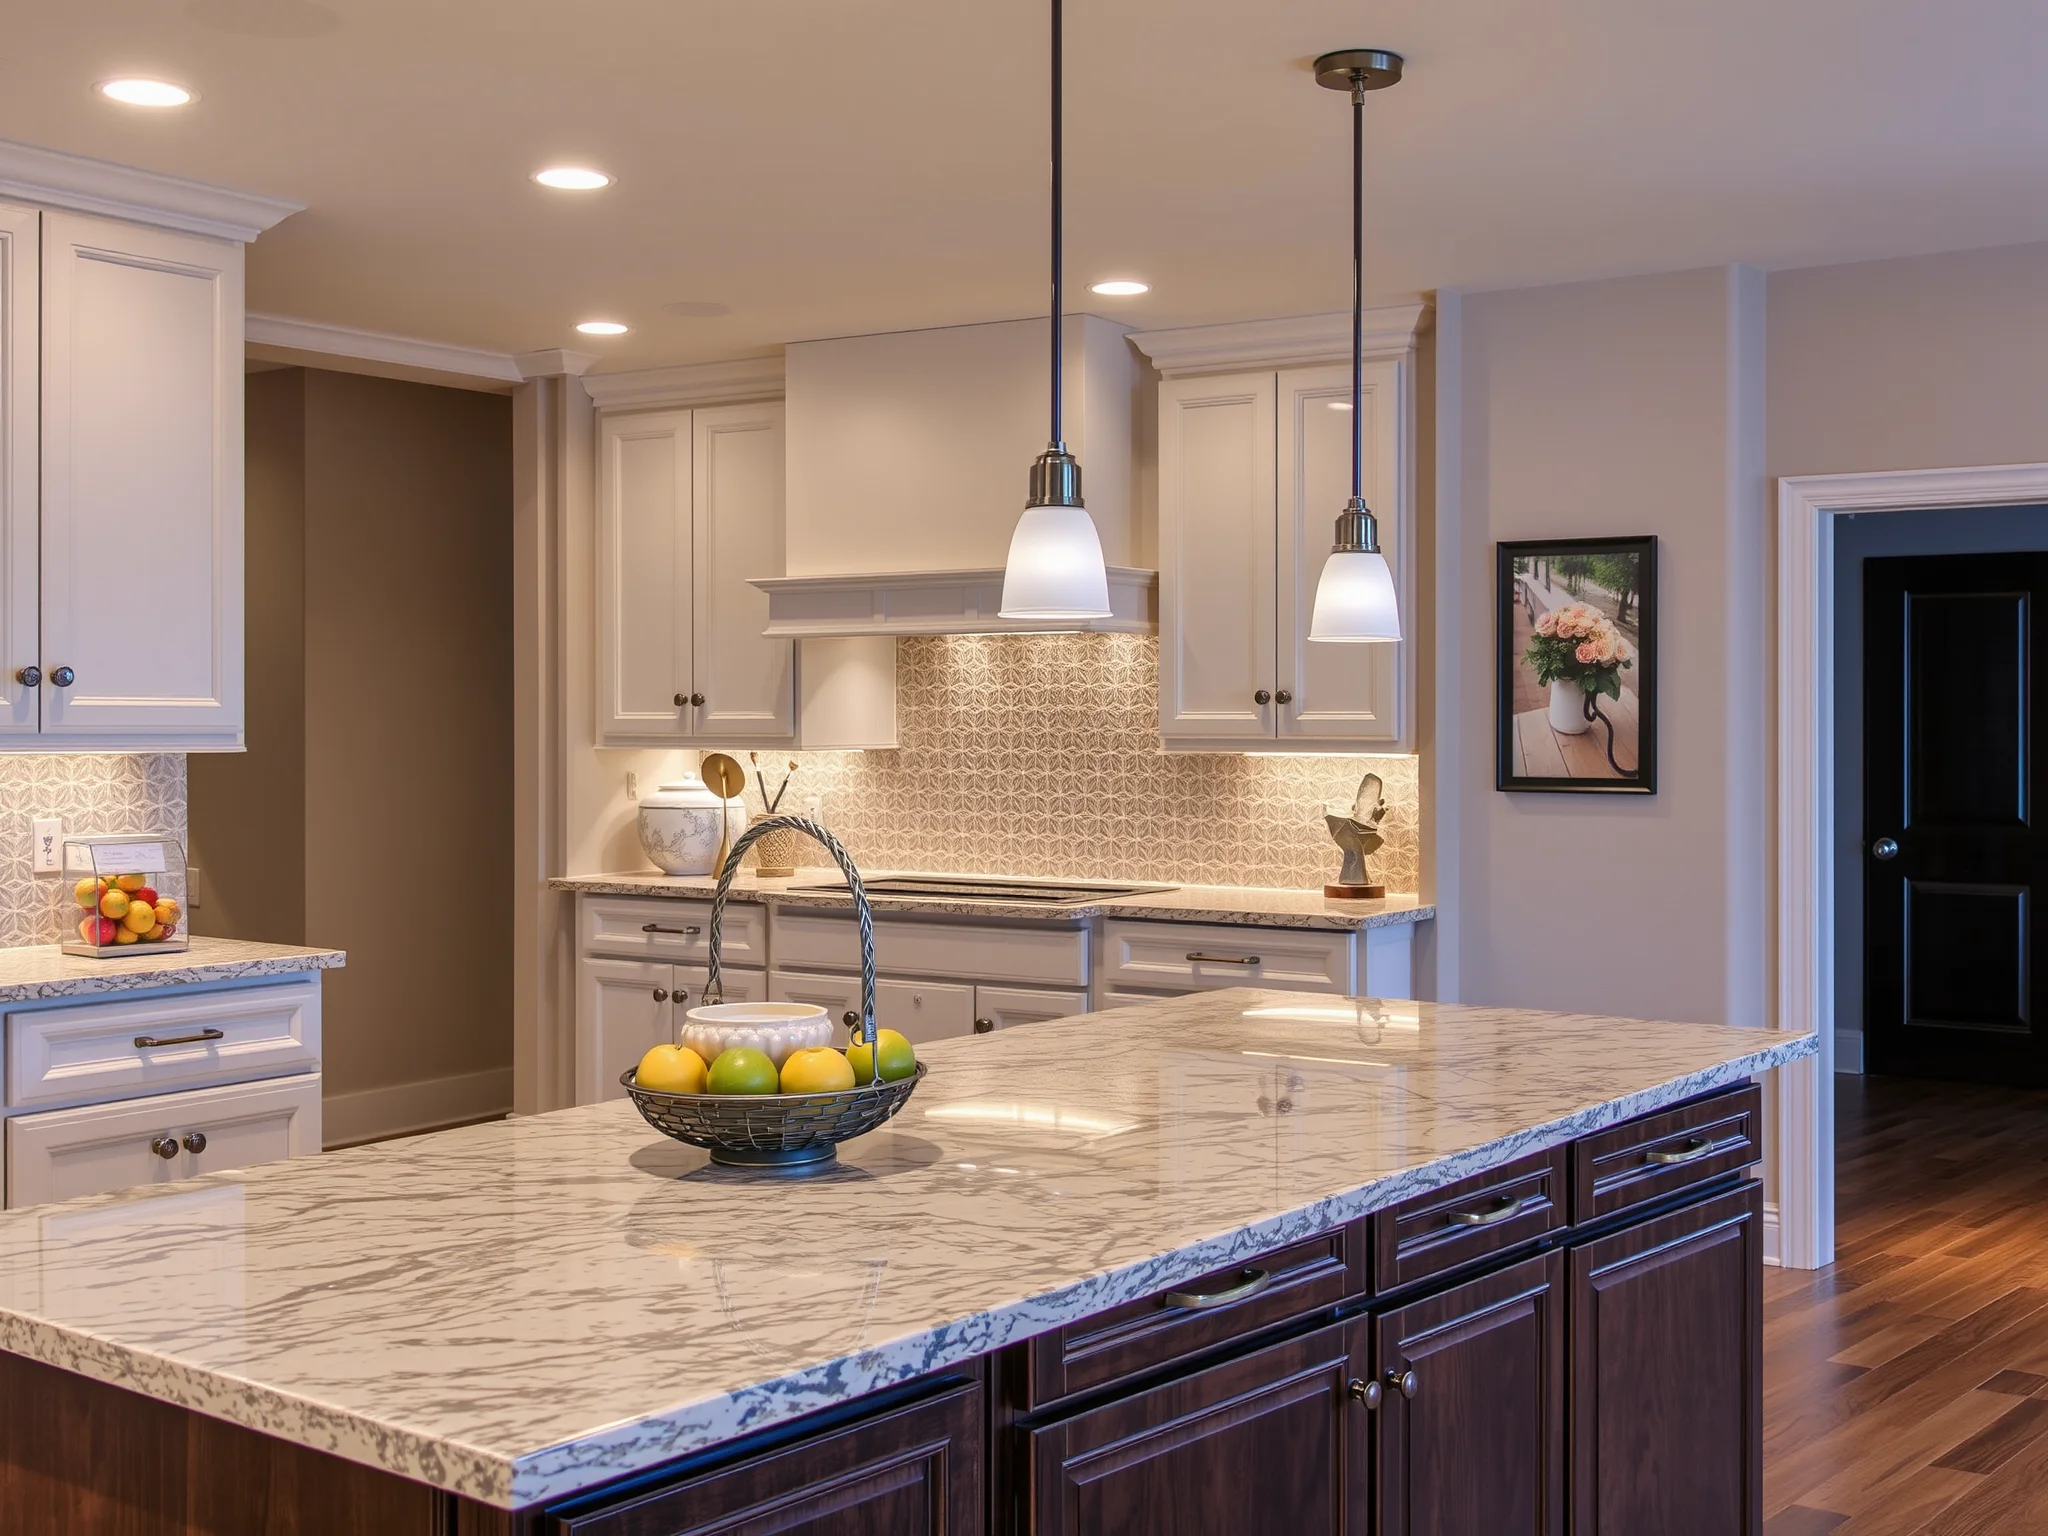
Illuminating cabinetry with LED strip lights has emerged as a quintessential enhancement in modern interior design, yielding both aesthetic and functional benefits. These versatile lighting fixtures can accentuate architectural features, improve nighttime visibility, and create ambiance within kitchens, libraries, or display cases. However, successfully installing LED strip lights in cabinets requires a nuanced understanding of technical considerations, preparation steps, and installation techniques. This scholarly guide aims to delve into the intricacies of the process, providing a comprehensive overview that empowers homeowners and professionals to execute installations with precision and confidence.
What Are the Benefits of Installing LED Strip Lights in Cabinets?
Before exploring the procedural aspects, it is vital to understand the multifaceted benefits associated with LED strip light installation in cabinetry systems. These benefits include:
- Enhanced Aesthetic Appeal: LED lighting adds visual interest and highlights cabinet details, elevating interior elegance.
- Improved Functionality: Better illumination facilitates ease of access and safer operation within cabinets, especially in low-light conditions.
- Energy Efficiency: LEDs consume minimal power while delivering high lumen output, aligning with sustainable design principles.
- Customization and Flexibility: A variety of color temperatures, dimming options, and control mechanisms allow tailored ambiance creation.
- Cost-Effectiveness: Long-lasting and low-maintenance, LED strip lights provide an economical lighting solution over time.
What Are the Essential Tools and Materials Needed for Proper Installation?
Achieving a seamless and professional-looking lighting setup necessitates a well-prepared toolkit and appropriate materials. Essential items include:
- LED strip lights with adhesive backing
- Power supply/adapter compatible with the LED strip (ensure voltage match)
- Dimmer or controller (if desired for adjustable lighting)
- Measuring tape and pencil for precise measurements
- Wire strippers and connectors
- Cleaning supplies (alcohol-based cleaner, cloth)
- Soldering iron and solder (for custom connections, optional)
- Mounting brackets or clips (if not included)
- Remote control or smartphone app (for smart lighting options)
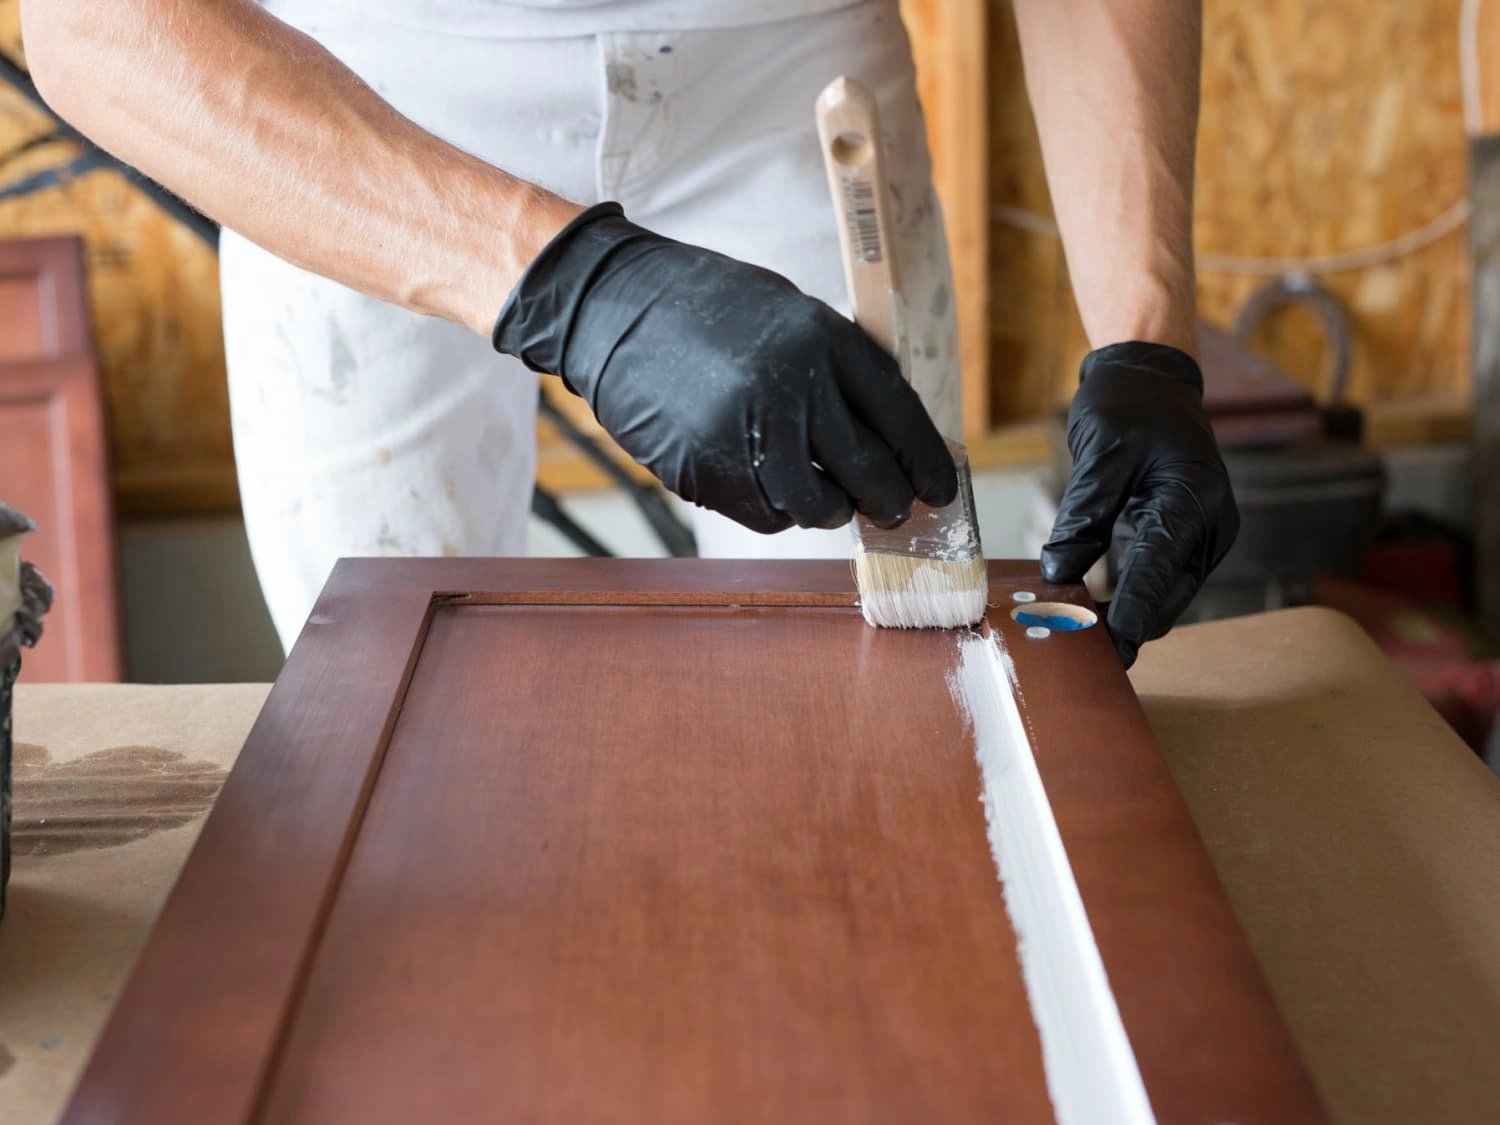
For a thorough overview of cabinet refinishing techniques that complement lighting upgrades, consider reviewing our how to refinish kitchen cabinets guide.
How Do You Prepare the Cabinets for LED Strip Light Installation?
Preparation constitutes a critical phase in ensuring the durability and optimal performance of your lighting system. Proper cleaning and measurement lay the foundation for a clean installation.
- Clear the Workspace: Remove all items from cabinets and surrounding areas.
- Clean the Interior Surfaces: Use an alcohol-based cleaner to eliminate dust, grease, and residues, ensuring adhesive adherence.
- Measure the Interior Dimensions: Accurately measure the length of the cabinet's interior sections where lights will be installed.
- Plan the Wiring Route: Decide on the most discreet pathway for power connections and control units.
Accurate measurements and thorough cleaning prevent future complications such as sagging, detachment, or uneven lighting.
What Is the Step-by-Step Process for How to Install LED Strip Lights in Cabinets?
Most LED strips can be cut at designated intervals marked on the strip. Use scissors or a sharp knife to trim precisely at these points to customize the length without damaging circuits.
Ensure the interior surface is clean. Remove the adhesive backing and carefully stick the LED strip along the underside of the cabinet's interior or along preferred locations. For uneven surfaces, consider mounting brackets for added support.
If multiple sections are used, join them using compatible connectors, solder joints, or extension cables. Connect the strip to the power supply, verifying correct polarity. For enhanced control, integrate a dimmer or smartphone-controlled system.
Fix any loose wiring with clips or adhesive tapes. Power on the system to check uniformity and functionality before finalizing the process.
What Are the Best Practices for Ensuring a Long-Lasting and Safe LED Light Installation?
Adhering to best practices guarantees safety, longevity, and optimal lighting. Key recommendations include:
- Use high-quality LED strips that are rated for indoor or damp locations based on your environment.
- Ensure proper ventilation around the power supply to prevent overheating.
- Avoid overloading circuits by verifying the total wattage and current draw.
- Integrate a reliable switch, dimmer, or smart controller for versatile operation.
- Consider future accessibility for maintenance by routing wires to accessible locations.
- Follow manufacturer instructions meticulously for all components.
For additional inspiration on cabinetry and surface refinishing, explore our DIY cabinet door refacing post. Proper surface preparation complements lighting projects for a cohesive aesthetic.
How Can You Troubleshoot Common Issues During Installation?
Despite meticulous planning, issues may arise, such as flickering lights, dim sections, or power failures. Troubleshooting involves:
- Checking connections for secure contact and correct polarity.
- Testing the power supply independently to confirm operation.
- Inspecting for damaged sections of the LED strip and replacing if necessary.
- Verifying that the controller and dimming devices are compatible with the LED strips.
- Ensuring the wiring route is free from interference or shorts.
Are There Additional Resources to Help with Cabinet and Lighting Upgrades?
Yes, for comprehensive cabinetry renovation, including refinishing and finishing surfaces, consider consulting these resources:
- Stain-resistant cabinet refinishing
- Plywood cabinet refinishing techniques
- Affordable RTA cabinets in Frisco, Texas
Frequently Asked Questions (FAQs)
Most cabinets, regardless of material, can accommodate LED strip lighting as long as the interior surface is clean and the strips are properly adhered. For especially textured or uneven surfaces, mounting brackets may be necessary.
For basic installations with straightforward wiring, DIY setup is feasible with proper precautions. However, for complex wiring, high-voltage connections, or integration with smart home systems, consulting a licensed electrician is advisable.
LED strip lights generally have a lifespan of 25,000 to 50,000 hours, making them a durable lighting choice when installed correctly and used within the recommended conditions.
LED strips come in a variety of color temperatures, from warm white (around 2700K) to cool white (6500K), and even RGB options for dynamic color-changing effects.
Conclusion
The process of how to install LED strip lights in cabinets combines technical precision with creative flair. A methodical approach—beginning with comprehensive planning, surface preparation, accurate measurement, and meticulous wiring—ensures a durable and visually appealing result. By adhering to best practices and leveraging available resources, homeowners and professionals alike can transform cabinetry from simple storage to sophisticated design focal points. This upgrade not only elevates interior aesthetics but also enhances functionality, making your living space more inviting and efficient.



:max_bytes(150000):strip_icc()/TAL-the-star-frisco-texas-FRISCOTX0223-5fb5e2ddde5a431e8072e46cbc504b63.jpg)
