

How to Repair Chipped Cabinet Edges: Step-by-Step Guide
Discovering the Subtle Charm of Restored Cabinets
Imagine walking into your home and being greeted by cabinets that radiate fresh, renewed beauty. Chipped edges often detract from this welcoming atmosphere, but they need not be a cause for despair. In fact, understanding the delicate process of how to repair chipped cabinet edges can transform your furniture from worn to wonderful—restoring not just the wood, but also the subtle harmony within your living space.
What causes cabinet edges to chip, and why is gentle repair important?
Cabinet edges are subject to daily wear and tear, whether from accidental bumps, frequent use, or environmental factors. Over time, the protective finish can crack or peel, exposing the wood beneath and leading to chips. Addressing these imperfections with a gentle, respectful approach preserves the integrity of your furniture and prolongs its lifespan. Harsh methods can cause further damage or alter the natural beauty of the wood, so patience and care are essential.
How do I assess the severity of chipped cabinet edges?
Before embarking on a repair journey, it’s important to evaluate the extent of the damage:
- Minor chips: Small areas where the finish is slightly lifted or cracked. These can often be repaired with simple touch-up techniques.
- Moderate chips: Larger chips revealing raw wood, possibly requiring filling and refinishing.
- Severe damage: Extensive chipping or cracking affecting structural stability, possibly needing professional restoration.
Understanding the severity will help you choose the appropriate method, ensuring a successful and gentle restoration process.
What tools and materials are essential for repairing chipped cabinet edges?
Creating a tranquil, fuss-free repair environment begins with proper preparation. Here’s a list of essential tools:
- Fine-grit sandpaper or sanding sponge
- Wood filler or epoxy putty
- Palette knife or putty knife
- Matching stain or touch-up paint
- Clear sealant or protective finish
- Soft cloths and brushes
- Primer (if necessary)
Choosing high-quality materials ensures a more seamless blend with your existing cabinet finish and prolongs the repair's durability.
How can I prepare my cabinets for a gentle repair process?
Preparation is key to a tranquil and effective repair. Follow these steps:
- Clean the area thoroughly with a soft, damp cloth to remove dust, grease, and dirt.
- Allow the surface to dry completely to prevent trapping moisture.
- Lightly sand the chipped edge with fine-grit sandpaper to smooth rough edges and improve adhesion.
- Remove any residue and dust after sanding with a clean, dry cloth.
This careful preparation creates an ideal surface for the repair materials to bond, ensuring a seamless finish.
What are the step-by-step methods to repair minor chips?
For minor chips, attention to detail can match the repair seamlessly with your existing finish:
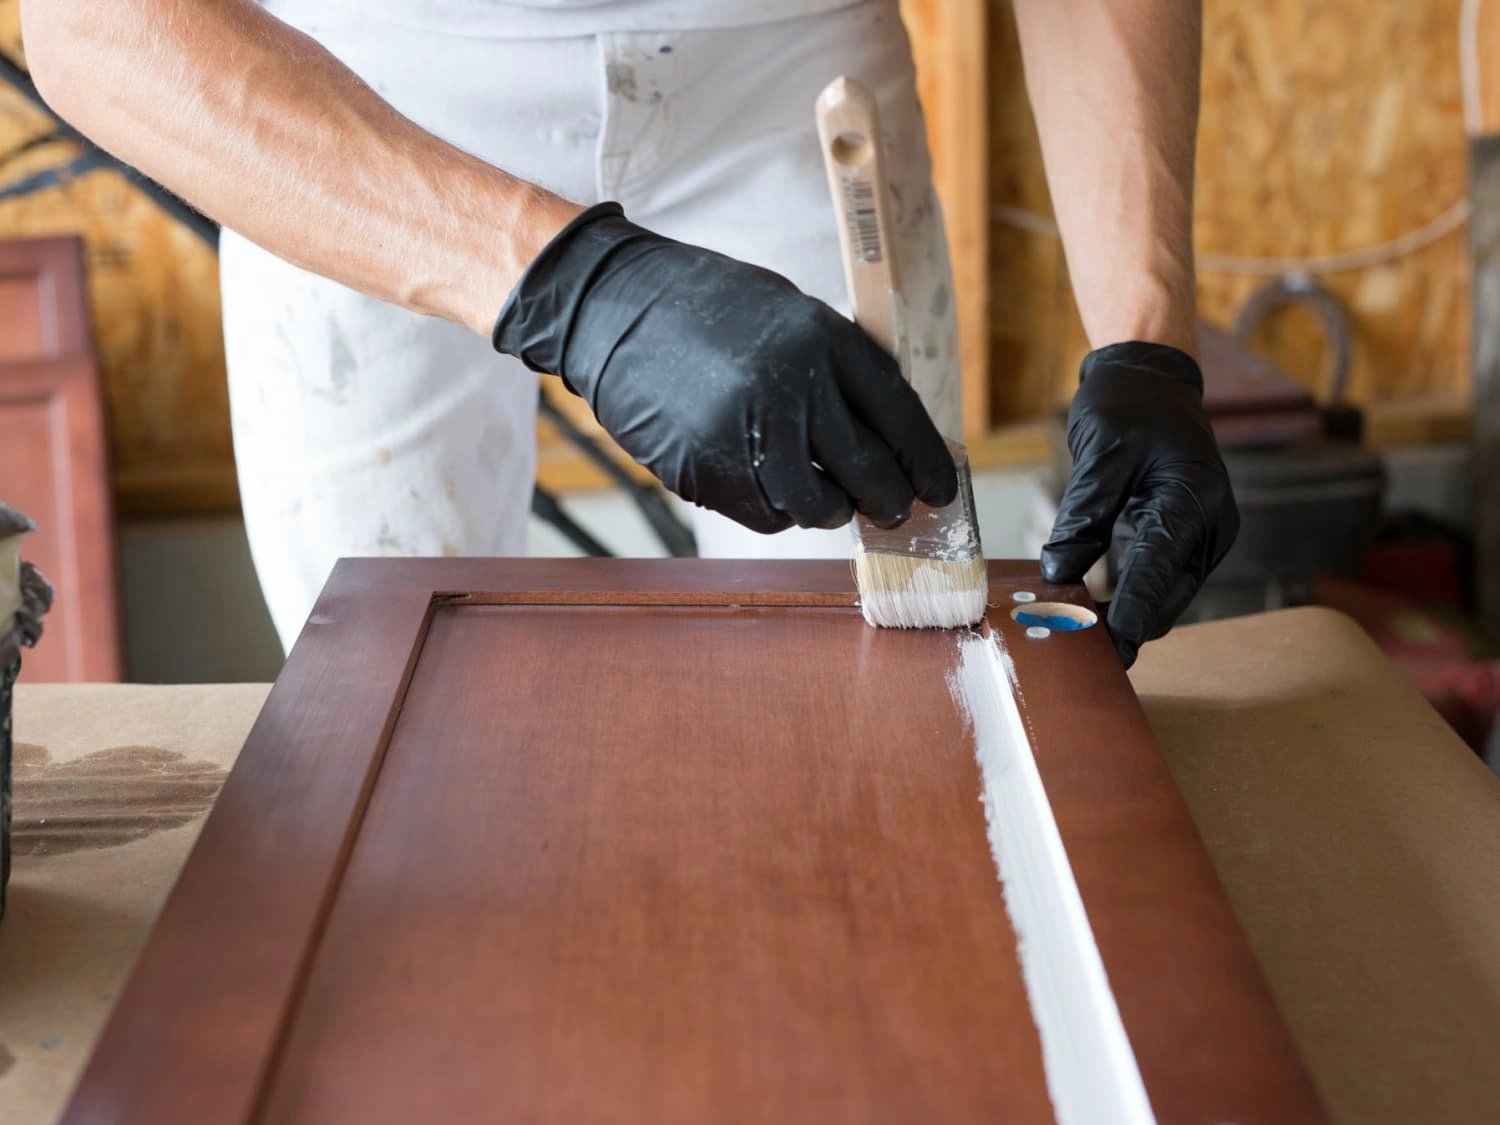
- Use a small brush or toothpick to carefully apply matching stain or touch-up paint to the chipped area.
- If the chip exposes bare wood, fill it with a small amount of matching wood filler or epoxy, pressing it into the chip with a palette knife.
- Let the filler cure completely as per manufacturer instructions.
- Gently sand the filled area with fine-grit sandpaper to level it with surrounding surfaces.
- Apply a clear sealant or protective finish to lock in the repair and blend it with the existing surface.
Patience and a gentle touch are always preferred, allowing each layer to dry before proceeding to the next.
When should I consider using professional restoration services?
If the damage is extensive, or if your attempts at repair aren’t yielding the desired harmony, consulting a professional can be beneficial. Experts like those at cabinet refinishing companies in Celina, Texas, possess the experience to restore your furniture’s elegance with care and precision. Professionals can address severe chipping or structural issues, ensuring your cabinets regain their original beauty without compromising their integrity.
How do I repair more significant chips or damaged edges?
Significant damage often requires a multi-step process:
- Remove loose or damaged wood with gentle sanding or chiseling if necessary.
- Apply a high-quality wood filler or epoxy to fill gaps and chips, molding it to match the original profile of the edge.
- Allow the filler to fully cure, then sand it smoothly with fine grit until flush with the surface.
- Sand the entire area lightly to blend the repair zone with the surrounding wood.
- Re-stain or repaint to match the original color, paying close attention to consistency.
- Finish with a protective sealant to ensure durability and a tranquil, glossy appearance.
For the best results, consider reaching out to specialists who can ensure the repair maintains the aesthetic balance of your cabinets.
What maintenance tips help keep cabinet edges intact and beautiful?
- Regularly clean your cabinets with gentle, furniture-safe cleaners to prevent accumulated dirt that could cause damage.
- Avoid placing heavy or sharp objects near cabinet edges.
- Use corner protectors or padding during moving or rearranging.
- Inspect your cabinets periodically for early signs of chipping and address them promptly.
- Consider professional refinishing if your cabinets show widespread wear or damage.
These simple steps foster a tranquil environment where your furniture can thrive in beauty and resilience.
How does cabinet refinishing enhance the aesthetic and longevity of furniture?
Refinishing not only improves appearance but also protects the wood from future damage. Techniques like careful sanding, high-quality staining, and sealing help preserve the natural grain and color. If you're interested in elevating larger spaces, explore options through home improvement projects for large spaces that include cabinet rejuvenation, creating a unified, harmonious atmosphere.
Can I incorporate my repaired cabinets into a larger home upgrade?
Absolutely. Restoring the edges of your cabinets complements broader renovation projects, creating a tranquil, cohesive living space. Whether upgrading your kitchen with new countertops or enhancing your office with elegant storage, a well-repaired cabinet offers a seamless foundation.
What inspires confidence in a professional cabinet restoration company?
Look for companies with a proven track record, positive customer reviews, and specialized expertise in cabinet refinishing and restoration. Greater peace of mind comes from choosing experts who understand both the technical and aesthetic aspects of your furniture.
Frequently Asked Questions (FAQs)
Yes, minor chips can often be repaired at home with patience and the right materials. However, for extensive or intricate damages, professional restoration ensures the best aesthetic and structural results.
The duration varies depending on the extent of the damage. Small touch-ups may be completed within a few hours, while larger repairs could take a day or more, allowing for proper curing and finishing.
When executed carefully with matching stain and sealant, repairs can blend seamlessly, restoring the cabinet’s original charm and tranquility.
If you notice widespread chipping, structural instability, or if previous DIY attempts are unsuccessful, consulting professionals like restoration experts for insect-damaged cabinets ensures your furniture remains both beautiful and durable.
Restoring Your Cabinets with a Gentle Touch
Transforming chipped cabinet edges into a symbol of timeless elegance requires patience, precision, and a gentle approach. With the right knowledge and tools, you can revive your furniture’s innate beauty, creating a tranquil sanctuary that welcomes and comforts. Whether you're undertaking a small DIY project or seeking professional assistance, each step reflects a commitment to harmony and care. Let Hollywood Cabinet Refinishing guide you on this journey to restore your furniture’s natural grace and serenity.






:max_bytes(150000):strip_icc()/TAL-the-star-frisco-texas-FRISCOTX0223-5fb5e2ddde5a431e8072e46cbc504b63.jpg)


